Renault Grand Scenic (2016 year). Manual - part 6
1.82
– E: minimum sensitivity
– F: maximum sensitivity
The higher the sensitivity, the quic-
ker the wipers will react and the
faster the wipe.
Note:
–
the rain sensor is only intended
as a driving aid. In the event of re-
duced visibility, the driver should
manually activate the wipers. In
foggy weather or during snow-
falls, wiping is not automatically
triggered and remains under the
driver’s control;
Do not try to lift the wiper blades.
They cannot remain detached from
the windscreen. To replace the
blades, refer to Section 5: “Wiper
blades”.
In freezing or snowy weather, clear
the windscreen (including the cen-
tral area located behind the inte-
rior rear-view mirror) and the rear
screen before starting the wipers
(risk of motor overheating).
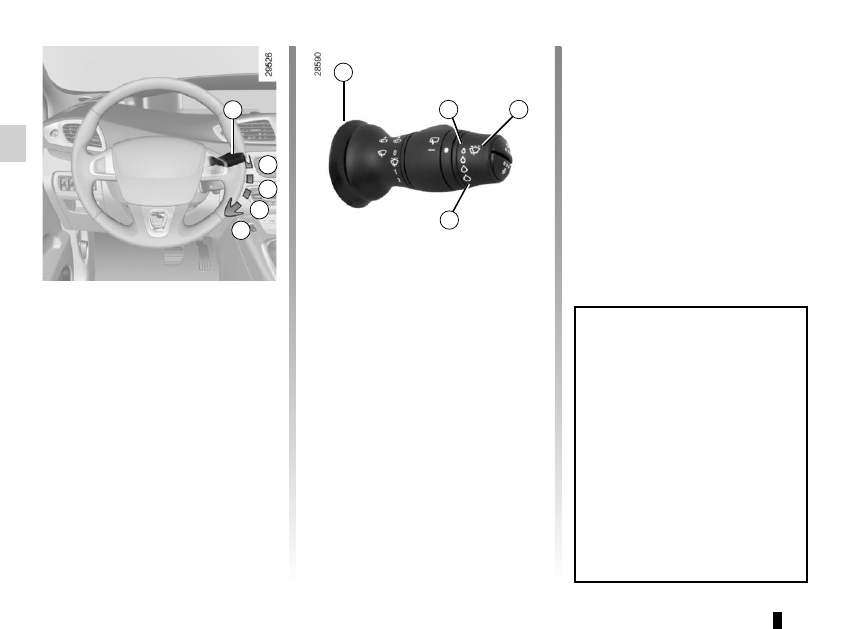
1
A
B
C
D
WINDSCREEN WASH/WIPE
(2/4)
Vehicle fitted with front
windscreen wiper rain sensor
A park
B automatic wiper function
When this position is selected,
the system detects water on the
windscreen and triggers the wipers
at a suitable wiping speed. It is
possible to change the triggering
threshold and the time sweeps by
turning ring 2:
2
F
E
1
–
in the event of temperatures
below zero, automatic wiping is
not activated when the vehicle
is started. It is automatically acti-
vated as soon as the vehicle ex-
ceeds a certain speed (5 mph
(8 km/h));
–
do not activate automatic wiping
in dry weather;
–
fully de-ice the windscreen before
activating automatic wiping.