Toyota 4Runner (2020 year). Instruction - part 28
440
6-3. Do-it-yourself maintenance
4RUNNER (U)
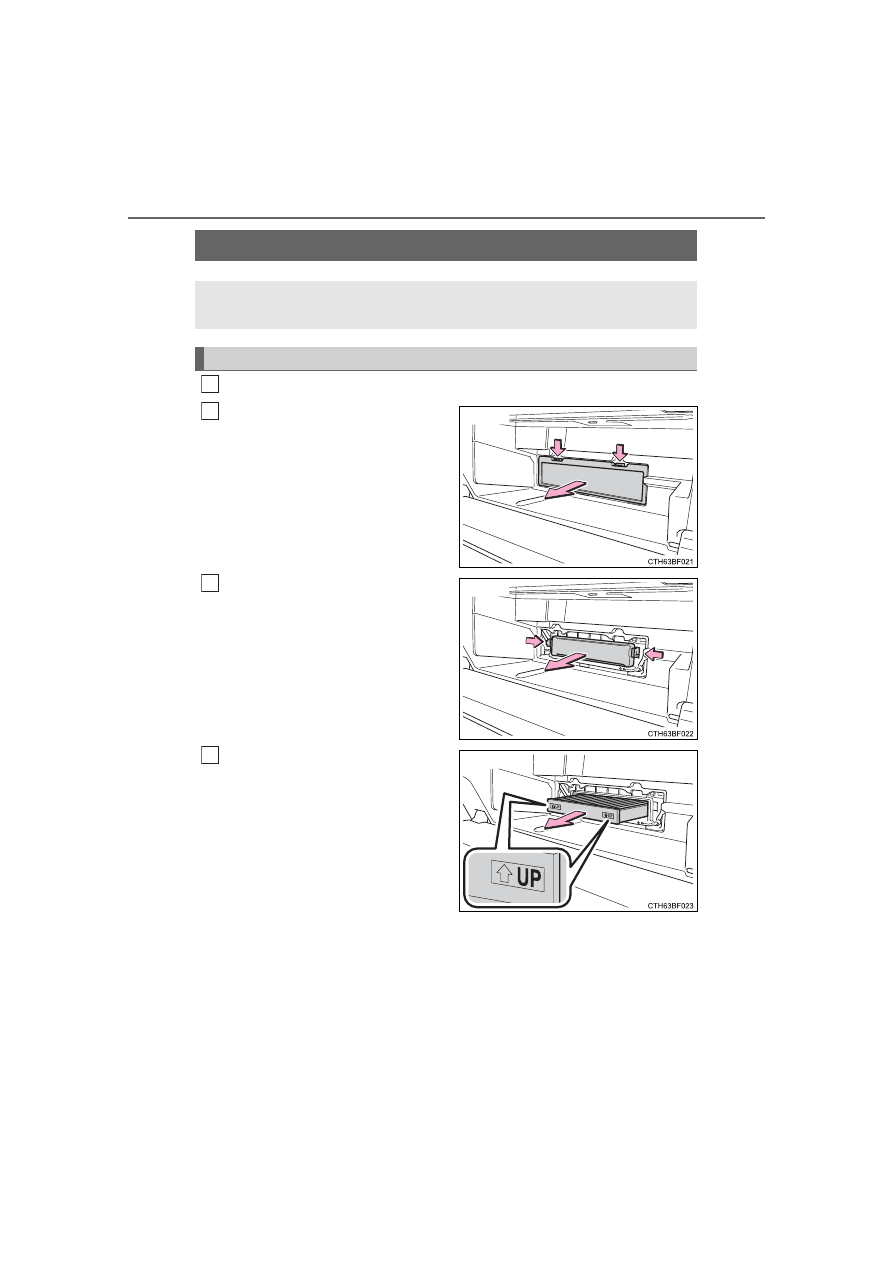
Turn the engine switch off.
Open the glove box and
remove the cover.
Remove the filter cover.
Remove the air conditioning fil-
ter and replace it with a new
one.
The “
UP” marks shown on the fil-
ter should be pointing up.
Air conditioning filter
The air conditioning filter must be changed regularly to maintain
air conditioning efficiency.
Removal method
1
2
3
4