SsangYong Rexton. Service manual - part 655


  Index      SsangYong     SsangYong Rexton - service and repair manual


Search            


Content   ..  653  654  655  656   ..


SsangYong Rexton. Service manual - part 655


SSANGYONG  Y200

9B-14  BODY INTERIOR

YAD9B360

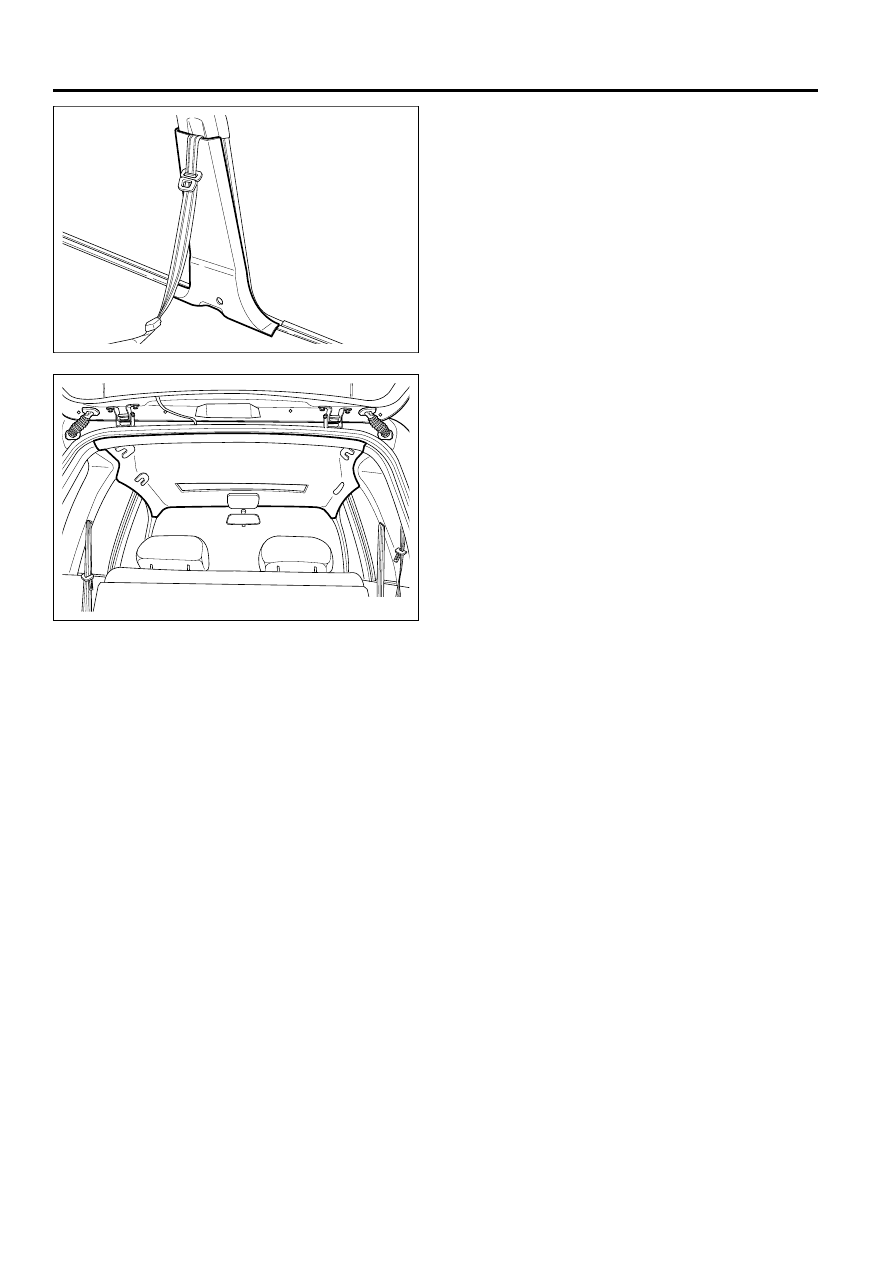
Roof ( Head lining )

1. Separate sun-visor right and left.

2. Separate upper trim right and left.

3. Separate four handle.

4. Separate room lamp, sun roof, door opening

weather strip.

5. After pulling clip bolt out of headlining, separate

headlining.

YAD9B350

3. Separate trim of lower B-pillar trim  with the same

method to separate, upper trim.

BODY INTERIOR  9B-15

SSANGYONG  Y200

YAD9B370

YAD9B380

YAD9B390

YAD9B400

HANDLE

1. After downing handle, release screw.

2. Separate handle.

ROOM - MIRROR

1. Pulling room mirror, separate it.

2. After separating fixing bracket, separate connector

of mirror lamp.

3. Separate sun-visor.

SUNVISOR

1. Separate fixing hook of sun-visor.

SSANGYONG  Y200

9B-16  BODY INTERIOR

YAD9B440

Two row seat

1. After separating cover fixing screw (2 each) of seat

mounting in the seat right and left, remove cover
of seat rail.

YAD9B430

While the seat is installed, technician should
tight the torque, as following.

Tightening Torque

35 - 55 N•m

 (44 - 52 lb-ft)

YAD9B410

YAD9B420

SEAT

Removal / Installation

Front seat

1. Remove plastic cap (3ea) of seat rail.

2. Separate fixing bolt (4ea: M10) of seat rail right

and left.

3. After separating connector of floor wiring, remove

front seat.

Position of connectors

1) Driver seat : 2 each , SAB : 3 each

2) Passenger seat : 1each, SAB : 2 each

BODY INTERIOR  9B-17

SSANGYONG  Y200

YAD9B450

YAD9B460

YAD9B470

YAD9B480

2. After separating fixing bolt of mounting in the seat

right and, left, remove seat.

While the seat is installed, technician should
tight fixing bolt, as following.

Tightening Torque

60 - 70 N•m

 (44 - 52 lb-ft)

Three row seat

1. Pull seat cushion of three row seat forward

2. Separate fixing bolt of three row in the seat right

and left.

3. After separating fixing bolt of mounting in the rear

seat right and, left, remove seat.

While the seat is installed, technician should
tight fixing bolt, as following.

Torque fo front fixing bolt

Torque fo front fixing bolt

35 - 55 N•m
35 - 55 N•m


Content   ..  653  654  655  656   ..