Peugeot 3008 (2017 year). Manual - part 19
7
Practical information
287
3008-2_en_Chap07_infos-pratiques_ed01-2016
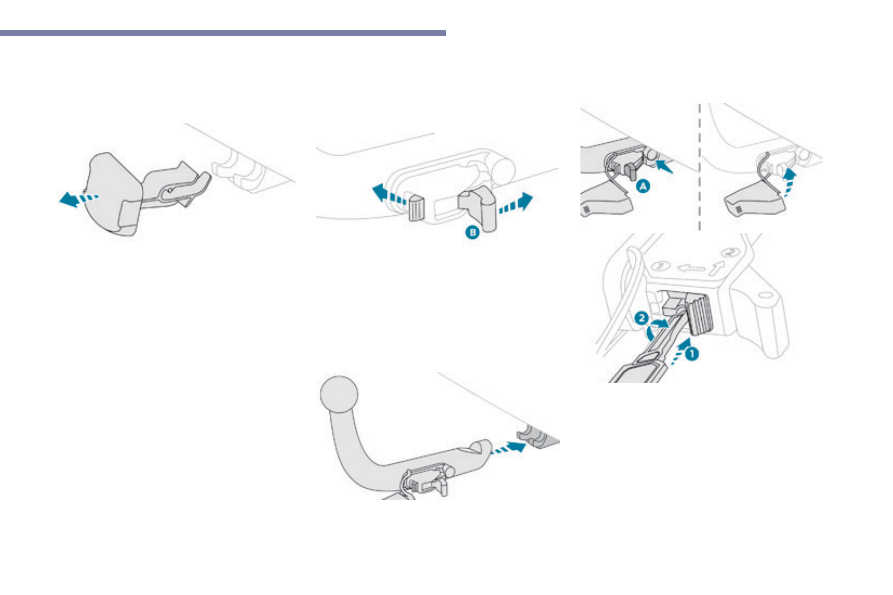
Fitting the towball
F Below the rear bumper, unclip and remove
the protective plug from the carrier.
F On the towball, push the latch to the left
and hold it in this position.
F At the same time press the trigger forward
to release the mechanism (position B).
F Insert the end of the towball into the carrier,
pushing it in as far as it will go.
F Ensure that the two pins are in contact with
the cut-outs in the carrier, that the trigger
has returned to rear and the latch to the
right to secure the mechanism (position A).
F Insert the key in the lock and turn it to the
right.
F Remove the key from the lock.
F Install and clip in place the protective cap
by rotating it to the left.