Nissan Versa Sedan. Instruction - part 566
MA-22
< PERIODIC MAINTENANCE >
ENGINE MAINTENANCE
OIL FILTER : Inspection
INFOID:0000000009269055
INSPECTION AFTER INSTALLATION
1. Check the engine oil level. Refer to
MA-20, "ENGINE OIL : Inspection"
2. Start the engine and ensure there are no engine oil leaks.
3. Stop the engine and wait for 10 minutes.
4. Check the engine oil level and adjust as necessary. Refer to
MA-20, "ENGINE OIL : Inspection"
.
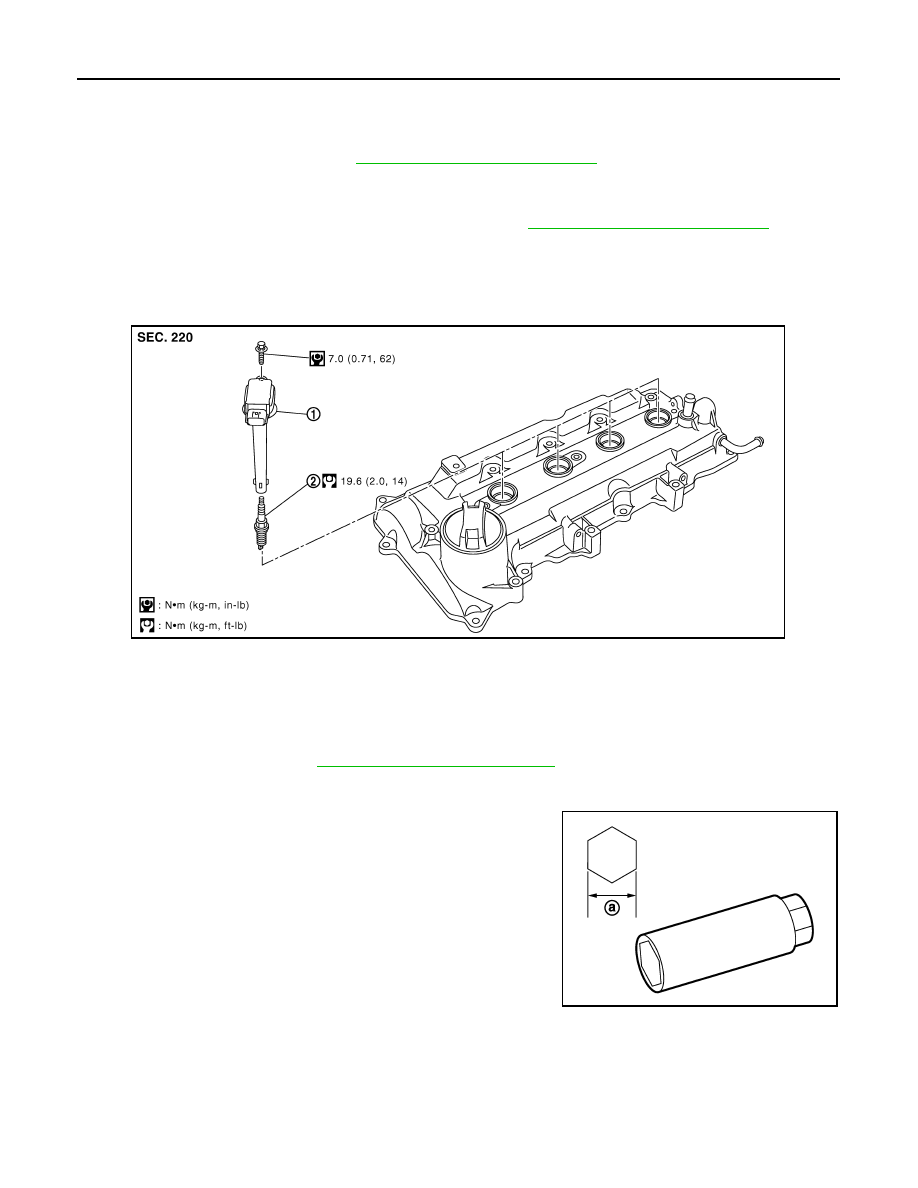
SPARK PLUG
SPARK PLUG : Exploded View
INFOID:0000000009269056
SPARK PLUG : Removal and Installation
INFOID:0000000009269057
REMOVAL
1. Remove ignition coil. Refer to
EM-44, "Removal and Installation"
.
CAUTION:
Do not drop or shock ignition coil.
2. Remove spark plug using a suitable tool.
CAUTION:
Do not drop or shock spark plug.
INSPECTION AFTER REMOVAL
CAUTION:
1.
Ignition coil
2.
Spark plug
PBIC3662E
Diameter (a)
: 14 mm (0.55 in)
JPBIA0030ZZ