Nissan Murano Hybrid (2016 year). Manual - part 12
The interior light can be turned off without waiting
by performing one of the following operations:
● Placing the ignition switch in the ON posi-
tion.
● Locking the doors with the remote control.
● Switching the room light switch to the OFF
position.
● Switching the Auto Room Lamp to the OFF
position in Vehicle Settings of the vehicle
information display. For additional informa-
tion, refer to “Vehicle information display” in
the “Instruments and controls” section of this
manual.
HOW TO USE THE REMOTE
KEYLESS ENTRY FUNCTION
The remote keyless entry function can operate all
door locks using the remote keyless function of
the Intelligent Key. The remote keyless function
can operate at a distance of 33 ft (10 m) away
from the vehicle. The operating distance de-
pends upon the conditions around the vehicle.
The remote keyless entry function will not func-
tion under the following conditions:
● When the Intelligent Key is not within the
operational range.
● When the Intelligent Key battery is dis-
charged.
CAUTION
When locking the doors using the Intelli-
gent Key, be sure not to leave the key in
the vehicle.
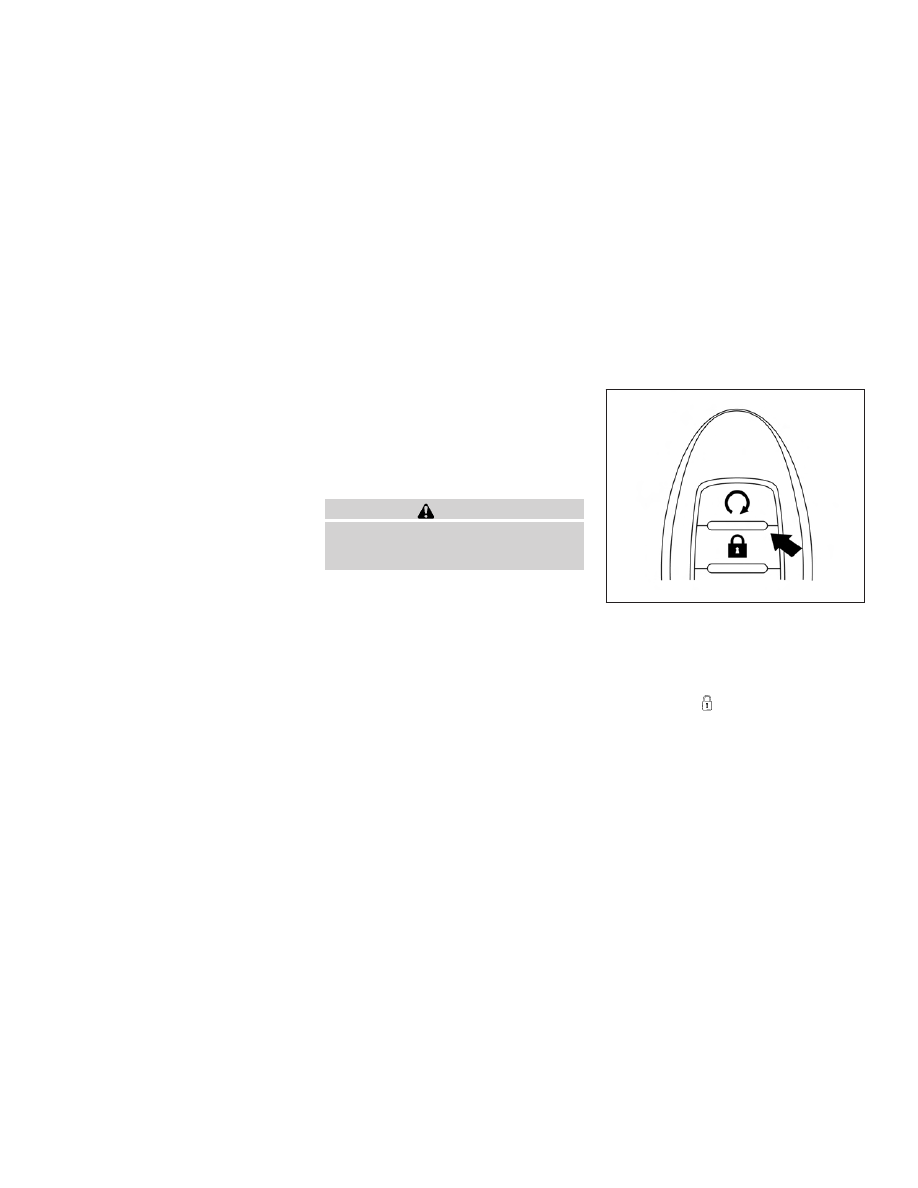
Locking doors
1. Place the ignition switch in the LOCK posi-
tion.
2. Close all doors.
3. Press the
button on the Intelligent
Key.
4. The hazard warning lights flash twice, the
horn beeps once, and the front and tail lights
will turn on for 10 seconds.
5. All doors will be locked.
LPD2257
3-12
Pre-driving checks and adjustments