Peugeot 308 SW BL (2013 year). Manual - part 17
255
03 GENERAL OPERATION
DISPLAY ACCORDING TO THE CONTEXT
RADIO:
In FM mode
1
2
2
TA
RDS
2
Radiotext
2
Regional prog.
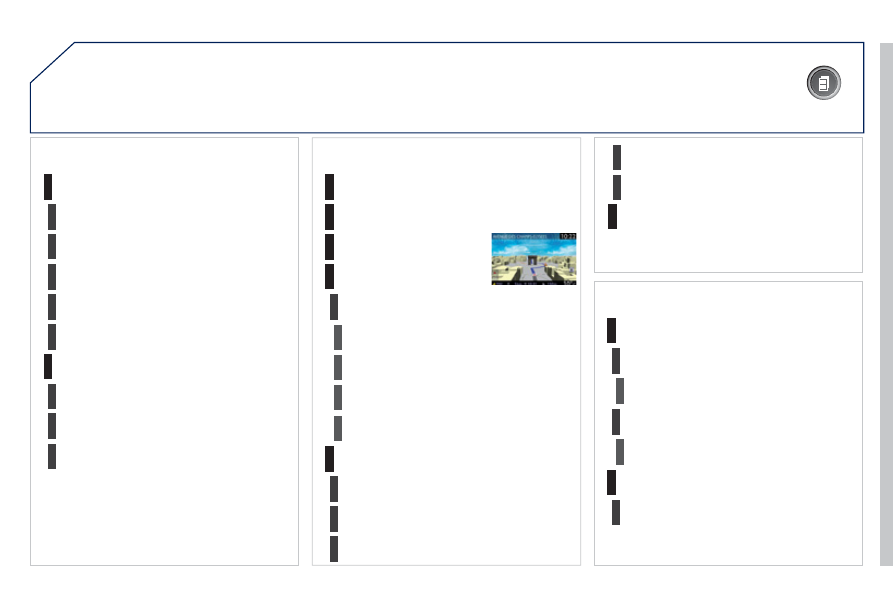
FULL SCREEN MAP:
Abort guidance / Resume guidance
1
1
1
1
Set destination / Add stopover
POIs nearby
Position info
2
Guidance options
3
3
Navigate to
Dial
3
Save position
3
Zoom/Scroll
Map Settings
1
1
Zoom/Scroll
2
2
2D Map
2.5D Map
2
3D Map
2
North Up
2
Heading Up
AUDIO DVD (LONG PRESS):
1
Stop
2
Group
3
Group 1 .2/n
TA
1
2
Select media
2
Play options
3
Normal order / Random track / Scan
AM
In AM mode
TA
Refresh AM list
FM
2
1
2
2
2