Peugeot 308 CC Dag (2010.5). Manual - part 4
3
i
i
51
COMFORT
The control button is located
on the heating or air condition-
ing system control panel.
REAR SCREEN DEMIST/
DEFROST
Switch off the demist/defrost of
the rear screen and door mir-
rors as soon as it is no longer
needed as lower current con-
sumption results in reduced
fuel consumption.
If the engine is switched off before the
demist/defrost is switched off auto-
matically, demist/defrost will resume
next time the engine is switched on.
The demist/defrost is deactivated
when the retractable roof is stored in
the boot.
Switching on
The rear screen demist/defrost can only
operate when the engine is running.
Switching off
The demist/defrost switches off automati-
cally to prevent an excessive consumption
of current.
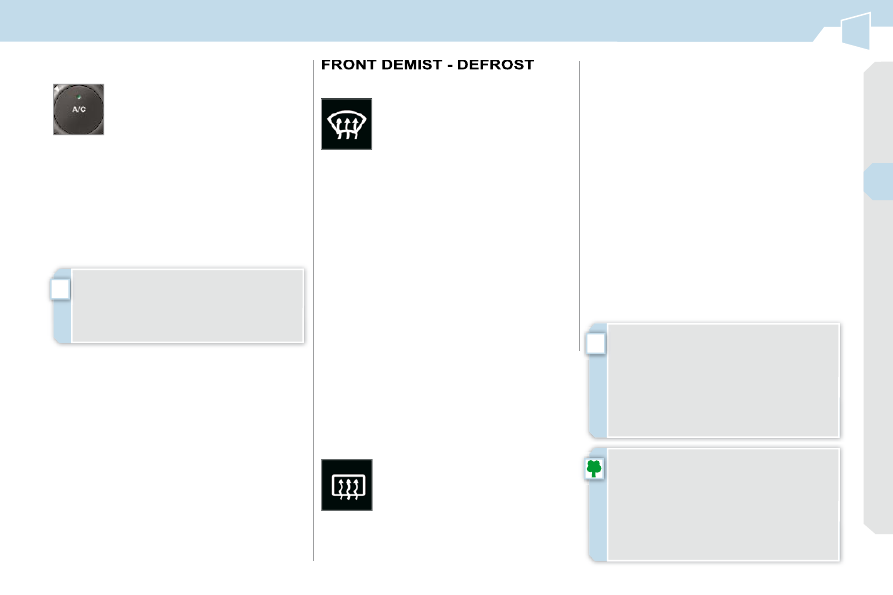
5. Air conditioning On/Off
The air conditioning is de-
signed to operate effectively in
all seasons, with the windows
closed.
It enables you to:
-
lower the temperature, in summer,
-
increase the effectiveness of the
demisting in winter, above 3 °C.
Switching off
Press the "A/C" button again, the
button's indicator lamp goes off.
Switching off may affect comfort levels
(humidity, condensation).
Press this button to demist/defrost
the rear screen and the exterior mir-
rors. The indicator lamp associated
with the button comes on.
It is possible to stop the demist/de-
frost operation before it is switched off
automatically by pressing the button
again. The indicator lamp associated
with the button switches off.
Switching on
Press the "A/C" button, the button's
indicator lamp comes on.
These markings on the control
panel indicate the control po-
sitions for rapid demisting or
defrosting of the windscreen
and side windows.
With manual air conditioning
Put the temperature, air fl ow and
distribution controls to the dedicated
marked position.
Put the air intake control to the
"Exterior air intake" position
(indicator lamp on the control off).
Switch on the air conditioning by
pressing the "A/C" button; the warn-
ing lamp in the button comes on.
The air conditioning does not op-
erate when the air fl ow adjustment
control 2
is in position " 0 ".