Nissan Quest (2017 year). Manual - part 7
2-12
Instruments and controls
CHECKING LIGHTS
With all doors closed, apply the parking brake,
fasten the seat belts and place the ignition
switch in the ON position without starting the
engine. The following lights (if so equipped) will
come on:
,
or
,
,
,
The following lights (if so equipped) come on
briefly and then go off:
,
or
,
,
,
,
,
,
If any light does not come on or operates in a
way other than described, it may indicate a
burned-out bulb and/or a system malfunction. It
is recommended you have the system checked
by a NISSAN dealer.
Some indicators and warnings are also dis-
played on the vehicle information display on the
speedometer. (See “Vehicle information display”
(P.2-19).)
WARNING LIGHTS
or
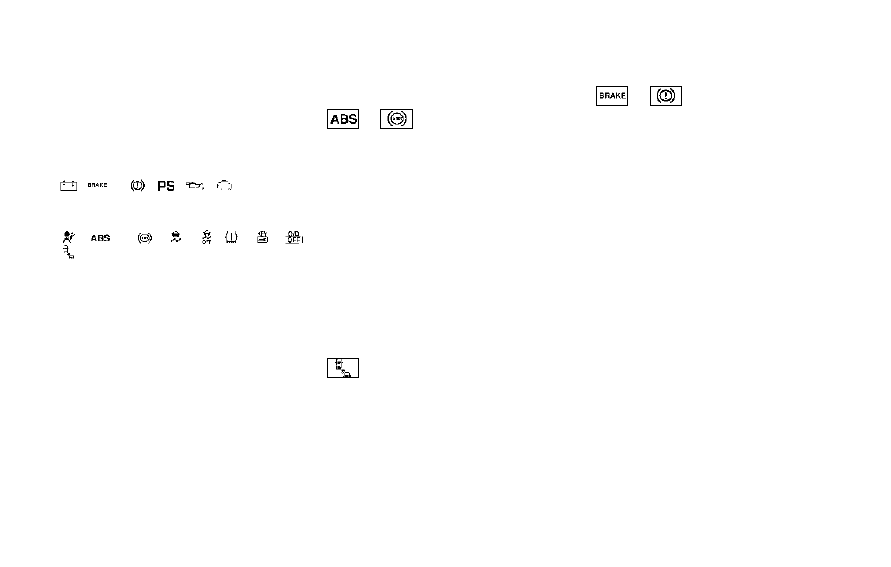
Anti-lock Braking System
(ABS) warning light
When the ignition switch is in the ON position,
the Anti-lock Braking System (ABS) warning
light illuminates and then turns off. This indicates
the ABS is operational.
If the ABS warning light illuminates while the
engine is running, or while driving, it may
indicate the ABS is not functioning properly.
Have the system checked. It is recommended
you visit a NISSAN dealer for this service.
If an ABS malfunction occurs, the anti-lock
function is turned off. The brake system then
operates normally, but without anti-lock assis-
tance. (See “Brake system” (P.5-30).)
Blind Spot Warning (BSW) system
warning light (if so equipped)
If the light comes on and remains on, it may
indicate that the BSW system is not functioning
properly. Although the vehicle is still driveable,
have the system checked. It is recommended
you visit a NISSAN dealer for this service. See
“Blind Spot Warning (BSW)” (P.5-17).
or
Brake warning light
This light functions for both the parking brake
and the foot brake systems.
Parking brake indicator:
When the ignition switch is in the ON position,
the light comes on when the parking brake is
applied.
Low brake fluid warning light:
When the ignition switch is in the ON position,
the light warns of a low brake fluid level. If the
light comes on while the engine is running with
the parking brake not applied, stop the vehicle
and perform the following:
1. Check the brake fluid level. Add brake fluid
as necessary. (See “Brake fluid” (P.8-9).)
2. If the brake fluid level is correct, have the
warning system checked. It is recommended
you visit a NISSAN dealer for this service.
Anti-lock Braking System (ABS) warning
indicator:
When the parking brake is released and the
brake fluid level is sufficient, if both the brake
warning light and the Anti-lock Braking System
(ABS) warning light illuminate, it may indicate
the ABS is not functioning properly. Have the
brake system checked. It is recommended you
visit a NISSAN dealer for this service. (See