Honda Accord (2019 year). Manual - part 38
uu
Parking Your Vehicle
u
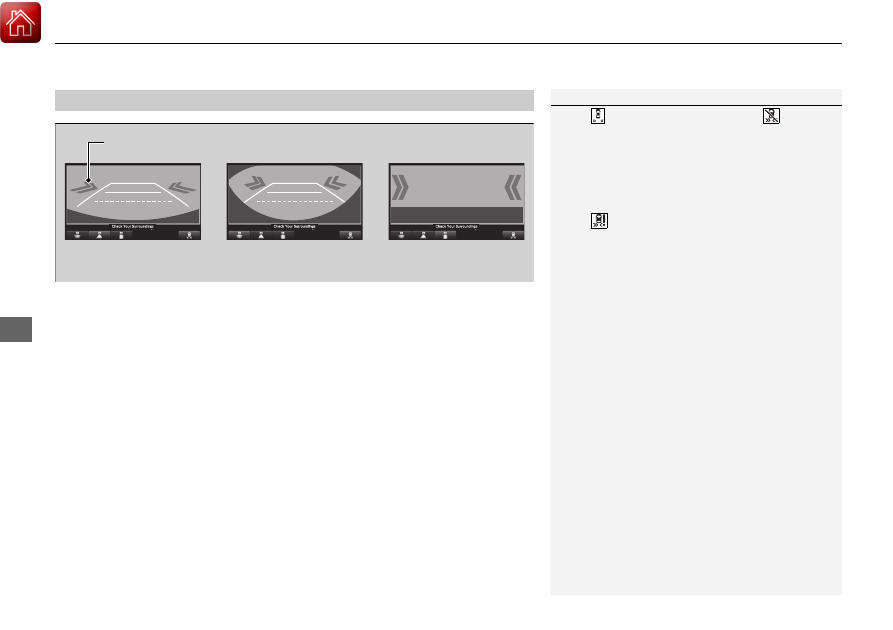
Cross Traffic Monitor
*
592
Driving
An arrow icon appears on the side a vehicle is approaching on the audio/information
screen.
■
When the System Detects a Vehicle
1
When the System Detects a Vehicle
If the
on the lower right changes to
in amber
when the transmission is in
(
R, mud snow or ice may
have accumulated in the vicinity of the sensor. The
system is temporarily canceled. Check the bumper
corners for any obstructions, and thoroughly clean
the area if necessary.
If the
comes on when the transmission is in
(
R,
there may be a problem with the Cross Traffic
Monitor system. Do not use the system and have your
vehicle checked by a dealer.
If the display remains the same with the transmission
in
(
R, there may be a problem with the rear camera
system and the Cross Traffic Monitor system.
Do not use the system and have your vehicle checked
by a dealer.
Wide View
Normal View
Arrow Icon
Top Down View