Volkswagen Golf / Golf GTI / Golf Variant. Service manual - part 405
Removing
Vehicles with Side Cushion
– Remove the side cushion. Refer to
⇒ “3.16 Side Cushion, Removing and Installing”, page 391
Vehicles without Side Cushion
– Remove the rear bench seat. Refer to
⇒ “3.7 Bench Seat/Single Seat, Removing and Installing”,
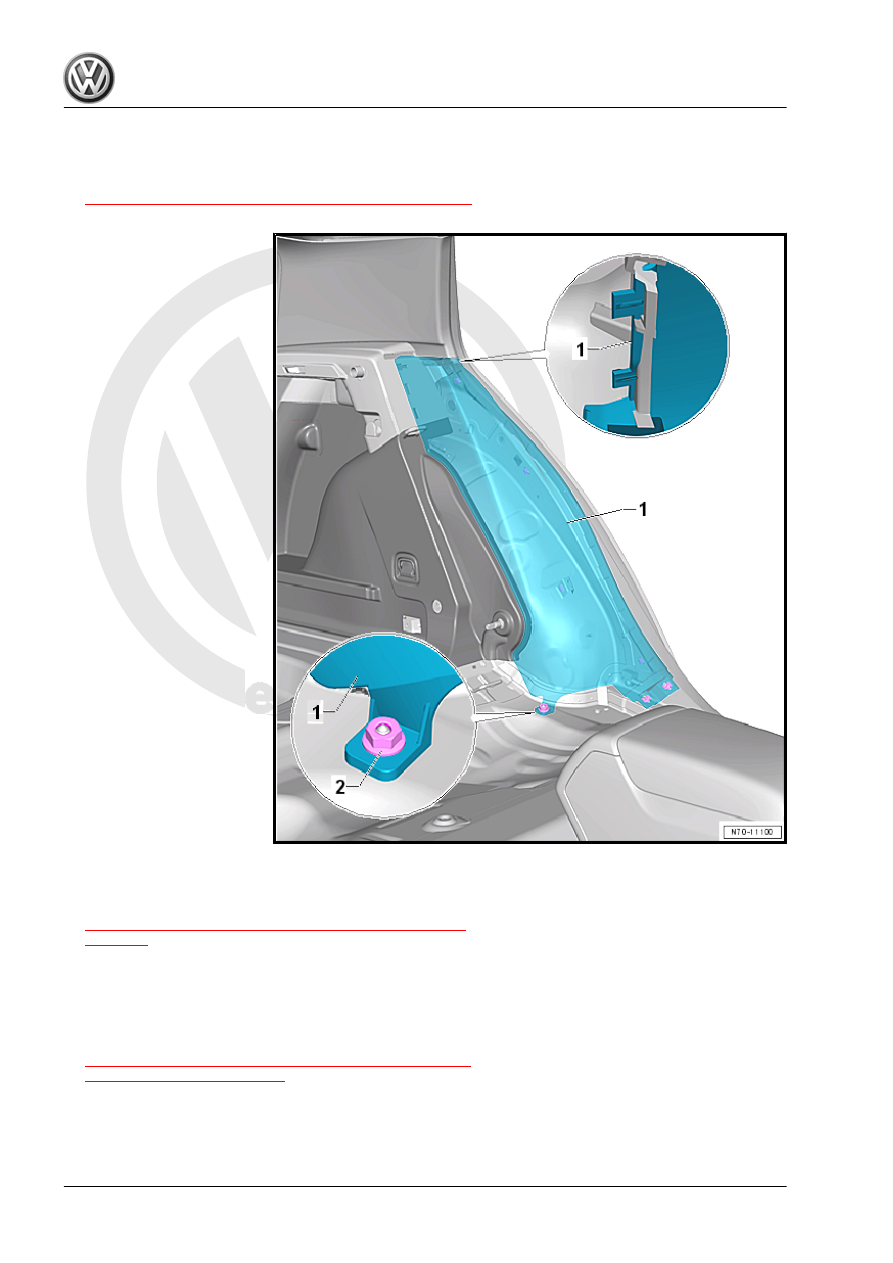
– Remove the nut -2-.
Continuation for All Vehicles
– Loosen the sill panel strip from the body and wheel housing
trim panel in the transition area to the wheel housing trim pan‐
el. Refer to
⇒ “5.10.2 Sill Panel Strip, Removing and Installing, 4-Door
.
– Fold the rear seat backrest forward.
– Loosen the wheel housing trim panel -1- from the C-pillar trim
panel using the Wedge Set - T10383- .