Dacia Pick-Up 1304/1305/1307. Service manual - part 129
 

  Index      Dacia     Dacia Pick-Up 1304/1305/1307 (Engine F8Q) - service and repair manual 2004 year


Search            


Content   ..  127  128  129  130   ..


Dacia Pick-Up 1304/1305/1307. Service manual - part 129


80

80 - 4

BATTERY - FRONT HEADLIGHTS

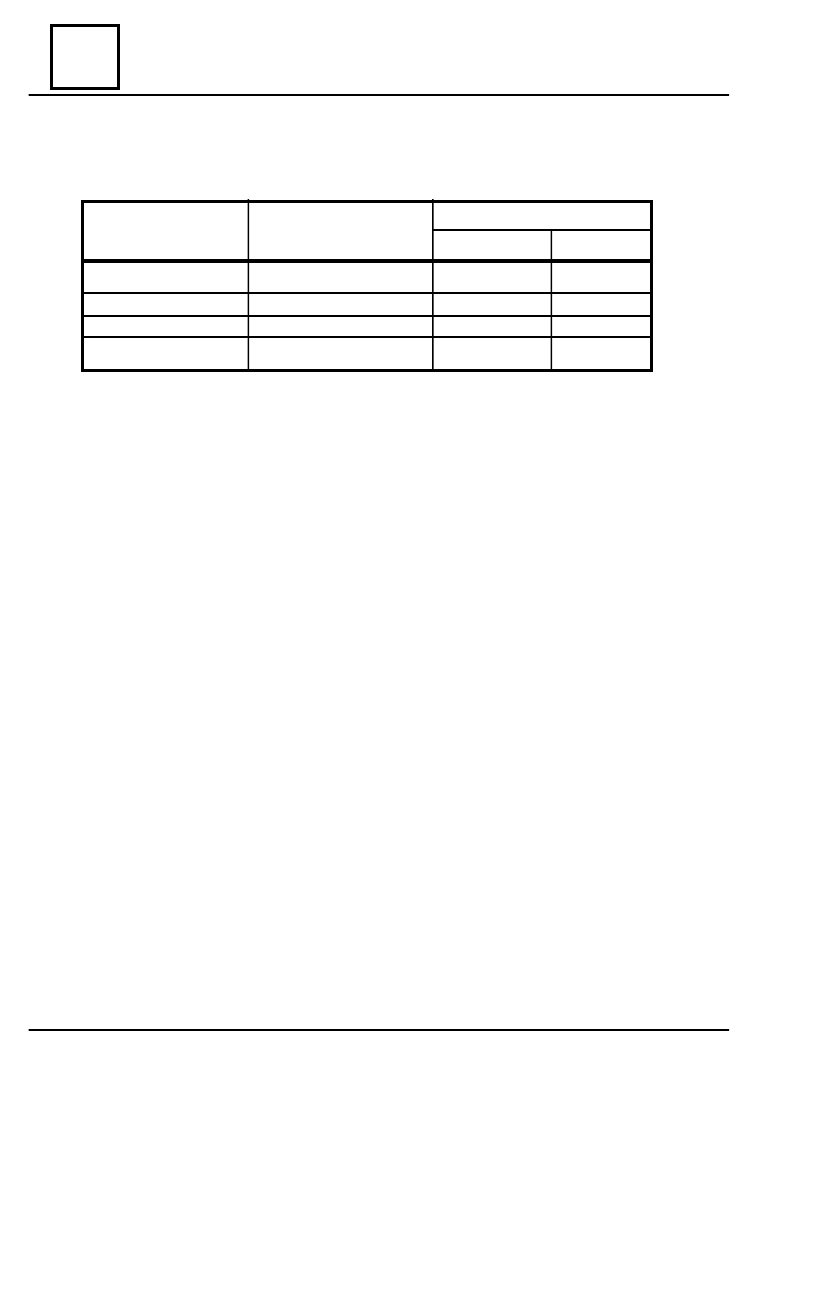
The charging currents of the batteries are showed in the following table:

If after battery charging the density is higher, add distilled water, and if it is lower add

electrolyte with  1,40 g / cm≈ density, observing that the electrolyte level to be 10 – 15 mm
over the separators. In case of adding water or electrolyte, the battery shall be submitted to
a homogenization charging process,   in the second stage II, during 15 – 20 min.

The total charging time of these types of batteries is of about 35 hours.
The dry-charged batteries shall be filled with electrolyte with 1,28 g/cm≈ density at

20 ° C, until the level of the latter is 10 – 15 mm over the separators. After 2 – 3 hours,
during which the electrolyte penetrates the plates, check again the level the level and refill
it with electrolyte of same density, then batteries can be put it in operation. This type of
batteries are submitted to a charging processus, by mean of a voltage rectifier having the
charging current value set in second stage II, in the follow situations: batteries stored for
more than 6 months from the manufacturing date; extremely heavy exploitation conditions
(repeated startings at low temperatures).

After finishing the charging process, screw the battery plugs, taking care not to obturate

the plugs vents, the surface of the battery to be dry and clean and the terminals greased
with neutral grease, acid resistant.

T

YPE


O F


BATTERY

N

O MINAL


VO LTAG E

         C

H ARG ING


CURRENT

[ V ]

     I

 I 

[ A ]               I

 II 

[ A ]

12 V - 45 Ah

12

4,5

2,25

12 V - 55 Ah

12

5,5

2,75

12 V - 66 Ah

12

6,6

3,3

12 V - 70 Ah

12

7,0

3,5

BATTERY

80

BATTERY - FRONT HEADLIGHTS

80 - 5

D

ISMO UNTING

Disconnect the battery.
Take out the headlight corrector attachment clip (B).
Unscrew the headlight corrector control screw (C).
Disconnect the headlight and signaling lamp connectors.
Push the headlight forward.

R

EMOUNTING

Place by pressing the adjustment screws in the headlight seats (by pushing towards the

engine compartment of the headlight).

Mount the headlight corrector control screw (C).
Insure the headlight by means of the attachment clip (B).
Connect the battery and adjust the headlights.

HEADLIGHT BULBS REPLACEMENT

80

80 - 6

BATTERY - FRONT HEADLIGHTS

HEADLIGHT BULB REPLACEMENT

D

ISMO UNTING

Disconnect the connector (1).
Take out the protector (2).
Release the springs sustaining the bulb.
Replace the bulb.

R

EMO UNTING

Perform the dismounting operations in the reverse order.

NOTE:
After headlight or bulb replacement it is recommended the adjustment checking.

FRONT SIGNALING BULB REPLACEMENT

Disconnect the wires from the signaling lamp.
Rotate the lamp-holder (3) and then remove it (draw it).
Replace the bulb.
Place the  lamp-holder (3) in the signaling lamp and fix it by rotation.

LAMPS

80

BATTERY - FRONT HEADLIGHTS

80 - 7

BULBS

LAMPS

BULBS

Headlights

Front parking, side signaling lamp, trunk
lighting

Front turn signal lamps

Fog projectors

  Stop, parking

Rear lampe

  Turn signal and back-up

Rear fog lamp

License plate lamps, courtesy lamp, glove
box lamp
Instruments panel lighting and warnings

 Two phases bulb R2 - 12 V - 40/45 W, holder
with flange P 45 t 41.

 Bulb 12 V - 4W with holder B A9 s.


Bulb 12  V - 2 1W  (colored) with holder BAU 15 s.

 Halogen bulb H3; 12 V - 55 W with holder
 P 16225.
 Bulb12 V - 21/5 W with holder B AY 15 d.
 Bulb 12 V - 21W with holder BA 15 s.

 Bulb 12 V - 21W with holder BA 15 s.

 Bulb SOFIT 10x35 type AS02; 12V - 5W

wholder Sv 8,5

 Bulb 12 V -1,2W


Content   ..  127  128  129  130   ..