Peugeot 4007 (2012 year). Manual - part 6
3
ACCESS
DOORS
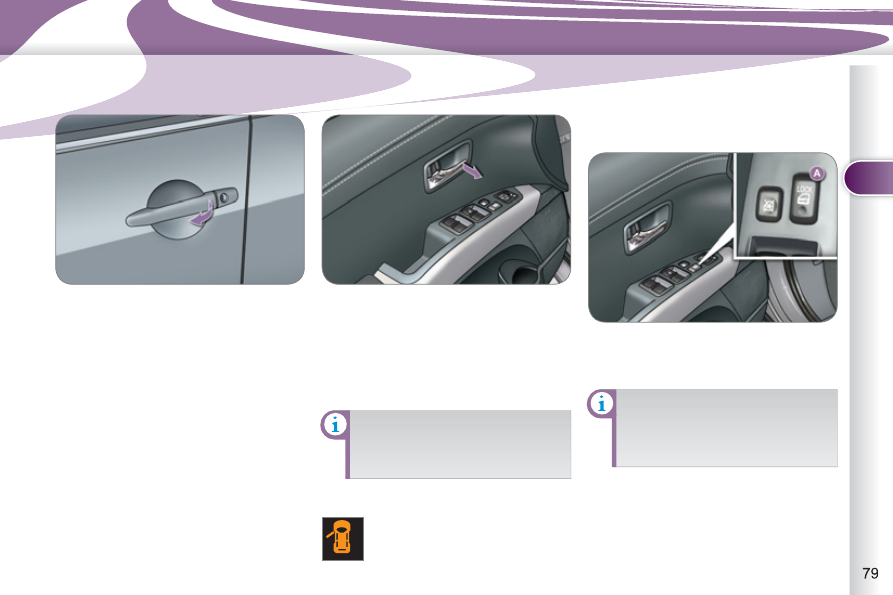
From outside
) After unlocking the vehicle using the
remote control or the key, pull the
door handle.
From inside
) Pull the front or rear door control to
open the door.
The front passenger door or the rear
doors must fi rst be unlocked manually
using the locking control before being
opened.
Closing
If a door is not closed correctly,
this warning lamp comes on
in the instrument panel screen
until the door concerned is
closed.
Manual centralised control
System which provides full manual
locking or unlocking of the doors and
tailgate from the inside.
Locking
) Press the front of button A to lock
the vehicle.
If the driver's door is open when
you operate the central locking
from inside, all of the doors lock
with the exception of the driver's
door.
Unlocking
) Press the rear of button A to unlock
the vehicle.
Opening
If the doors are locked, opening
the driver's door does not unlock
the other doors.