Peugeot 3008 (2017 year). Manual - part 9
3
Ease of use and comfort
127
3008-2_en_Chap03_ergonomie-et-confort_ed01-2016
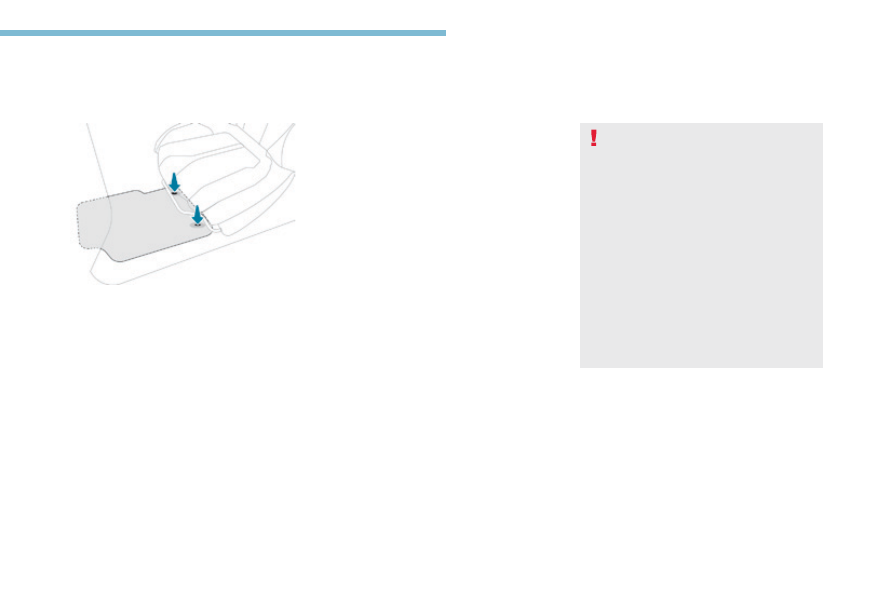
Mats
When fitting the mat for the first time, on the
driver's side use only the fixings provided in the
wallet attached.
The other mats are simply placed on the
carpet.
Removal
Refitting
To avoid any risk of jamming of the
pedals:
-
only use mats which are suited to
the fixings already present in the
vehicle; these fixings must be used,
-
never fit one mat on top of another.
The use of mats not approved by
PEUGEOT may interfere with access to
the pedals and hinder the operation of
the cruise control / speed limiter.
The mats approved by PEUGEOT have
two fixings located below the seat.
Fitting
To remove the mat on the driver's side:
F move the seat as far back as possible,
F unclip the fixings,
F remove the mat.
To refit the mat on the driver's side:
F position the mat correctly,
F refit the fixings by pressing,
F check that the mat is secured correctly.