Peugeot 607 (2007.5). Manual - part 6
5
VISIBILITY
71
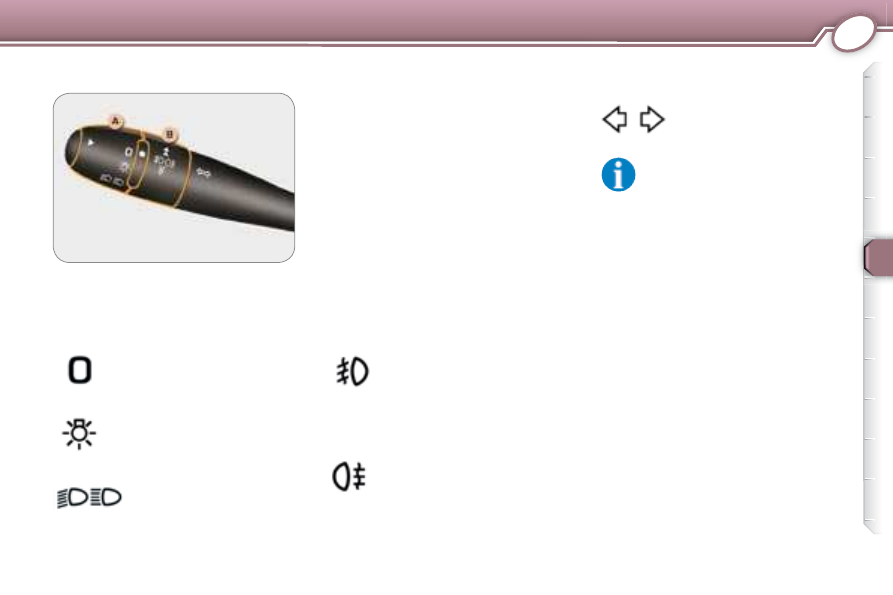
LIGHTS STALK
Lights off.
Side lights.
Dipped/main beam head-
lamps.
Dipped/main beam change
Pull the stalk fully towards you.
Lights on
With the ignition and the automatic lights
function switched off, on opening the
driver's door a buzzer sounds to warn
you that you have left your lights on.
Front and rear fog lamps (ring B)
Turn ring B
forwards to switch on
and backwards to switch off. The
position is coni rmed by the light
on the instrument panel.
Front fog lamps (one press)
These operate with the side lights, dipped
headlamps or main beam headlamps.
Rear fog lamps (two presses)
These operate with the side lights and
the front fog lamps, or with the dipped
headlamps.
Left:
downwards.
Right:
upwards.
Direction indicators (l ashers)
Note: if you forget to return the
direction indicator to its normal
position, the volume of the
audible signal will increase, if
you are driving at a speed greater than
50 mph (80 km/h).
Parking lights
The side lights are lit on the side the
trafi c is on.
With the ignition off and within the next
minute, place the direction indicators
stalk on the trafi c side (for example:
for parking on the right; switching on
of the lights on the left).
This is indicated by an audible signal
and lighting of the corresponding
direction indicator on the instrument
panel.
Automatic "follow-me-home"
lighting
When you leave your vehicle with the
automatic switching on of the lights
activated
, the side lights and dipped
headlamps remain on for the duration
selected when the ignition is switched
off.
To deactivate or activate this func-
tion, pass via the multifunction display
"Personalisation-Configuration"
menu.
Front and rear lights (ring A)
Turn ring A
to the position required.