Nissan Rogue Sport (2018 year). Manual - part 13
4-24
Heater, air conditioner, audio and phone systems
JVH1588X
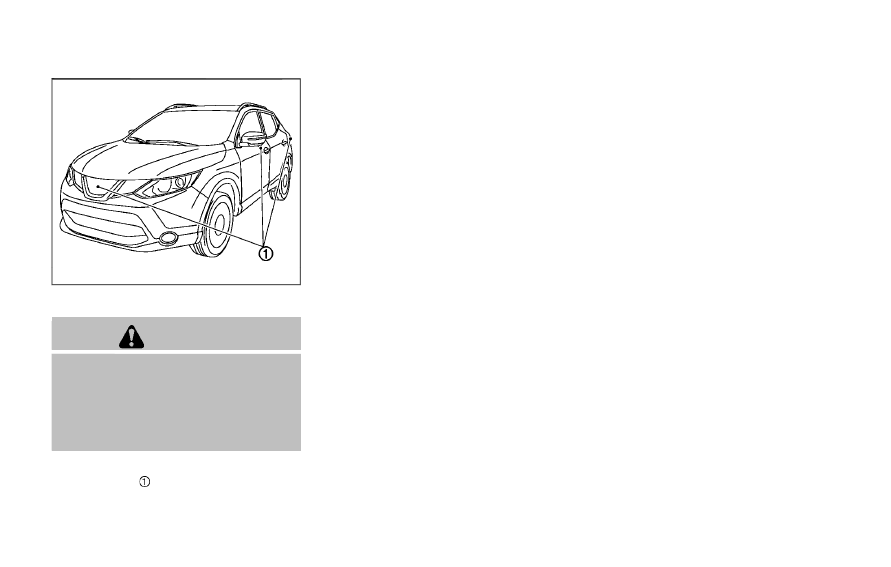
SYSTEM MAINTENANCE
CAUTION
. Do not use alcohol, benzine or
thinner to clean the camera. This
will cause discoloration.
. Do not damage the camera as the
monitor screen may be adversely
affected.
If dirt, rain or snow accumulates on any of
the cameras
, the Intelligent Around
View® Monitor may not display objects
clearly. Clean the camera by wiping with a
cloth dampened with a diluted mild
cleaning agent and then wiping with a
dry cloth.