Nissan Rogue Sport (2018 year). Manual - part 12
4-8
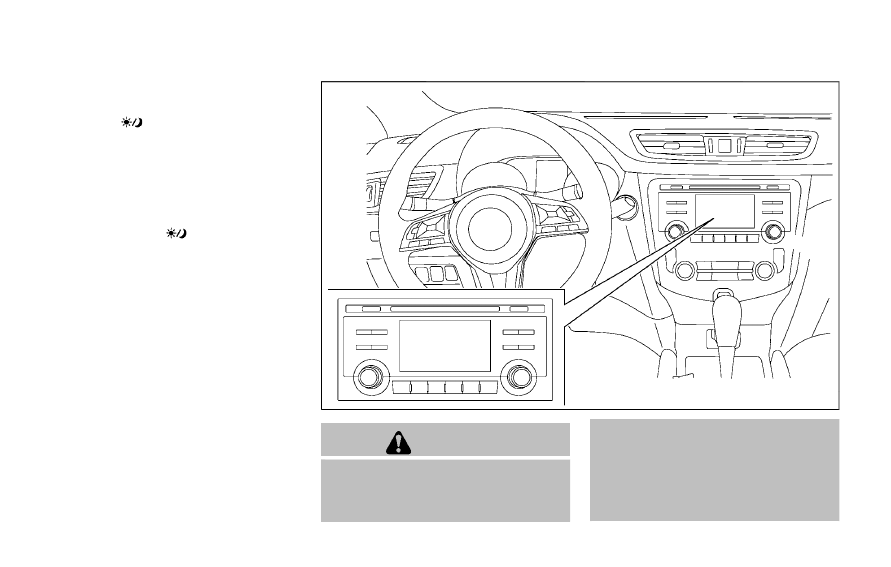
Heater, air conditioner, audio and phone systems
HOW TO USE BRIGHTNESS CON-
TROL BUTTON
Push the
button to change the
display brightness between the Auto
mode and the Night mode. The bright-
ness control bar will also be displayed.
While the brightness control bar is being
displayed, the brightness can be adjusted
using the ENTER AUDIO/TUNE·SCROLL
dial.
Push and hold the
button to turn the
display off. Push the button again to turn
the display on.
HOW TO USE THE POWER/VOLUME
DIAL
Push the POWER/VOLUME dial to turn the
audio function on and off. Turn the
POWER/VOLUME dial to adjust the vo-
lume. (See “FM-AM-SAT radio with Com-
pact Disc (CD) player (Type B)” (P.4-63)
HOW TO USE THE ENTER AUDIO/
TUNE·SCROLL DIAL
Turn the ENTER AUDIO/TUNE·SCROLL dial
to select items on the screen and to
adjust the levels of setting items. Push
the dial to confirm the selected item or
setting. (See “FM-AM-SAT radio with Com-
pact Disc (CD) player (Type B)” (P.4-63)
JVH1793X
WARNING
. Failure to follow the warnings
and instructions for proper use
of the RearView Monitor could
result in serious injury or death.
. RearView Monitor is a conveni-
ence feature and is not a sub-
stitute for proper backing. Always
turn and look out the windows,
and check mirrors to be sure that
it is safe to move before operat-
ing the vehicle. Always back up
REARVIEW MONITOR (if so equipped)