Nissan NV200 Taxi (2017 year). Manual - part 14
WARNING
● Be sure the parking brake is fully re-
leased before driving. Failure to do so
can cause brake failure and lead to an
accident.
● Do not release the parking brake from
outside the vehicle.
● Do not use the shift lever in place of the
parking brake. When parking, be sure
the parking brake is fully engaged.
● To help avoid risk of injury or death
through unintended operation of the
vehicle and/or its systems, do not leave
children, people who require the assis-
tance of others or pets unattended in
your vehicle. Additionally, the tempera-
ture inside a closed vehicle on a warm
day can quickly become high enough to
cause a significant risk of injury or
death to people and pets.
To engage: Pull the lever up.
To release:
1. Firmly apply the parking brake.
2. Move the shift lever to the P (Park) position.
3. While pulling up on the parking brake lever
slightly, push the button and lower com-
pletely.
4. Before driving, be sure the brake warning
light goes out.
PRECAUTIONS ON CRUISE
CONTROL
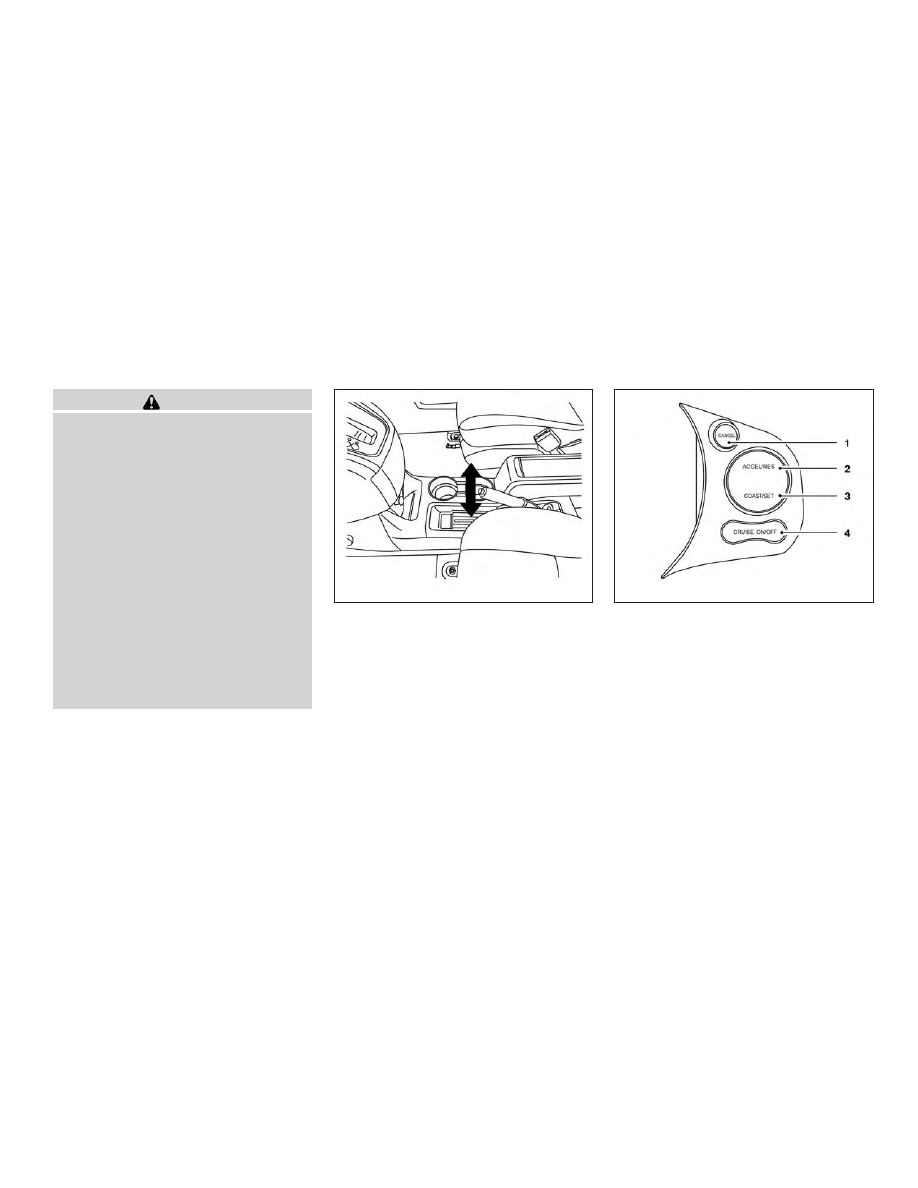
1. CANCEL switch
2. ACCEL/RES switch
3. COAST/SET switch
4. CRUISE ON/OFF switch
● If the cruise control system malfunctions, it
cancels automatically.
● To properly set the cruise control system,
use the following procedures.
LSD2142
LSD2283
PARKING BRAKE
CRUISE CONTROL
Starting and driving
5-15