Nissan Versa Sedan. Instruction - part 499
DOOR CABLE
HAC-51
< UNIT REMOVAL AND INSTALLATION >
[MANUAL AIR CONDITIONING]
C
D
E
F
G
H
J
K
L
M
A
B
HAC
N
O
P
DOOR CABLE
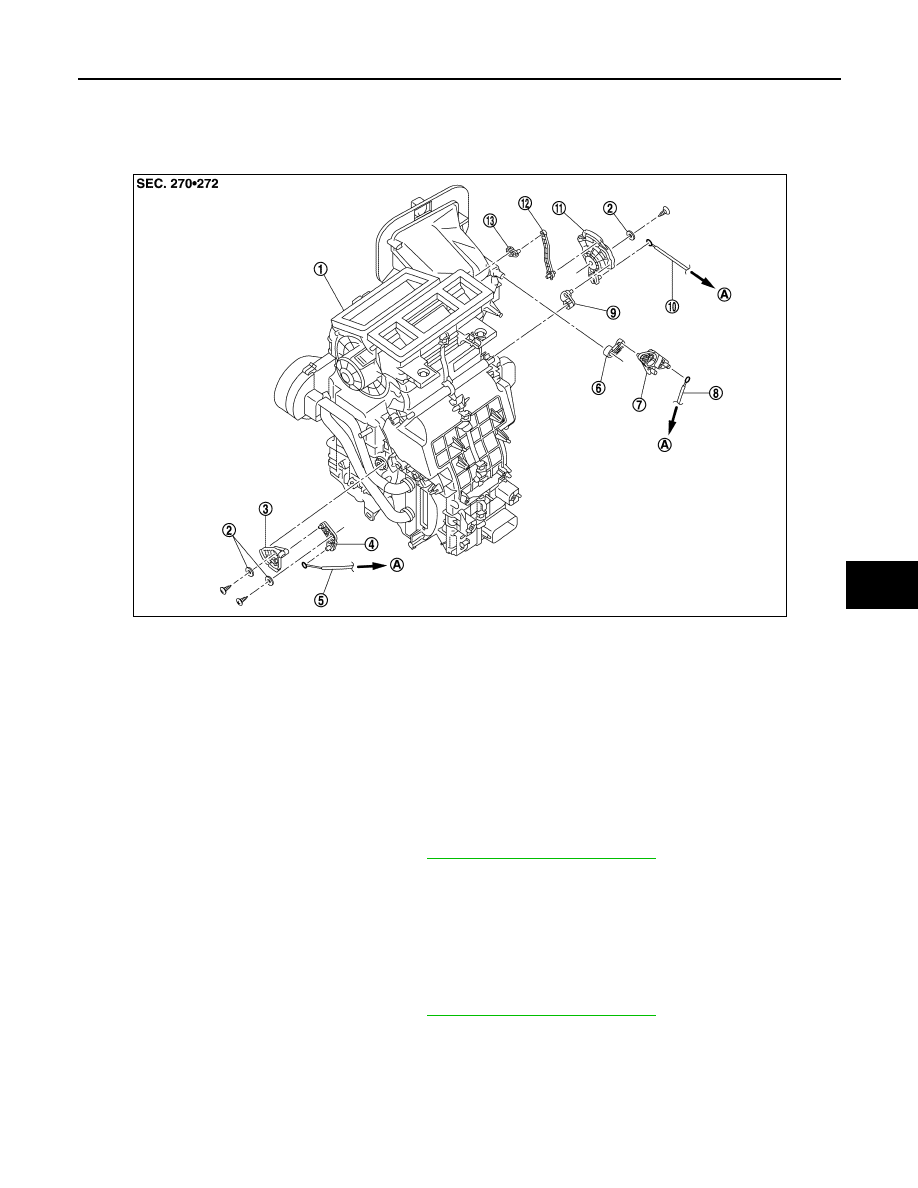
Exploded View
INFOID:0000000009269820
INTAKE DOOR CABLE
INTAKE DOOR CABLE : Removal and Installation
INFOID:0000000009269821
REMOVAL
1. Remove instrument panel assembly. Refer to
IP-15, "Removal and Installation"
.
2. Disconnect intake door cable from A/C control.
3. Disconnect intake door cable from A/C unit assembly and remove.
INSTALLATION
Installation is in the reverse order of removal.
INTAKE DOOR CABLE : Adjustment
INFOID:0000000009269822
1. Remove instrument panel assembly. Refer to
IP-15, "Removal and Installation"
.
1.
A/C unit assembly
2.
Plate
3.
Air mix door link 2
4.
Air mix door link 1
5.
Air mix door cable
6.
Intake door lever
7.
Intake door link
8.
Intake door cable
9.
Foot door lever
10. Mode door cable
11. Main link
12. Ventilator door rod
13. Ventilator door lever
A.
To A/C control
JMIIA1742ZZ