Honda CR-V (2018 year). Manual - part 16
240
uu
Audio System Basic Operation
u
Audio/Information Screen
Features
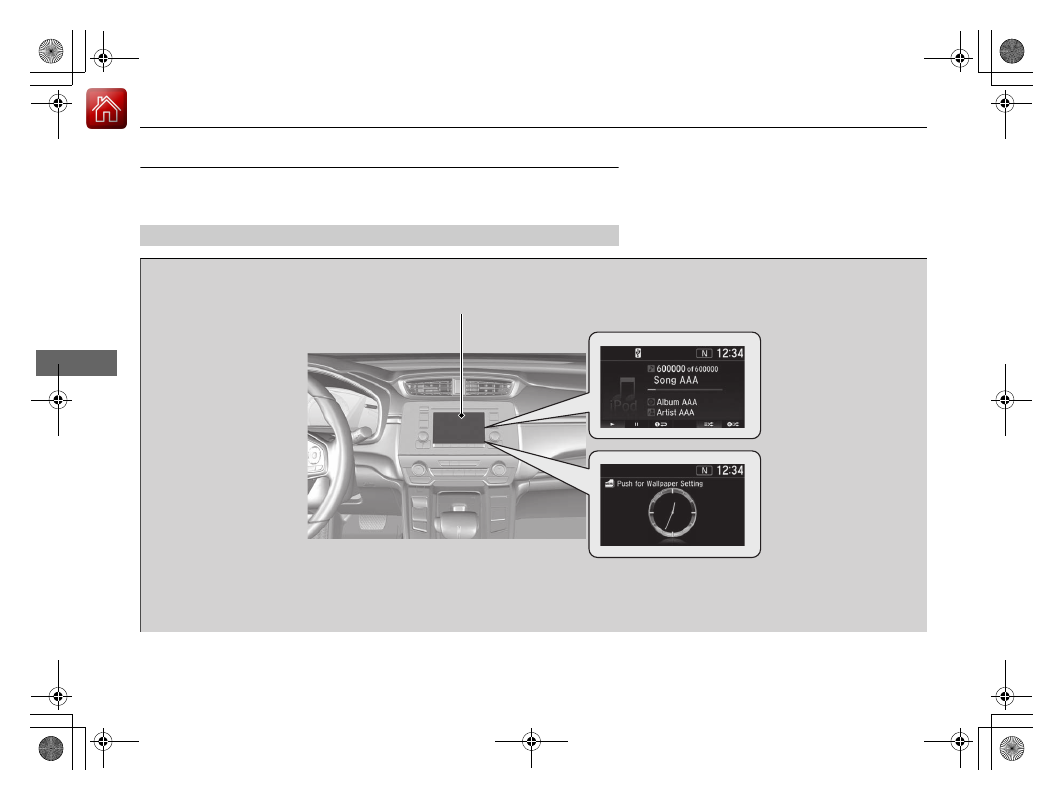
Audio/Information Screen
Displays the audio status and wallpaper. From this screen, you can go to various
setup options.
■
Switching the Display
Audio/Information Screen
Audio
Clock/Wallpaper