Dodge 5500 Chassis Cab (2008 year). Instruction - part 9
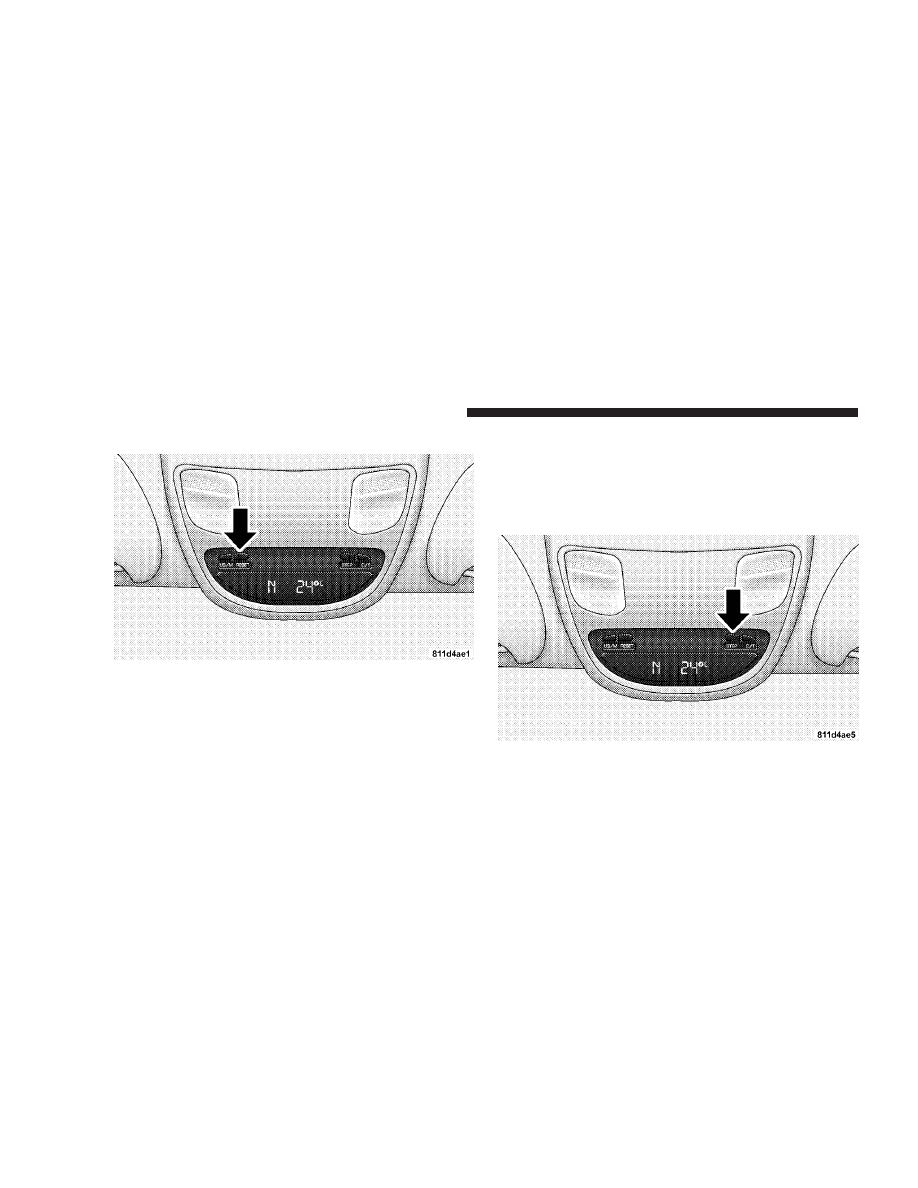
RESET Button
Use this button to reset the following displays:
Average Fuel Economy (AVG ECO)
Trip Odometer (ODO)
Elapsed time (ET)
Global Reset
If the RESET button is pressed twice within 2 seconds
while in any of the 3 resettable displays (AVG ECO,
ODO, ET), the Global Reset will reset all 3 displays.
Step Button
Use this button to choose or cycle through the four trip
conditions.
136
UNDERSTANDING THE FEATURES OF YOUR VEHICLE