Lancia THEMA. Instruction - part 11
19. Seat Belt Reminder Light
When the ignition switch is
first turned to ON/RUN, this
light will turn on for four to
eight seconds as a bulb check. During
the bulb check, if the driver's seat belt
is unbuckled, a chime will sound. Af-
ter the bulb check or when driving, if
the
driver
or
passenger's
(for
versions/markets, where provided)
seat belt remains unbuckled, the Seat
Belt Reminder Light will illuminate
and the chime will sound. Refer to
“Occupant Restraints” in “Things To
Know Before Starting Your Vehicle”
for further information.
20. Temperature Gauge
The temperature gauge shows engine
coolant temperature. Any reading
within the normal range indicates
that the engine cooling system is op-
erating satisfactorily.
The gauge pointer will likely indicate
a higher temperature when driving in
hot weather, up mountain grades, or
when towing a trailer. It should not be
allowed to exceed the upper limits of
the normal operating range.
CAUTION!
Driving with a hot engine cooling
system could damage your vehicle.
If the temperature gauge reads “H”
pull over and stop the vehicle. Idle
the vehicle with the air conditioner
turned off until the pointer drops
back into the normal range. If the
pointer remains on the “H” and you
hear continuous chimes, turn the
engine off immediately and call an
authorized dealer for service.
WARNING!
A hot engine cooling system is dan-
gerous. You or others could be
badly burned by steam or boiling
coolant. You may want to call an
authorized dealer for service if your
vehicle overheats. If you decide to
look under the hood yourself, see
“Maintaining Your Vehicle”. Fol-
low the warnings under the Cooling
System Pressure Cap paragraph.
21. AWD (All Wheel Drive) Indica-
tor (for versions/ markets, where
provided)
The AWD indicator will illuminate
when All Wheel Drive (AWD) is
activated.
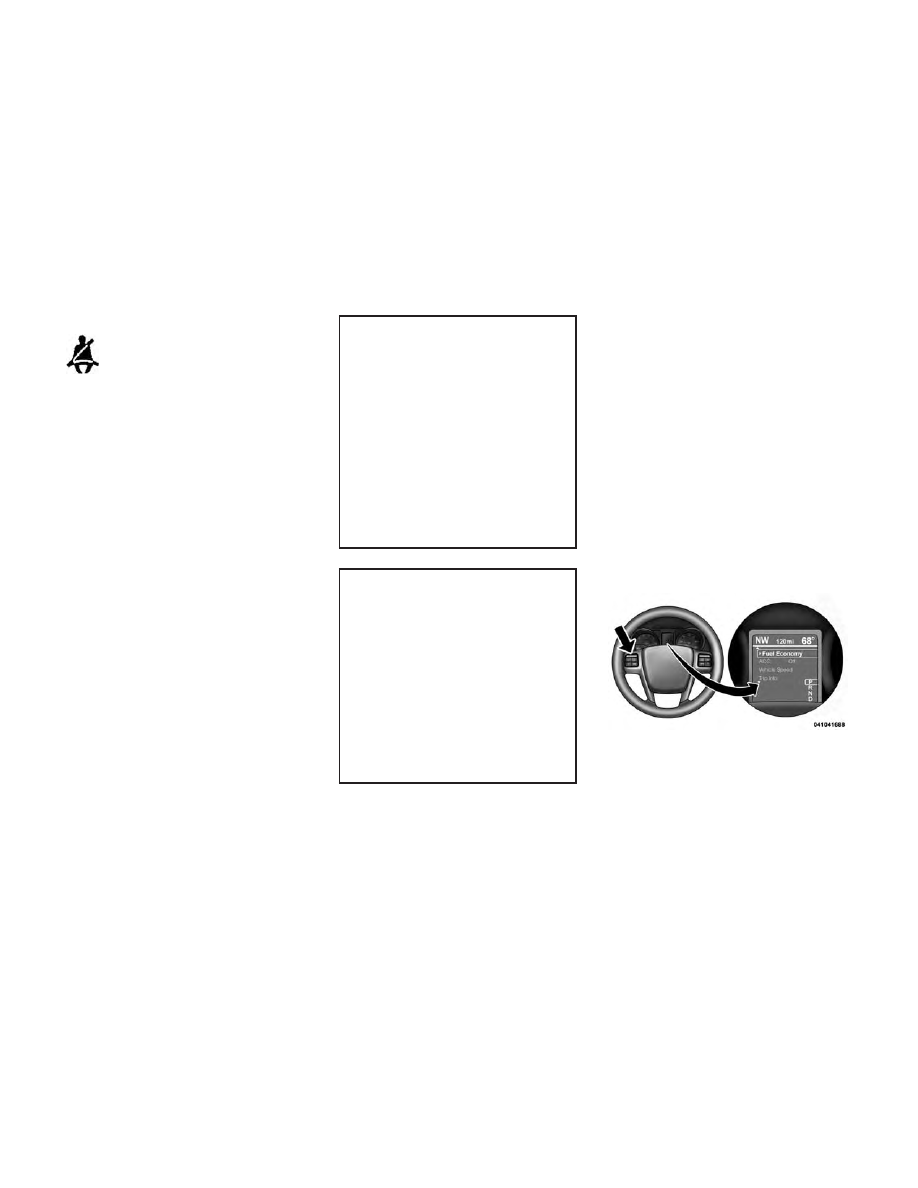
ELECTRONIC VEHICLE
INFORMATION CENTER
(EVIC)
The Electronic Vehicle Information
Center (EVIC) features a driver-
interactive display that is located in
the instrument cluster.
This system allows the driver to select
a variety of useful information by
Electronic Vehicle Information
Center (EVIC)
165