Volkswagen New Beetle. Manual - part 2372


  Index      Volkswagen     Volkswagen New Beetle 1998-2008 year - service repair manual


Search            


Content   ..  2370  2371  2372  2373   ..


Volkswagen New Beetle. Manual - part 2372


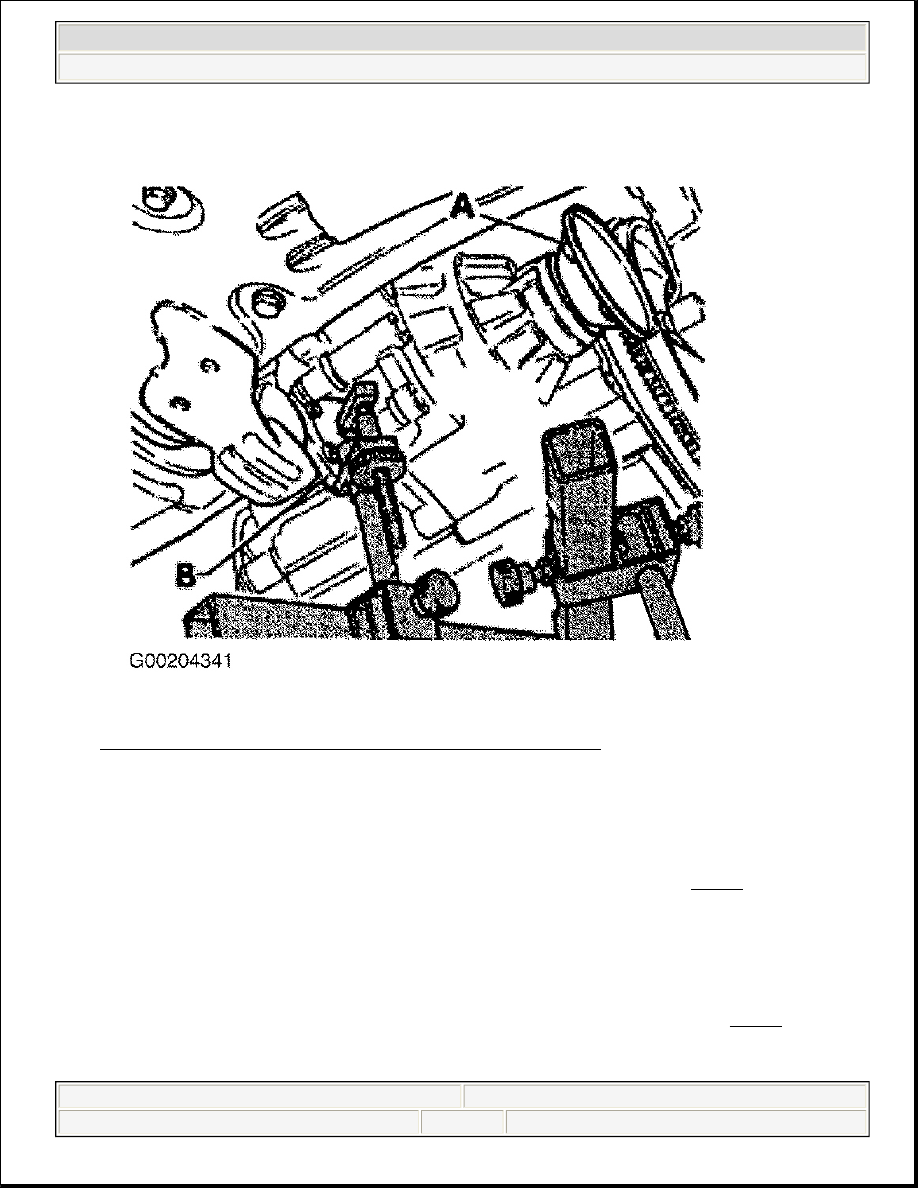
Fig. 70: Removing Transmission Past Left & Right Drive Flanges 
Courtesy of VOLKSWAGEN UNITED STATES, INC. 

Installation 

1. Before installing transmission, press clutch release lever toward transmission housing and secure it with 

an assembly pin, assembly bolt or a M8 x 35 bolt. Remove pin or bolt after transmission has been 
installed. Hole will then be sealed by 3rd cable support bracket securing bolt. See Fig. 25 .  

2. To install, reverse removal procedure. Apply grease to ball stud and inner surface of release bearing. 

Clean hub splines of input shaft and apply a light coat of grease. Ensure clutch disc slides on input shaft 
spines.  

3. Check whether dowel sleeves for aligning engine/transmission are fitted in cylinder block, install if 

necessary. Ensure that intermediate plate is correctly positioned on engine.  

4. Bolt support rail VW 457/1 to both pendulum support securing holes on subframe. See Fig. 65 . Use 2 

hex bolts, M8 x 25. Spacers totaling 6 mm must be inserted between subframe and support rail VW 
457/1.  


2003 Volkswagen New Beetle GLS 

1998-2004 CLUTCHES New Beetle (5-Speed, 02J)


Helpmelearn Repair Manuals 


Wednesday, December 14, 2005 9:04:04 AM

Page 77 

© 2004 Mitchell Repair Information Company, LLC. 

5. Vehicles with 1.8L engine: Install support 3300 A and secure (arrows). See Fig. 66 . The support 3300 A 

must sit on the threaded boss on the engine.  

6. Install pressure plate bolts finger tight. Using clutch centering tool (3190A), align clutch disc and pilot 

bushing holes. Tighten pressure plate bolts to specification using a crosswise pattern. See TORQUE 
SPECIFICATIONS 
.  

7. If flywheel was removed, use Flywheel Lock (3067) or similar device to hold crankshaft from turning. 

Tighten flywheel bolts to specification. See TORQUE SPECIFICATIONS .  

8. Install and tighten lower engine and transmission securing bolts. See TORQUE SPECIFICATIONS .  

9. Remove support 3300 A (arrows) and support rail VW 457/1. See Fig. 65 .  

10. Install upper engine and transmission securing bolts. See TORQUE SPECIFICATIONS .  

11. Install transmission console (A) with NEW bolts (arrows). See Fig. 72 . Align engine and transmission in 

installation position.  

12. Install NEW hex bolts (arrows B) for left hand assembly mounting in transmission mounting. Install 

transmission support (arrows A) to transmission. See Fig. 72 . 

13. Install pendulum support using NEW bolts for securing. See Fig. 73 .  

14. Reconnect exhaust system. Install retainer for power steering line on starter and on transmission.  

15. If removed, install small cover plate (A) behind right-hand drive flange (arrows). See Fig. 61 . If 

removed, install large cover plate for clutch. Fit drive axle shafts to transmission.  

16. If removed, install protective cap for right-hand inner constant velocity joint to engine. Install starter. 

Install slave cylinder.  

17.  

On vehicles built up to May, 1999, install cable support bracket on transmission (arrows). If necessary 
push hose onto cable support bracket. See Fig. 47 .  

18. Install gear selector cable (B) and balance weight (A) on gear selector lever (vehicles built before May, 

1999). Lift tab in direction of arrow and fit gate selector cable on follower/relay lever (C). See Fig. 46 . 

19. On vehicles built from June 1999, install cable support bracket to transmission (arrows), press hose (A) n 

to cable support bracket. See Fig. 51 . Fit gear selector cable (B) with transmission selector lever (arrow). 
See Fig. 71 . Fit gate selector cable (A) with relay lever and secure (arrow). 

WARNING:

Do not remove support bar (10-222A) until the bolts securing the 
left-hand transmission mount have been tightened to torque setting. 

NOTE:

For vehicles built FROM June 1999, go to step 19 . 

NOTE:

Continue transmission installation at step 20 . 


2003 Volkswagen New Beetle GLS 

1998-2004 CLUTCHES New Beetle (5-Speed, 02J)


Helpmelearn Repair Manuals 


Wednesday, December 14, 2005 9:04:04 AM

Page 78 

© 2004 Mitchell Repair Information Company, LLC. 

Fig. 71: Removing Gate & Gear Selector Cables (Vehicles Built From June 1999) 
Courtesy of VOLKSWAGEN UNITED STATES, INC. 

20. On all models, attach reverse light connector (arrow 2). See Fig. 56 . Attach all other electrical 

connections and ground wires to transmission and to engine/transmission securing bolts. Attach connector 
to speedometer sensor (arrow 1).  

21. Assemble air intake duct. Install battery and battery carrier. Reconnect ground strap to battery.  

22. Install insulation tray below engine/transmission, if fitted. Install engine cover. Check transmission oil. 

Adjust gear selector mechanism. See SELECTOR MECHANISM under ADJUSTMENTS.  

OVERHAUL 

CLUTCH ASSEMBLY 

Information not available from manufacture.  

CLUTCH MASTER CYLINDER 


2003 Volkswagen New Beetle GLS 

1998-2004 CLUTCHES New Beetle (5-Speed, 02J)


Helpmelearn Repair Manuals 


Wednesday, December 14, 2005 9:04:04 AM

Page 79 

© 2004 Mitchell Repair Information Company, LLC. 

Information not available from manufacturer.  

CLUTCH SLAVE CYLINDER 

Information not available from manufacture.  

TORQUE SPECIFICATIONS 

TORQUE SPECIFICATIONS 

Application 

Ft. Lbs. (N.m) 

Axle Shaft-To-Transmission Flange Bolt 

M8 

30 (40) 

M10 

59 (80) 

Clutch Pedal Mounting Plate Nut 

(1)

18 (25) 

Clutch Master Cylinder Nut 

18 (25) 

Clutch Slave Cylinder Bolt 

15 (20) 

Cross Support-To-Body Bolt 

18 (25) 

Dual Mass/Flywheel-To-Crankshaft Bolt 

(1)

Step 1 

44 (60) 

Step 2 

Additional 90° Turn 

Exhaust System Nut 

22 (30) 

Gearshift Selector Assembly 

Balance Weight-To-Selector Lever 

18 (25) 

Cover Plate Bolt 

18 (25) 

Gear Selector Cable Bolt 

18 (25) 

Gear Selector Lever Nut 

18 (25) 

Relay Lever Nut 

11 (15) 

Support Bracket Bolt 

18 (25) 

Selector Cable-To-Selector Lever 

18 (25) 

Selector Lever-To-Transmission 

18 (25) 

Pendulum Support Bolt 

(1)

 , 

(2)

Pressure Plate Bolt 

(3)

2-Piece Flywheel 

10 (13) 

Single Piece Flywheel 

15 (20) 

Starter Bolt 

48 (65) 

Transmission Mount-To-Transmission Bolt 

(1)

Step 1 

37 (50) 

Step 2 

Additional 90° Turn 

Transmission-To-Body Bolt 

(4)


2003 Volkswagen New Beetle GLS 

1998-2004 CLUTCHES New Beetle (5-Speed, 02J)


Helpmelearn Repair Manuals 


Wednesday, December 14, 2005 9:04:04 AM

Page 80 

© 2004 Mitchell Repair Information Company, LLC. 


Content   ..  2370  2371  2372  2373   ..