Renault Captur (2018 year). Manual - part 2
1.18
FRONT SEATS (2/2)
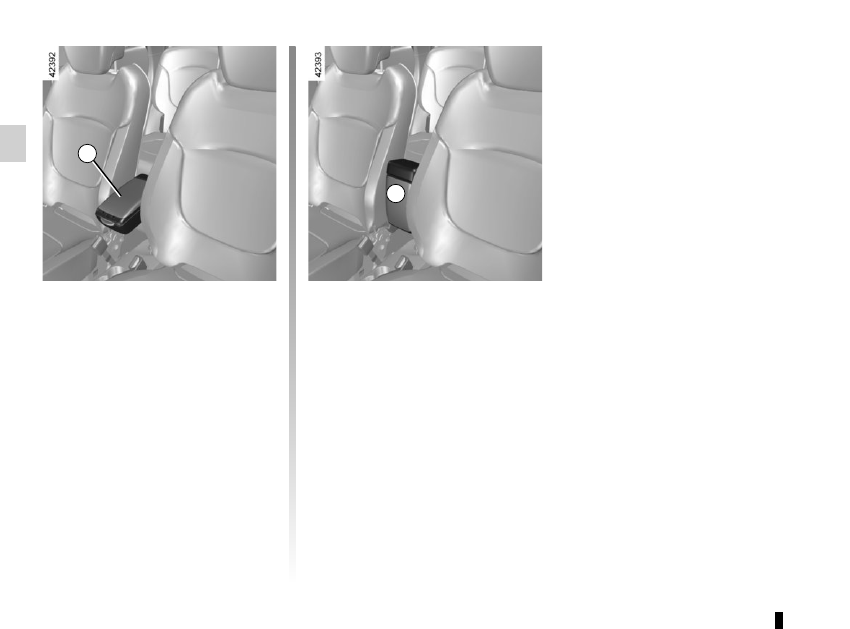
Central armrest 5
To adjust the armrest upwards
Lift armrest to the desired position.
To adjust the armrest downwards
Lift the armrest to the storage position
along the seat back, then lower it.
To store away the armrest
Lift the armrest to the storage posi-
tion A. Check that it is correctly locked.
5
A