Peugeot 508 (2016 year). Manual - part 8
111
3
Ease of use and comfort
508_en_Chap03_ergonomie-et-confort_ed01-2016
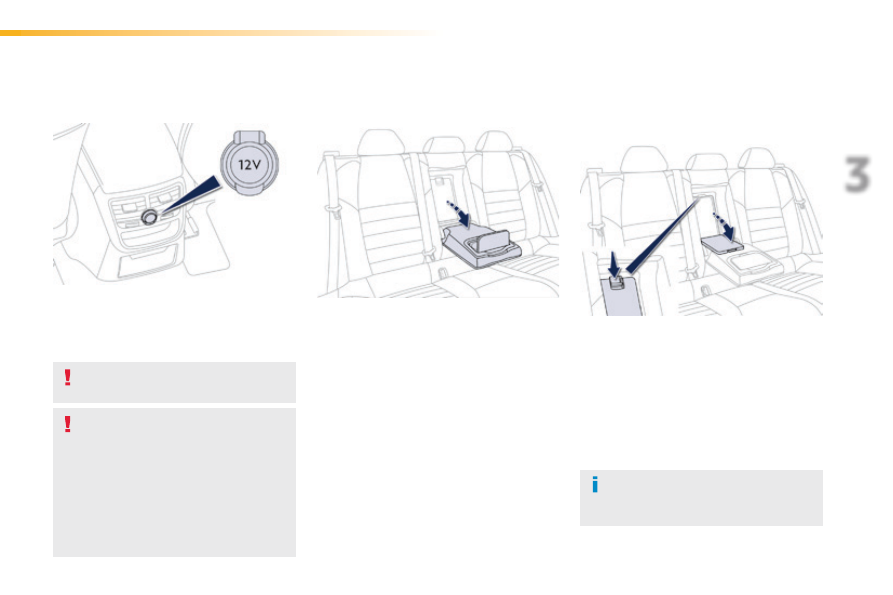
Ski flap
It allows long objects to be carried in the vehicle.
Opening
F Lower the armrest.
F Press the flap opening control.
F Lower the flap.
F Load the objects from inside the boot.
Do not leave the flap open when not
carrying long objects in the vehicle.
F Lower the rear armrest for a more
comfortable position.
It houses a pair of cup holders and also gives
access to the ski flap.
Rear armrest
12 V accessory socket
Observe the maximum power rating to
avoid damaging your accessory.
the connection of an electrical device
not approved by PeugeOt, such as a
uSB charger, may adversely affect the
operation of vehicle electrical systems,
causing faults such as poor telephone
reception or interference with displays
in the screens.
Rear fittings
F to connect a 12 V accessory (maximum
power: 120 Watts), lift the cover and
connect a suitable adaptor.