Mazda CX-7 (2012 year). Manual - part 22
Black plate (344,1)
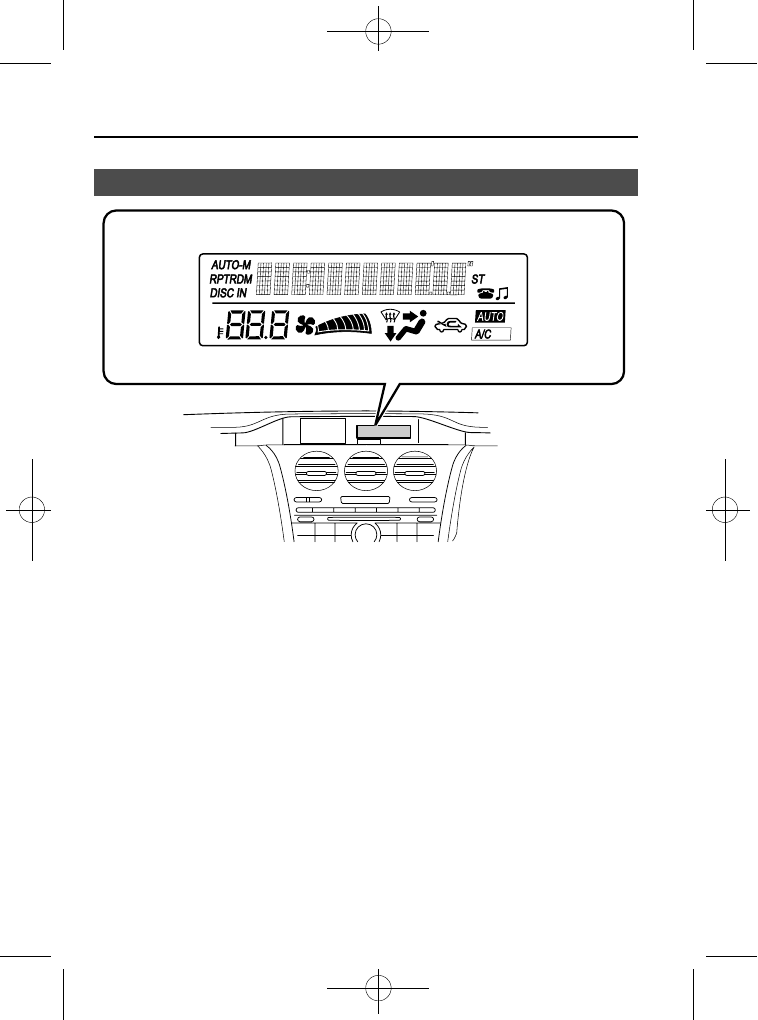
Information Display
Audio display
Climate control display
qInformation Display Functions
The information display has the following functions:
l
Climate Control Display (Fully Automatic Type Air Conditioning System)
l
Audio Display
l
Bluetooth
®
Hands-Free Display
í
Refer to Bluetooth® Hands-Free on page 6-72.
6-106
Interior Comfort
í
Some models.
CX-7_8CG3-EA-11J_Edition1 Page344
Saturday, September 24 2011 10:33 AM