Honda Accord (2019 year). Manual - part 15
224
uu
Interior Lights/Interior Convenience Items
u
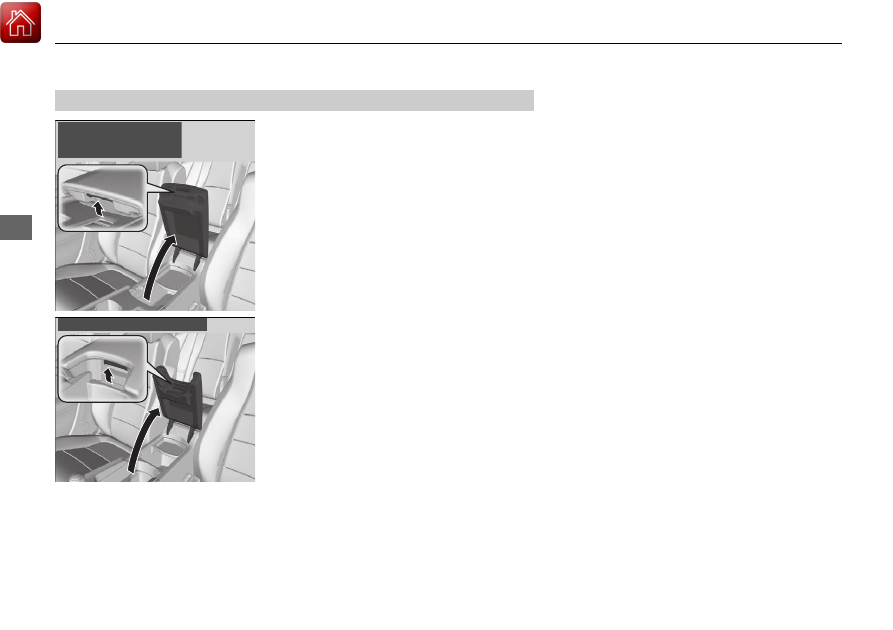
Interior Convenience Items
Co
ntrols
Pull the handle to open the console
compartment.
■
Console Compartment
Automatic transmission/
Continuously variable
transmission models
Manual transmission models