Honda Accord Coupe (2017 year). Manual - part 34
528
uu
Maintenance Under the Hood
u
Refilling Window Washer Fluid
Main
tenan
ce
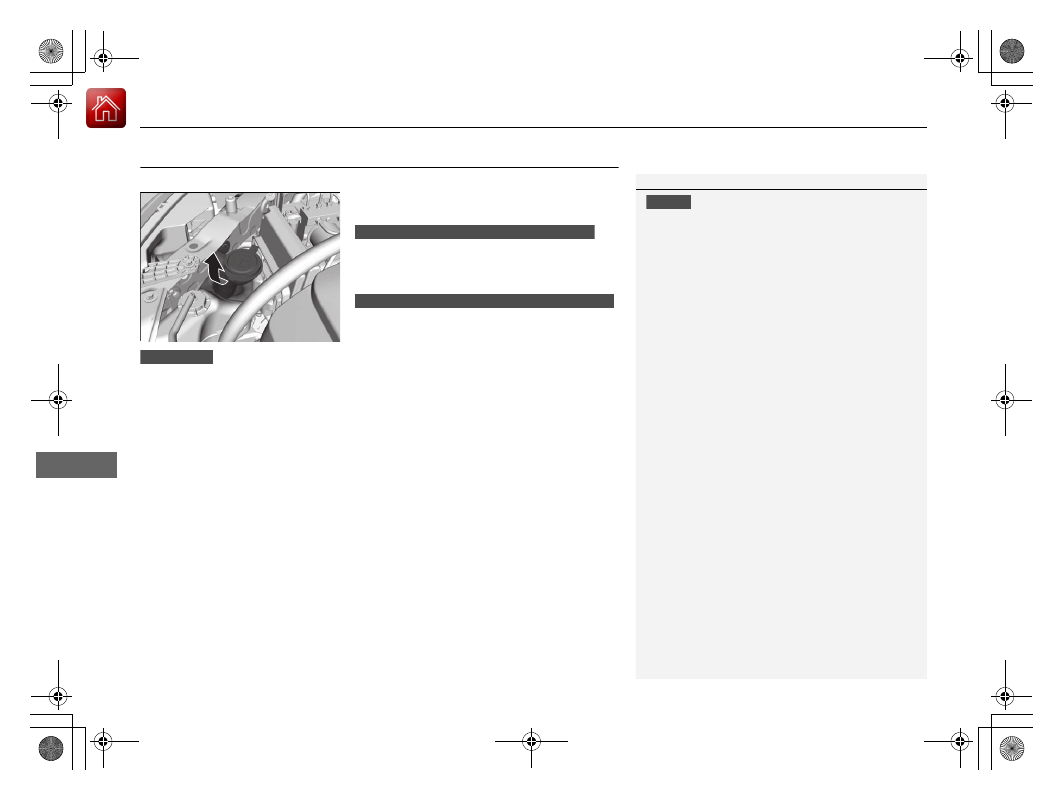
Refilling Window Washer Fluid
Check the amount of window washer fluid by looking at the reservoir.
If the level is low, fill the washer reservoir.
If the washer fluid is low, the washer level
indicator comes on.
If the washer fluid is low, a message appears
on the multi-information display.
Pour the washer fluid carefully. Do not overflow the reservoir.
1
NOTICE
Do not use engine antifreeze or a vinegar/water
solution in the windshield washer reservoir.
Antifreeze can damage your vehicle's paint. A
vinegar/water solution can damage the windshield
washer pump.
Canadian models with information display
Canadian models with multi-information display
All models