Ford Crown Victoria (2010 year). Manual - part 13


  Index      Ford     Ford Crown Victoria - service manual 2010 year in english


Search            


Content   ..  11  12  13  14   ..


Ford Crown Victoria (2010 year). Manual - part 13


If equipped with remote keyless entry, the courtesy lamp will illuminate
whenever any door is opened and will remain on for 25 seconds after the
door is shut or when the ignition is turned to the on position.

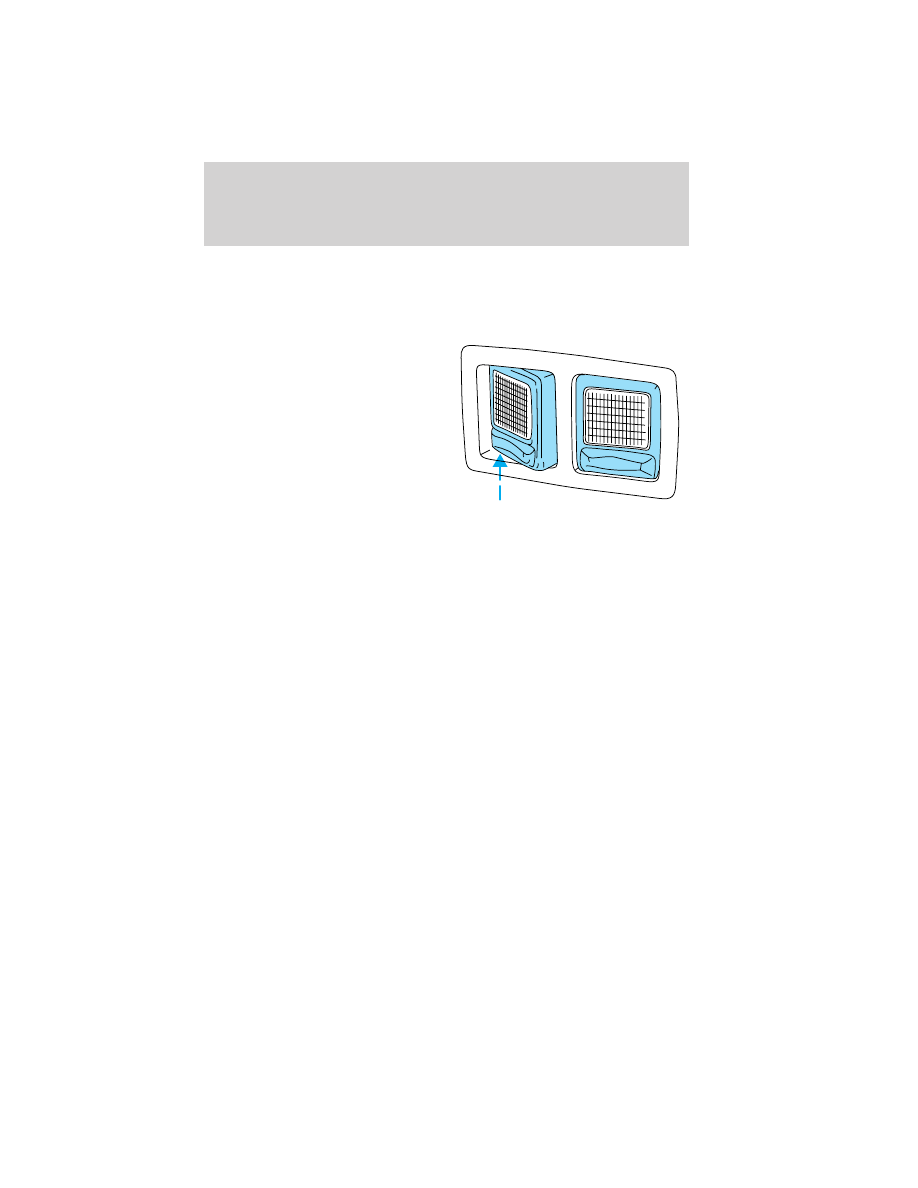
Rear courtesy/reading lamps (if equipped)

Rotate the lens to illuminate the
lamp. With the lens in the flat
position, the courtesy lamp lights
when:
• any door is opened.
• the panel dimmer thumbwheel is

rotated fully to the right, past
detent.

BULB REPLACEMENT

Lamp assembly condensation

Exterior lamps are vented to accommodate normal changes in pressure.
Condensation can be a natural by-product of this design. When moist air
enters the lamp assembly through the vents, there is a possibility that
condensation can occur when the temperature is cold. When normal
condensation occurs, a thin film of mist can form on the interior of the
lens. The thin mist eventually clears and exits through the vents during
normal operation. Clearing time may take as long as 48 hours under dry
weather conditions.

Examples of acceptable condensation are:
• Presence of thin mist (no streaks, drip marks or droplets)
• Fine mist covers less than 50% of the lens
Examples of unacceptable moisture (usually caused by a lamp water
leak) are:
• Water puddle inside the lamp
• Large water droplets, drip marks or streaks present on the interior of

the lens

Take your vehicle to dealer for service if any of the above conditions of
unacceptable moisture are present.

Lights

53

2010 Crown Victoria (cro)
Owners Guide, 2nd Printing
USA 
(fus)

Using the right bulbs

Replacement bulbs are specified in the chart below. Headlamp bulbs must
be marked with an authorized “D.O.T.” for North America and an “E” for
Europe to ensure lamp performance, light brightness and pattern and safe
visibility. The correct bulbs will not damage the lamp assembly or void the
lamp assembly warranty and will provide quality bulb burn time.

Function

Trade Number

*Headlamp

9007

*Park lamp and turn lamp (front)

3457 AK (amber)

*Side marker (front)

194 AK (amber)

*Tail, stop, turn (rear)

3157K

*Side marker (rear)

194

**Headlamp

H13

**Park, turn and sidemarker lamp (front)

3157 AK (amber)

**Cornering lamp (front)

3156K

**Tail, stop turn and sidemarker lamp (rear)

3157K

**Fog lamp

9145

Backup lamp

3156K

License plate lamp

168

High-mount brakelamp

912

Luggage compartment lamp

212-2

Rear reading lamp

578

Map lamp

906

Dual floorwell lamp

906

Glove compartment

168

Visor vanity lamp - Slide on Rail system (SOR)

A6224PF

All replacement bulbs are clear in color except where noted.

To replace all instrument panel lights - see your authorized dealer.

*Crown Victoria only

**Grand Marquis only

Replacing interior bulbs

Check the operation of all bulbs frequently.

Replacing exterior bulbs
Check the operation of all bulbs frequently.

Lights

54

2010 Crown Victoria (cro)
Owners Guide, 2nd Printing
USA 
(fus)

Replacing headlamp bulbs (Crown Victoria only)

To remove the headlamp bulb:

1. Make sure the headlamp switch is in the off position, then open the
hood.

2. Remove the radiator cover by turning the three retainers to the unlock
position.

3. Remove the two retainers and
pull headlamp assembly forward to
expose bulb.

4. Disconnect the electrical
connector from the bulb by pulling
rearward.

5. Remove the bulb retaining ring by
rotating it counterclockwise (when
viewed from the rear) to free it
from the bulb socket, and slide the
ring off the plastic base. Keep the
ring to retain the new bulb.

6. Without turning, remove the old
bulb from the lamp assembly by
gently pulling it straight back out of
the lamp assembly.

Lights

55

2010 Crown Victoria (cro)
Owners Guide, 2nd Printing
USA 
(fus)

To install the new bulb:

WARNING: Handle a halogen headlamp bulb carefully and keep
out of children’s reach. Grasp the bulb only by its plastic base

and do not touch the glass. The oil from your hand could cause the
bulb to break the next time the headlamps are operated.

Note: If the bulb is accidentally touched, it should be cleaned with
rubbing alcohol before being used.

1. With the flat side of the new bulb’s plastic base facing upward, insert
the glass end of the bulb into the lamp assembly. Turn the bulb left or
right to align the grooves in the plastic base with the tabs in the lamp
assembly. When the grooves are aligned, push the bulb into the lamp
assembly until the plastic base contacts the rear of the lamp assembly.

2. Install the bulb retaining ring over the plastic base until it contacts the
rear of the socket by rotating it clockwise until you feel a “stop.”

3. Connect the electrical connector into the rear of the plastic base until
it snaps, locking it into position.

4. Install the headlamp assembly with two retainers.

5. Install the radiator cover locking it in place with three retainers.

6. Turn the headlamps on and make sure they work properly. If the
headlamp was correctly aligned before you changed the bulb, you should
not need to align it again.

Replacing front parking/turn signal lamp bulbs

To remove the front parking/turn signal lamp bulbs:

1. Make sure headlamp switch is in the off position, then open the hood.

2. Remove the radiator cover by turning the three retainers to the unlock
position.

3. Remove two retainers and pull
headlamp assembly forward to
expose bulb.

4. Remove the bulb socket by
rotating it counterclockwise, then
pulling it out of the lamp assembly.

Lights

56

2010 Crown Victoria (cro)
Owners Guide, 2nd Printing
USA 
(fus)


Content   ..  11  12  13  14   ..