Snowmobile Polaris 600 Fusion (2006 year). Instruction - part 14
56
THE PERFECT FIT
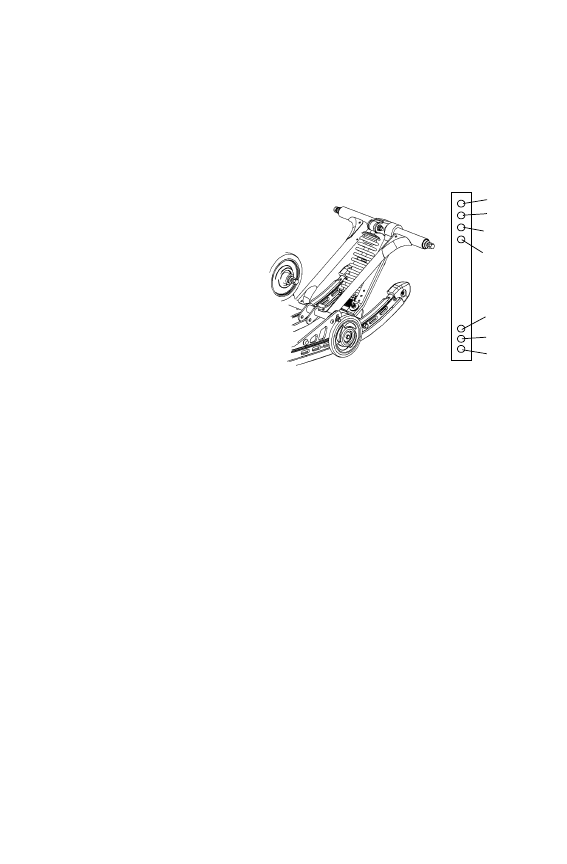
FAST M-10 Rear Suspension Adjustments
Ski Pressure
Ski pressure is set at the factory to deliver the optimum balance between
ride and handling. If a rider prefers more ski pressure for improved
steering performance, adjustments can be made to the front limiter strap
and front arm mount.
1. Determine if the rider
prefers comfort or con-
trol. Lean toward the #4
setting for comfort and
toward the #3 setting for
aggressive riding.
2. For full hole adjust-
ments, remove the 5/16I
nut and flat washers from
the lower attachments of
the limiter straps and
relocate the straps to the
desired position (i.e.
move from position 4 to 3). Replace the nut and washer. Tighten
securely.
3. For half-hole increments (such as 3/4), the limiter straps have slots
at the upper pinch bolt. These slots allow the bolts to be loosened
(rather than removed) for half-step adjustments. Re-tighten the
pinch bolts.
1
2
3
4
2
3
4