Volkswagen Golf / Golf GTI / Golf Variant. Service manual - part 408
6.4
Overview - Luggage Compartment Floor
⇒ “6.4.1 Overview - Luggage Compartment Floor, Sedan”,
page 280
⇒ “6.4.2 Overview - Luggage Compartment Floor, Wagon”, page
6.4.1
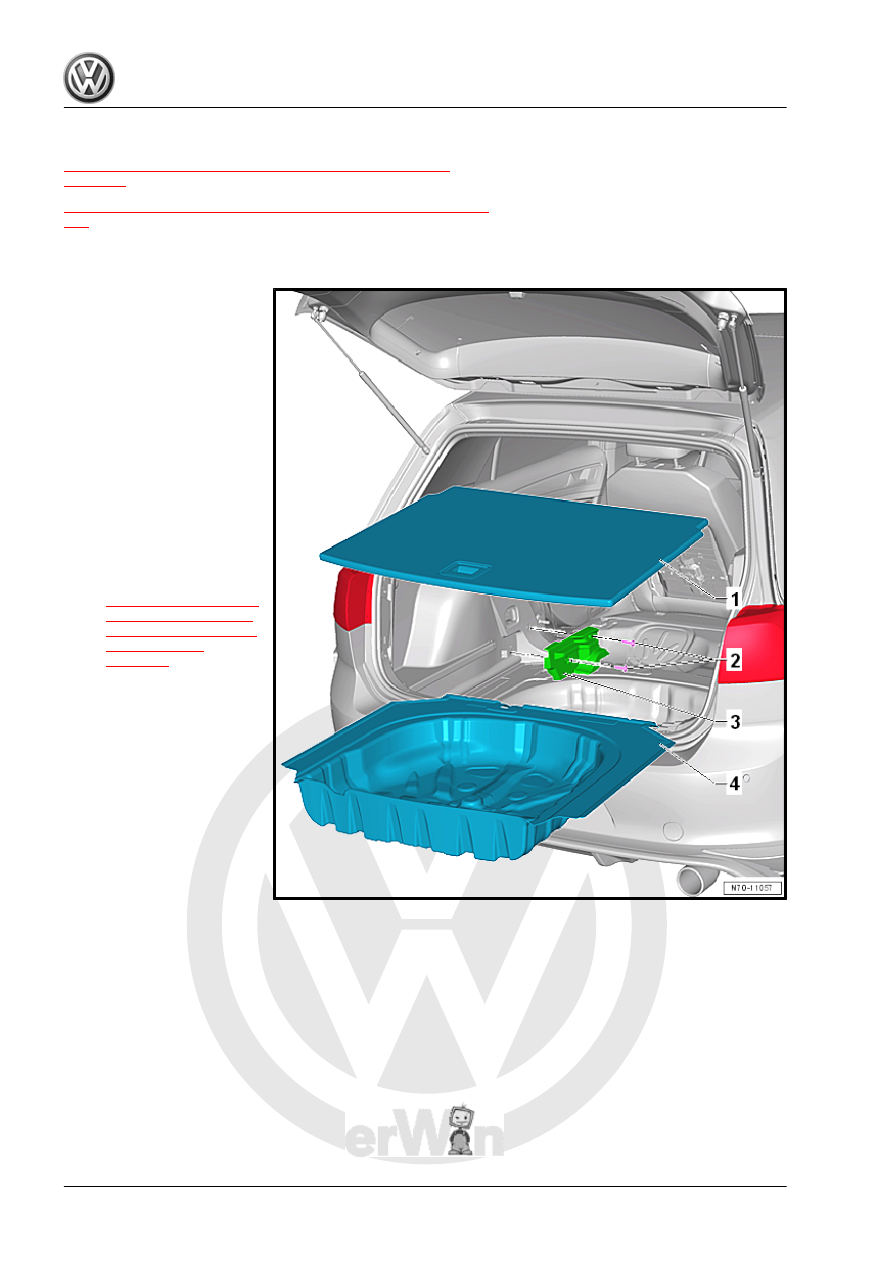
Overview - Luggage Compartment Floor, Sedan
1 - Luggage Compartment
Floor
❑ Allocation. Refer to the
Parts Catalog.
❑ Remove from the vehi‐
cle toward the rear
2 - Screw
❑ 8 Nm
❑ Quantity: 2
3 - Luggage Compartment
Floor Covering Bracket
❑ Left and right
❑ For the luggage com‐
partment floor
❑ Removing and instal‐
ling. Refer to
4 - Luggage Compartment
Floor Covering
❑ Allocation. Refer to the
Parts Catalog.
❑ Remove from the vehi‐
cle toward the rear