Volkswagen Golf / Golf GTI / Golf Variant. Service manual - part 325


  Index      Volkswagen     Volkswagen Golf / Golf GTI / Golf Variant - service and repair manual 2013 year


Search            copyright infringement  


Content   ..  323  324  325  326   ..


Volkswagen Golf / Golf GTI / Golf Variant. Service manual - part 325


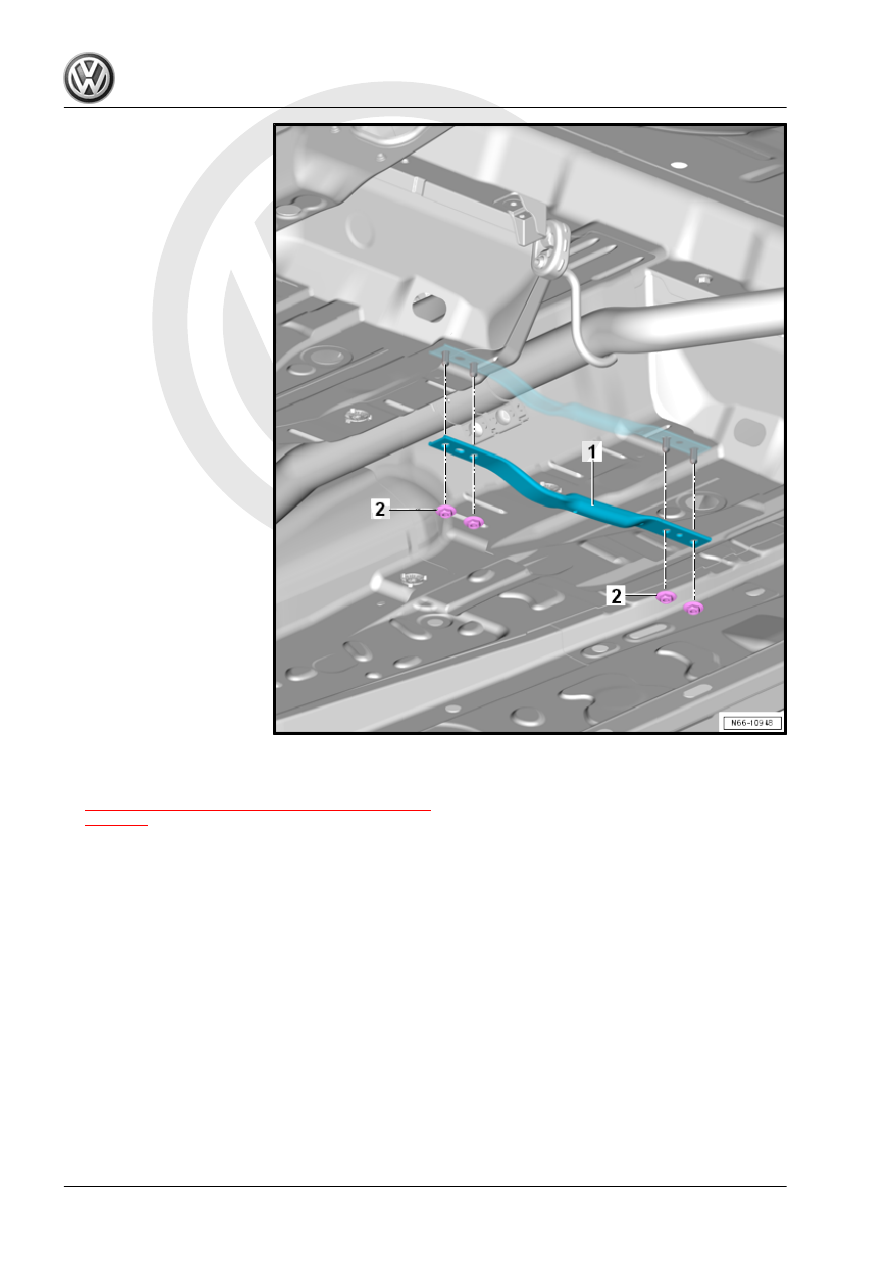
– Loosen the rear underbody panel and push it slightly down‐

ward. Refer to

⇒ “5.2 Underbody Panels, Removing and Installing”,

page 426

 .

– Remove the nuts -2-.
– Remove the rear tunnel brace -1-.
Installing
Install in reverse order of removal.
Tightening Specifications

6

Roof Bars/Roof Rails

⇒ “6.1 Overview - Roof Railing”, page 433
⇒ “6.2 Roof Railing, Removing and Installing”, page 434

6.1

Overview - Roof Railing

1 - Roof Railing

❑ Left and right
❑ Removing and instal‐

ling. Refer to

⇒ “6.2 Roof Railing, Re‐

moving and Installing”,

page 434

 .

2 - Seal

❑ Roof railing component

3 - Hex Nut

❑ 9 Nm
❑ Quantity: 4 on each side

6.2

Roof Railing, Removing and Installing

Removing

– Remove the headliner. Refer to ⇒  Body Interior; Rep. Gr.  70 ;

Roof Trim Panels; Headliner, Removing and Installing .

– Remove the front and rear hex nuts -3-.
– Remove the roof railing -1- straight upward.
Installing
– Check the seal -2- for damage and make sure it is positioned

correctly.

– Place the roof railing -1- on straight from above.
– Tighten the front and rear hex nuts -3-.
Tightening Specifications

7

Exterior Rearview Mirror

⇒ “7.1 Overview - Exterior Rearview Mirror”, page 435
⇒ “7.2 Exterior Rearview Mirror, Removing and Installing”,

page 436
⇒ “7.3 Mirror Glass, Removing and Installing”, page 438
⇒ “7.4 Mirror Adjuster, Removing and Installing”, page 439
⇒ “7.5 Mirror Cap, Removing and Installing”, page 442
⇒ “7.6 Mirror Trim, Removing and Installing”, page 443

7.1

Overview - Exterior Rearview Mirror

Note

The illustration shows the left side. The right side is identical.

1 - Mirror Base

❑ Removing and instal‐

ling. Refer to

⇒ “7.2 Exterior Rear‐

view Mirror, Removing

and Installing”,

page 436

 .

2 - Bolt

❑ 9 Nm
❑ Quantity: 2

3 - Clip
4 - Cap
Removing and installing. Refer

to

⇒ “7.2 Exterior Rearview Mir‐

ror, Removing and Installing”,

page 436

 .

5 - Adjusting Unit

❑ Removing and instal‐

ling. Refer to

⇒ “7.4 Mirror Adjuster,

Removing and Instal‐

ling”, page 439

 .

6 - Bolt

❑ 1 Nm

7 - Mirror Trim

❑ Removing and instal‐

ling. Refer to

⇒ “7.6 Mirror Trim, Re‐

moving and Installing”,

page 443

 .

8 - Bolt

❑ 1 Nm
❑ Quantity: 2


Content   ..  323  324  325  326   ..