Volkswagen Golf / Golf GTI / Golf Variant. Service manual - part 281
Caution
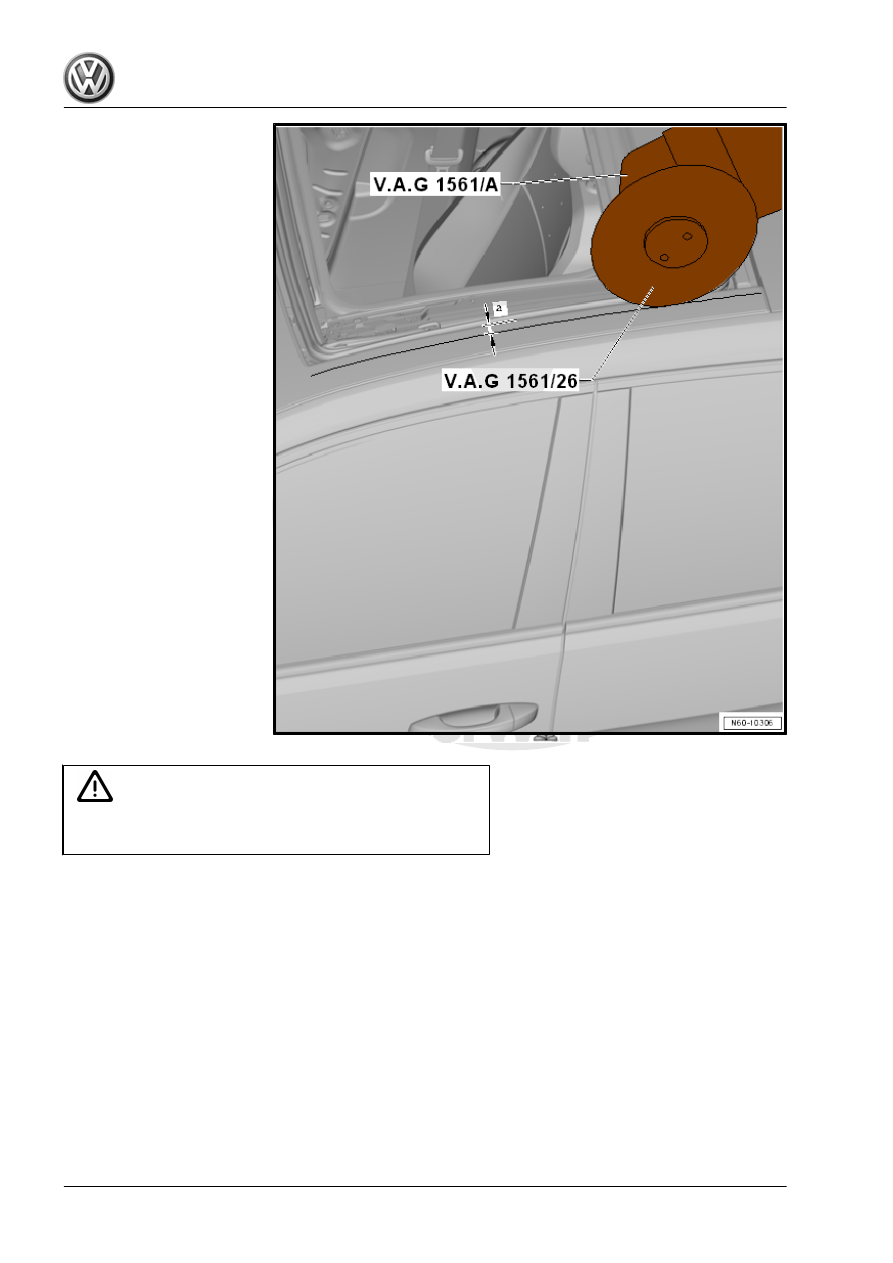
Due to the lack of clearance between the front trim and the
frame, set a stop depth of 5 mm.
– Cut off the front trim using the Window Cutter - VAG1561A-
and the Window Cutter - Saw Blade - 83mm - VAG1561/26-
along the markings from the back toward the front.
– Apply the markings with the distance -b- = 10 mm from the
front edge and with the distance -c- = 10 mm from the rear
edge outward.