Volkswagen Golf Variant / Jetta. Manual - part 818
 

  Index      Volkswagen     Volkswagen Golf Variant (2007), Jetta (2005) - service repair manual


Search            


Content   ..  816  817  818  819   ..


Volkswagen Golf Variant / Jetta. Manual - part 818


Special tools and workshop equipment required
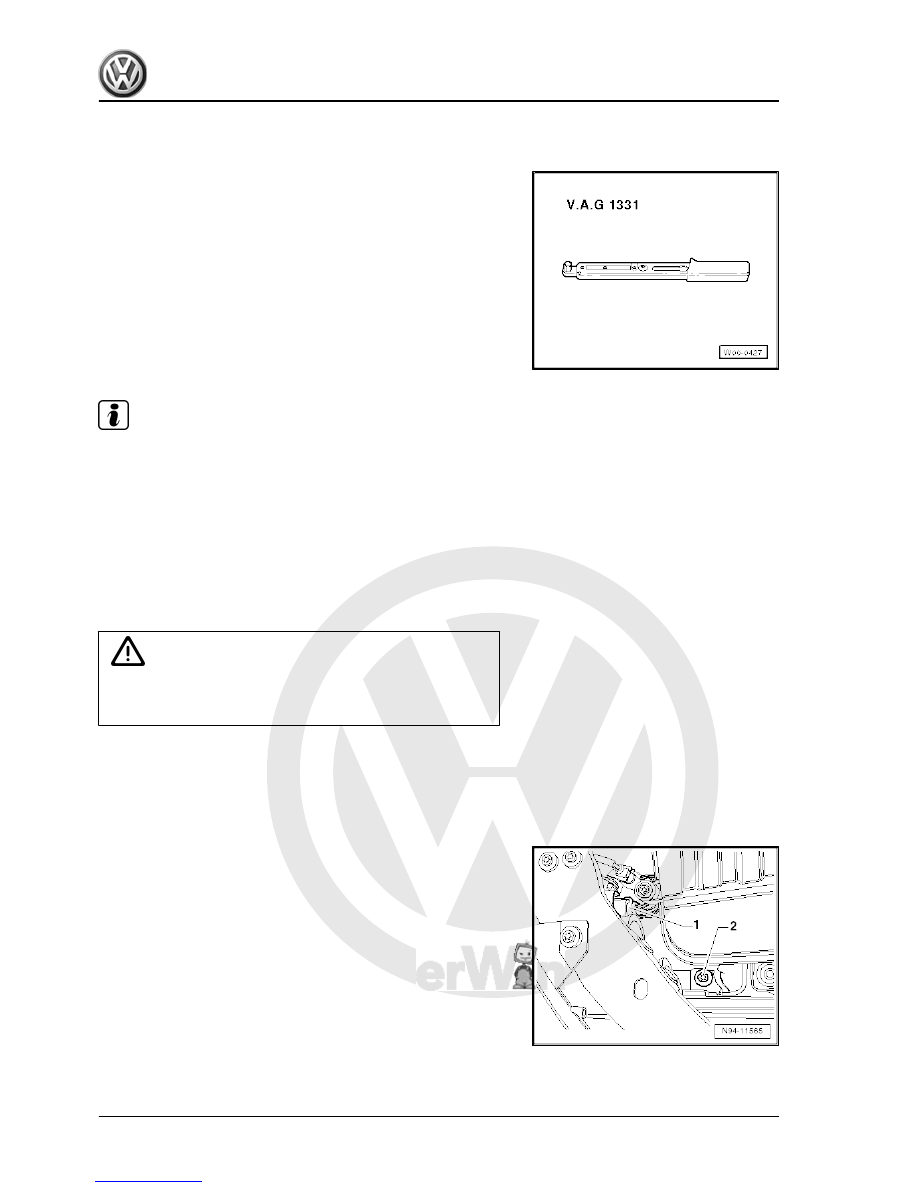
♦ Torque wrench -V.A.G 1331-

Note

♦

You do not have to disconnect the earth wire of the battery -

A- .

♦

The vehicle is fitted with headlights from two different manu‐

facturers; removal and installation of both headlight versions

are identical.

♦

Illustrations show removal and installation of the left headlight.

Removal and installation of the right headlight are carried out

in the same way.

♦

Check headlight settings and adjust headlights if necessary

⇒ Maintenance ; Booklet  20.1 ; Descriptions of work .

Caution

♦ Switch off ignition and all electrical consumers.
♦ Remove the ignition key.

Removing
– Remove the radiator grille ⇒  General body repairs, exterior;

Rep. gr.  66 .

– Remove front bumper cover ⇒  General body repairs, exterior;

Rep. gr.  63 .

– Release and disconnect multi-pin connector -1-.
– Remove bolt -2- on inner part of headlight.

238


– Insert headlight with the three guides on underside into mount‐

ings -arrows- on guide and push into body aperture.

– First, screw in the three bolts -arrows-.

– Then, screw in bolt -2- on rear of headlight.
– Tighten all threaded connections to specified torques

⇒ page 236

 .

– Check headlight installation position is central, i.e. shut lines/

gaps are equal around headlight.

If the shut lines/gaps around the headlight are uneven, the instal‐

lation position must be adjusted 

⇒ page 217

 .

– Check headlight functions.
– Check headlight settings and adjust headlights if necessary

⇒ Maintenance ; Booklet  20.1 ; Descriptions of work .

2. Headlights with halogen bulbs (from MY2009)    

239


Note

♦

To adjust the installation position of the headlight, the front

bumper does not have to be removed.

♦

The illustrations show the left headlight.

If it transpires during checking of the installation position that the

shut lines/gaps between headlight and body are uneven, the in‐

stallation position must be adjusted.
– Switch off ignition and all electrical consumers and remove

ignition key.

– Remove the radiator grille ⇒  General body repairs, exterior;

Rep. gr.  66 .

– Loosen bolt -2- on rear of headlight.

– Loosen the three bolts -arrows-.

– Loosen screw -arrow- at bottom of headlight.

240


– Tighten all threaded connections to specified torques

⇒ page 236

 .

– Check and readjust headlight to ensure gaps are even all

round.

gr.  66 .

– Check headlight functions.
– Check headlight settings and adjust headlights if necessary

⇒ Maintenance ; Booklet  20.1 ; Descriptions of work .

2.5

Renewing bulbs

2.5.1

Renewing headlight dipped beam bulb

Note

♦

The headlight does not have to be removed to change the

bulb.

♦

The diagrams show renewal of the left headlight dipped beam

bulb -M29- for the left headlight.

Caution

♦ Switch off ignition and all electrical consumers.
♦ Remove the ignition key.

Removing
Only headlight manufacturer Hella:
– Remove cover cap -1-.
Only headlight manufacturer Valeo:

Note

♦

For reasons of clarity, headlight is shown removed in the fol‐

lowing illustrations.

♦

The headlight does not have to be removed to change the

bulb.

2. Headlights with halogen bulbs (from MY2009)    

241


Content   ..  816  817  818  819   ..