Toyota C-HR (2018 year). Manual - part 12
177
4
Drivin
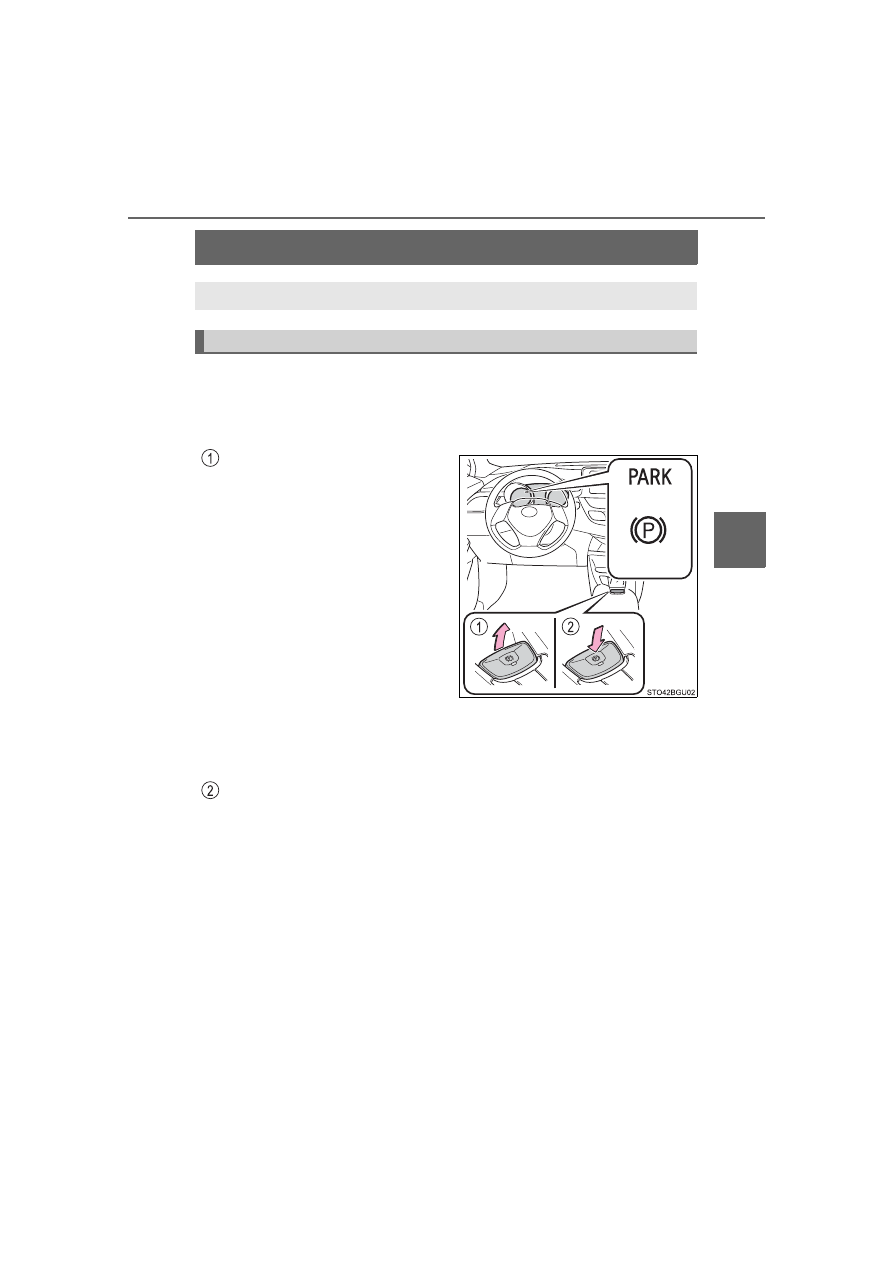
Parking brake
The parking brake is set or released automatically according to shift
lever operation.
Even when in automatic mode, the parking brake can be set and
released manually. (
Turns automatic mode on
(while the vehicle is stopped,
pull and hold the parking brake
switch until “EPB Shift Interlock
Function Activated.” will be dis-
played on the multi-information
display)
• When the shift lever is moved
out of P, the parking brake will
be released, and the parking
brake indicator light and parking
brake lamp turn off.
• When the shift lever is moved
into P, the parking brake will be
set, and the parking brake indi-
cator light and parking brake
lamp turn on.
Operate the shift lever with the brake pedal depressed.
Turns automatic mode off (while the vehicle is stopped, press and
hold the parking brake switch until “EPB Shift Interlock Function
Deactivated.” will be displayed on the multi-information display)
A selections can be made as desired from the following modes.
Automatic mode
(U.S.A.)
(Canada)