Subaru XV Crosstrek (2016 year). Instruction - part 31
hole until its thread can no longer be seen.
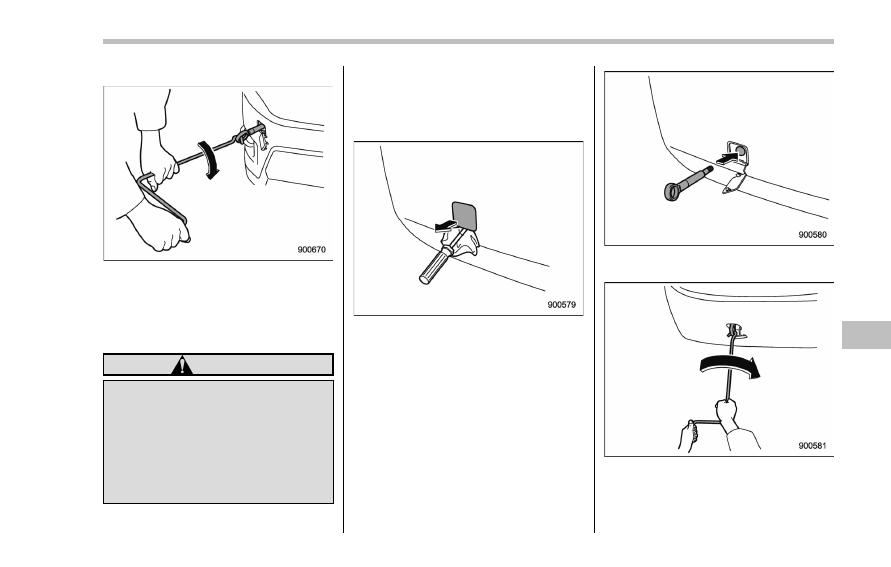
4. Tighten the towing hook securely
using the jack handle.
After towing, remove the towing hook from
the vehicle and stow it in the tool bucket.
Fit the towing hook cover on the bumper.
WARNING
. Do not use the towing hook
except when towing your vehicle.
. Be sure to remove the towing
hook after towing. Leaving the
towing hook mounted on the
vehicle could interfere with prop-
er operation of the SRS airbag
system in a frontal collision.
! Rear towing hook
1. Take the towing hook and screwdriver
out of the tool bucket. Take the jack
handle out of the trunk (4-door) or cargo
area (5-door).
2. Pry off the cover on the rear bumper
using a screwdriver, and you will find a
threaded hole for attaching the towing
hook.
3. Screw the towing hook into the thread
hole until its thread can no longer be seen.
4. Tighten the towing hook securely
using the jack handle.
After towing, remove the towing hook from
In case of emergency/Towing
– CONTINUED –
9-15