Subaru BRZ (2019 year). Manual - part 20
310
3-5. Other interior features
BRZ_U
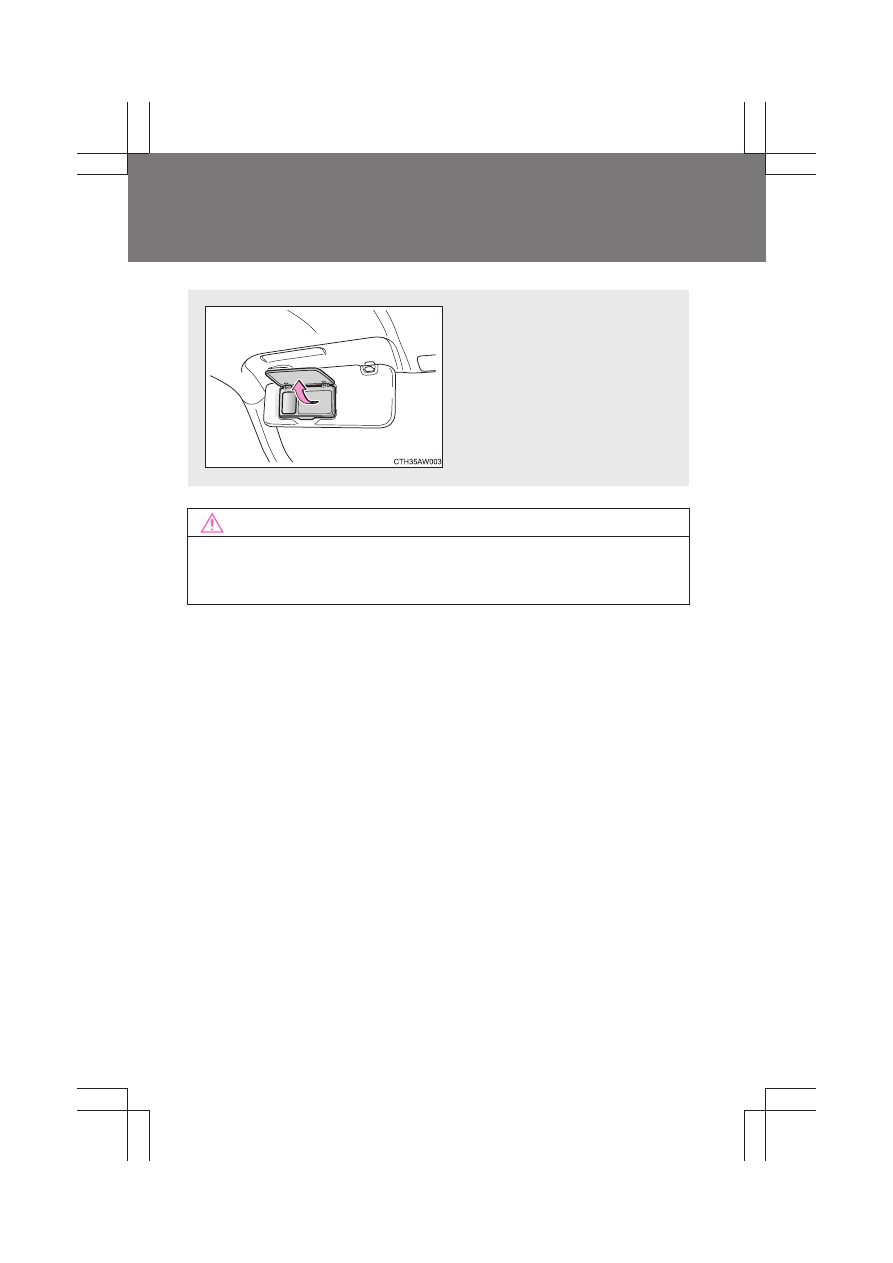
Vanity mirrors
CAUTION
■
To prevent battery discharge (vehicles with vanity lights)
Do not leave the vanity lights on for extended periods while the engine is off.
Open the cover to use.
Vehicles with vanity lights: The
light turns on when the cover is
opened.