Content .. 1073 1074 1075 1076 ..
Subaru Legacy IV (2008 year). Service manual - part 1075
GW-27
Windshield Glass
GLASS/WINDOWS/MIRRORS
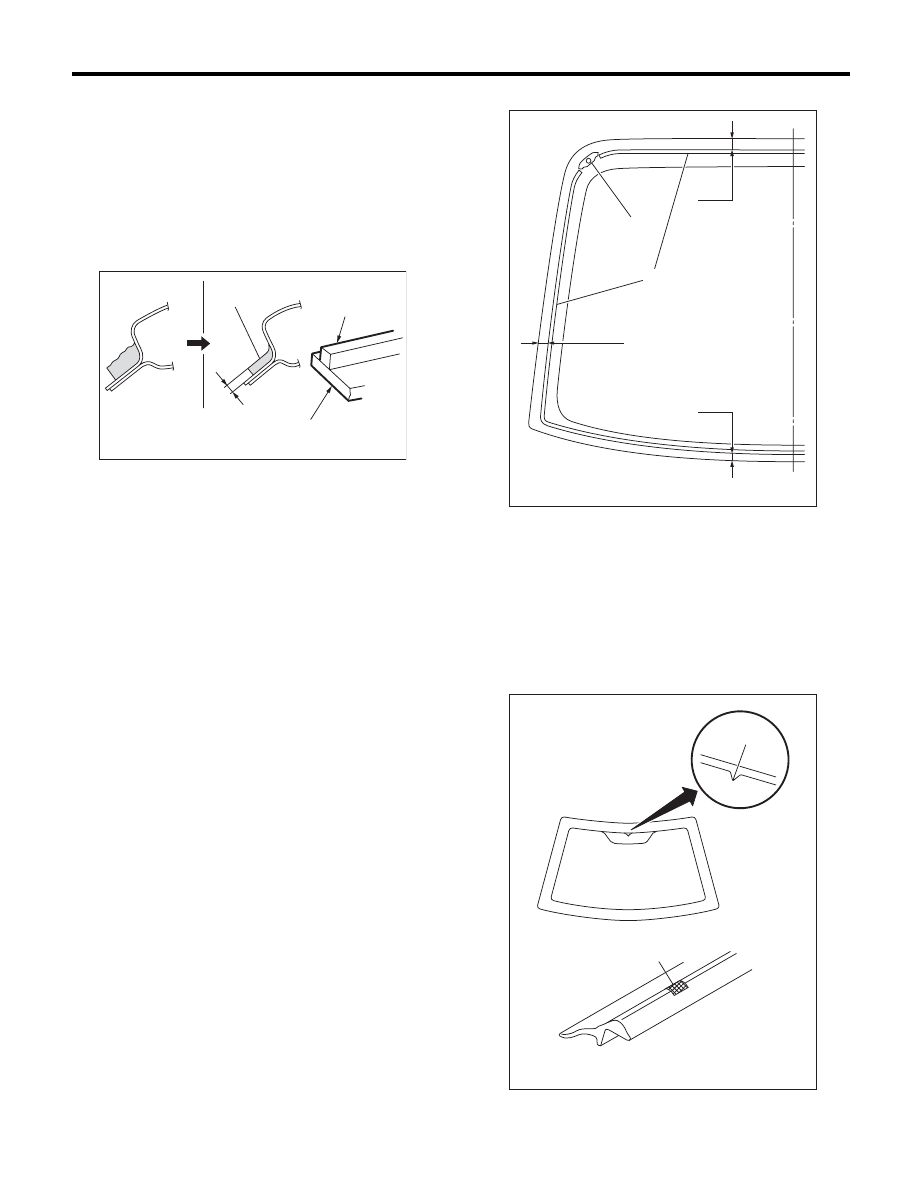
B: INSTALLATION
1) Clean the external circumference of windshield
glass with alcohol or white gasoline.
2) Remove the adhesive layer on the body using
cutter knife to obtain smooth face of 2 mm (0.08 in)
thick.
CAUTION:
Be careful not to damage the body and paint
surface.
3) Clean the body with alcohol or white gasoline to
eliminate cutting powder, dust and dirt completely
from body.
4) Install the dam rubber.
5) Fit the mark (B) on molding to the notch (A) of
glass side, and install the molding to entire perime-
ter of glass.
(1) Adhesive
(2) 2 mm (0.08 in)
(3) Dam rubber
(4) Glass
(4)
(2)
(1)
(3)
GW-00071
(1) Locating pin (adhered)
(2) Dam rubber
(3) 11 mm (0.433 in)
(4) 11 mm (0.433 in)
(5) 9 mm (0.354 in)
(1)
(3)
(4)
(5)
(2)
GW-00572
(A)
(B)
GW-00570