Subaru Legacy IV (2008 year). Service manual - part 91


  Index      Subaru     Subaru Legacy IV - service and repair manual 2008 year


Search            


Content   ..  89  90  91  92   ..


Subaru Legacy IV (2008 year). Service manual - part 91


LU(H4SO)-21

Oil Pressure Switch

LUBRICATION

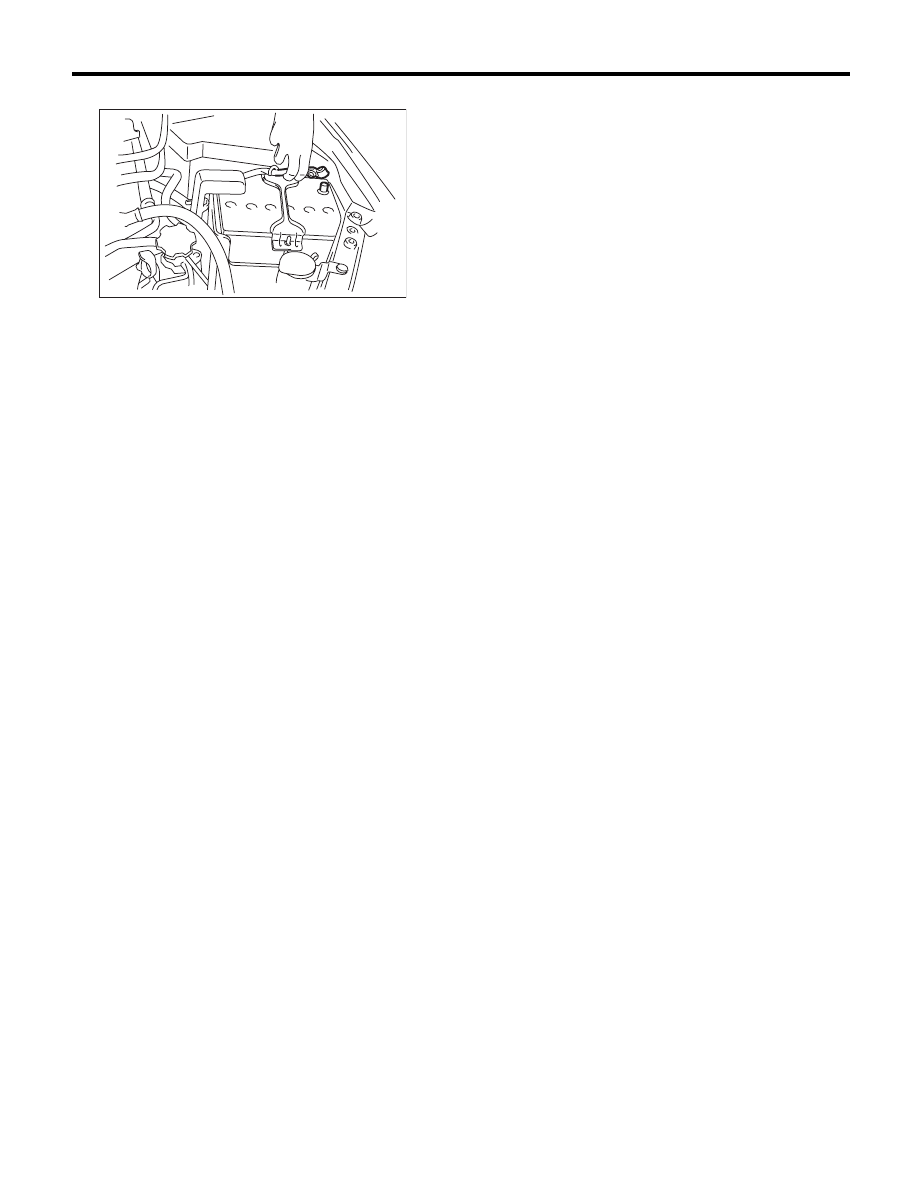
5) Connect the ground cable to battery.

6) Install the collector cover. (Turbo model)

C: INSPECTION

Check the oil pressure switch installation portion for
oil leakage and oil seepage.

IN-00203

LU(H4SO)-22

Engine Oil Cooler

LUBRICATION

7. Engine Oil Cooler

A: REMOVAL

CAUTION:
If engine oil is spilt onto the exhaust pipe, wipe
it off with cloth to avoid emission of smoke or
causing a fire.

NOTE:
An engine oil cooler is installed on DOHC turbo
models.
1) Set the vehicle on a lift.
2) Lift up the vehicle.
3) Remove the under cover.
4) Drain engine coolant. <Ref. to CO(H4DOTC)-
14, DRAINING OF ENGINE COOLANT, RE-
PLACEMENT, Engine Coolant.>
5) Remove the engine oil filter. <Ref. to LU(H4SO)-
23, REMOVAL, Engine Oil Filter.>
6) Remove the bolt (B) holding the oil cooler pipe
(A) to the oil pump.
7) Remove the oil cooler pipe (A) and oil cooler
hose (C).
8) Remove the oil cooler connector (D) and remove
the oil cooler (E).

B: INSTALLATION

Install in the reverse order of removal.

NOTE:
Use a new gasket.

Tightening torque:

T1: 6.4 N·m (0.7 kgf-m, 4.7 ft-lb)
T2: 54 N·m (5.5 kgf-m, 39.8 ft-lb)

C: INSPECTION

1) Check that coolant passages are not clogged
using an compressed air.
2) Check the mating surfaces of cylinder block,
gasket groove and oil cooler for damage.

(A) Oil cooler pipe

(B) Bolt

(C) Oil cooler hose

(D) Oil cooler connector

(E) Oil cooler

(F) Gasket

LU-02398

(D)

(F)

(E)

(B)

(A)

(C)

(A) Oil cooler pipe

(B) Bolt

(C) Oil cooler hose

(D) Oil cooler connector

(E) Oil cooler

(F) Gasket

(D)

(F)

(E)

T2

(B)

(A)

(C)

T1

LU-02399

LU(H4SO)-23

Engine Oil Filter

LUBRICATION

8. Engine Oil Filter

A: REMOVAL

CAUTION:
If the engine oil is spilt over exhaust pipe or the
under cover, wipe it off with cloth to avoid emis-
sion of smoke or causing a fire.
1) Set the vehicle on a lift.
2) Lift up the vehicle.
3) Remove the service hole cover clip located on
the under cover.

4) Rotate the service hole cover in the arrow direc-
tion.

5) Remove the oil filter.
• Oil filter (Black)
Remove using the ST.
ST

18332AA000

OIL FILTER WRENCH 
(Outer diameter: 68 mm 
(2.68 in) for oil filter (black))

• Oil filter (Blue)
Remove using a general tool (65/67 mm 14 Flutes).

B: INSTALLATION

CAUTION:
Do not tighten excessively, or oil may leak.
1) Clean the oil filter installation surface on cylinder
block or oil cooler.
2) Obtain a new oil filter and apply a thin coat of en-
gine oil to the seal rubber.
3) Install the oil filter turning it by hand, being care-
ful not to damage the seal rubber.
• Tighten the oil filter (Black) with an outer diame-
ter of 68 mm (2.68 in) (approx. 1 rotation) after the
seal rubber of the oil filter comes in contact with cyl-
inder block or oil cooler. When using a torque
wrench, tighten to 14 N·m (1.4 kgf-m, 10.3 ft-lb).
• Tighten the oil filter (Blue) with an outer diameter
of 67.4 mm (2.65 in) (approx. 7/8 rotation) after the
seal rubber of the oil filter comes in contact with cyl-
inder block or oil cooler. When using a torque
wrench, tighten to 12 N·m (1.2 kgf-m, 8.9 ft-lb).
4) Return the service hole cover to the original po-
sition.
5) Lower the vehicle.

C: INSPECTION

1) After installing the oil filter, run the engine and
make sure that no oil is leaking around seal rubber.

NOTE:
The filter element and filter case are permanently
jointed; therefore, interior cleaning is not neces-
sary.
2) Check the engine oil level. <Ref. to LU(H4SO)-9,
INSPECTION, Engine Oil.>

LU-02190

LU-02191

(A)

LU-02192

LU(H4SO)-24

Engine Lubrication System Trouble in General

LUBRICATION

9. Engine Lubrication System Trouble in General

A: INSPECTION

Before performing diagnostics, make sure that the engine oil level is correct and no oil leakage exists.

Trouble

Possible cause

Corrective action

1. Warning light remains 
ON.

1) Oil pressure switch 
failure

Cracked diaphragm or oil leakage within switch

Replace.

Broken spring or seized contacts

Replace.

2) Low oil pressure

Clogging of oil filter

Replace.

Malfunction of oil by-pass valve in oil filter

Clean or replace.

Malfunction of oil relief valve in oil pump

Clean or replace.

Clogged oil passage

Clean.

Excessive tip clearance and side clearance of oil 
pump rotor and gear

Replace.

Clogged oil strainer or broken pipe

Clean or replace.

3) No oil pressure

Insufficient engine oil (including deterioration)

Replace.

Broken pipe of oil strainer

Replace.

Stuck oil pump rotor

Replace.

2. Warning light does 
not illuminate.

1) Malfunction of combination meter

Replace.

2) Poor contact of switch contact points

Replace.

3) Disconnection of wiring

Repair.

3. Warning light flickers 
momentarily.

1) Poor contact of terminals

Repair.

2) Defective wiring harness

Repair.

3) Low oil pressure

Check for the same 
possible causes as 
listed 1. — 2.


Content   ..  89  90  91  92   ..