Renault Scenic (2018 year). Manual - part 18
4.8
Replacement intervals
Refer to the Maintenance Document for
your vehicle.
Checking intervals
Check the coolant level regularly
(very severe damage is likely to be
caused to the engine if it runs out of
coolant).
If the level needs to be topped up, only
use products approved by our Technical
Department which ensure:
– protection against freezing;
– anticorrosion protection of the cool-
ing system.
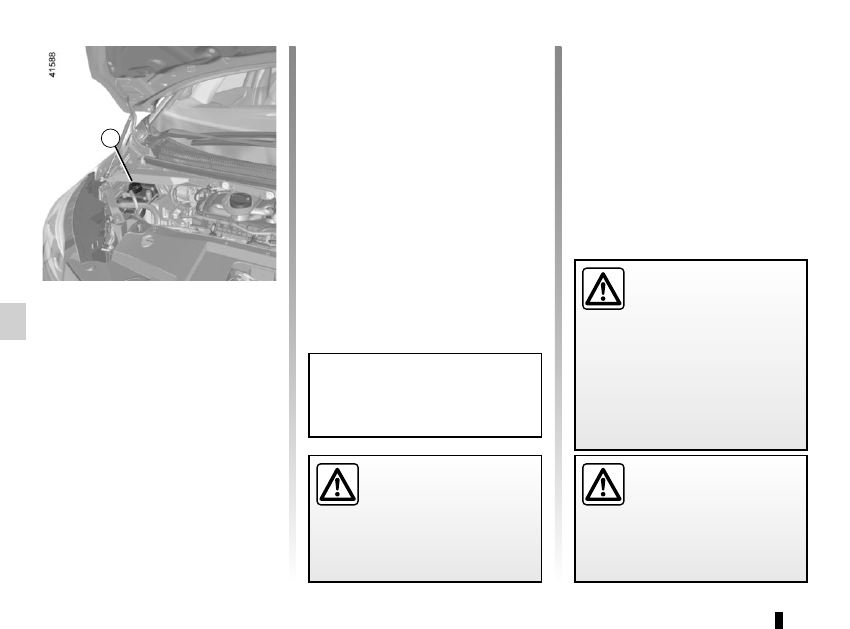
LEVELS
(1/3)
Coolant
With the engine switched off and on
level ground, the level when cold must
be between the “MINI" and "MAXI"
marks on coolant reservoir 1.
Top this level up when cold before it
reaches the MIN mark.
No operations should be
carried out on the cooling
circuit when the engine is
hot.
Risk of burns.
Consult your approved dealer at
once if you notice an abnormal or
repeated drop in any of the fluid
levels.
Please note when work-
ing close to the engine that
it may be hot. In addition,
the engine cooling fan may
start at any moment. The
warning light in the engine compart-
ment reminds you of this.
Risk of injury.
1
Before performing any
action in the engine com-
partment, the ignition must
be switched off (please see
the information on “Starting, stop-
ping the engine” in Section 2).