Renault Clio (2017 year). Manual - part 5
1.66
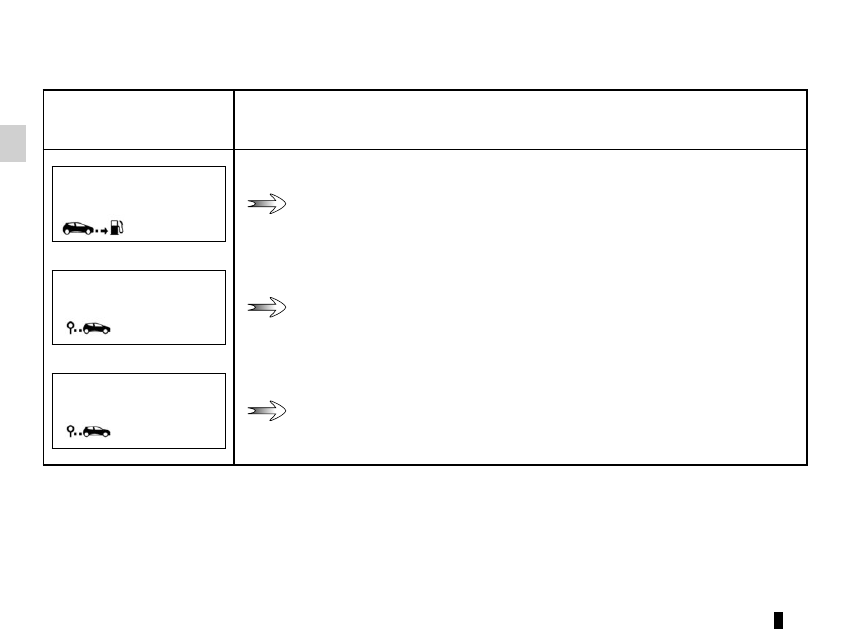
TRIP COMPUTER: trip settings
(2/5)
The display of information shown below DEPENDS ON THE VEHICLE EQUIPMENT AND COUNTRY.
Examples of selections
Interpreting the display selected
RANGE
e) Estimated range with remaining fuel.
The value is displayed after driving 400 metres.
541 km
DISTANCE
f) Distance travelled since last reset.
522 km
AVERAGE
g) Average speed since the last reset.
The value is displayed after driving 400 metres.
123.4 km/H