Dacia Pick-Up 1304/1305/1307. Service manual - part 52


  Index      Dacia     Dacia Pick-Up 1304/1305/1307 (Engine F8Q) - service and repair manual 2004 year


Search            


Content   ..  50  51  52  53   ..


Dacia Pick-Up 1304/1305/1307. Service manual - part 52


MANUAL GEARBOX

21

21 - 14

DISMOUNTING - REMOUNTING

R

EMO UNTING

Check the state of the centering bushing from the crankshaft end.
Grease the grooves of the clutch shaft with grease U M 170 Li Ca Pb 2 M.
Assembly the gearbox to the engine.

ATTENTION

!!!!    Do not catch the clutch mechanism.

Mount the clutch shield plate.
Mount the back crossbar.
Connect the electric wire of the back drive connector.
Connect the propeller shaft and tighten at the required moment ( 5 daNm ) the 4

attachment screws  M10 (G.B. 50 and G.B. 51).

Connect:

             - the speedometer cable;

- the velocity steps control.

Connect the vacuum hoses and the electrical connector of vacuum capsule (G.B. 51 C).
Grease the propeller shaft grooves with grease UM 170 Li Ca Pb 2M (G.B. 365 and 51 C).
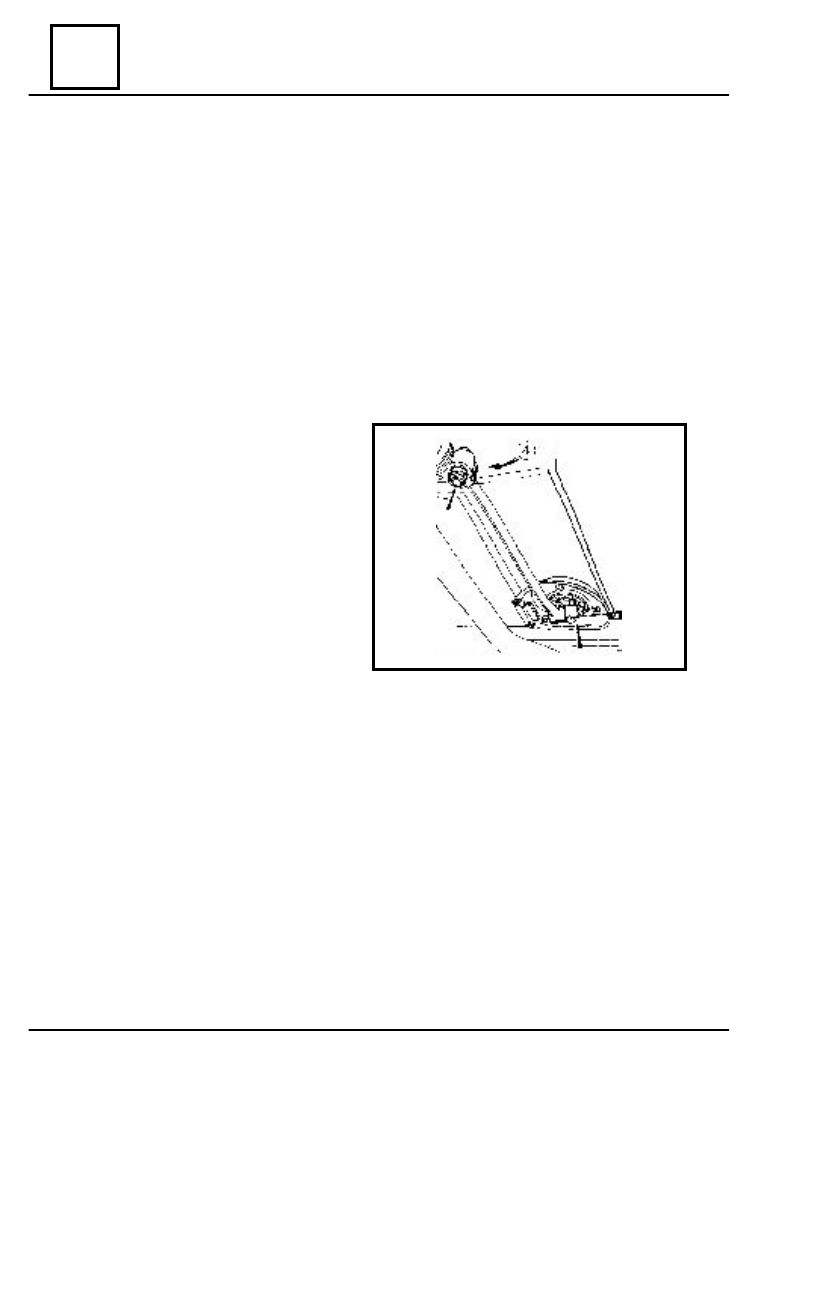
Position the transmission in correspondence with the propeller shaft pinion.
Rock the steering knuckle support, connect the transmission to the propeller shaft

pinion and center it by means of the CV 31-B mandrel.

MANUAL GEARBOX

21

21 - 15

Place the new elastic pins.
The pins notches shall  be oriented towards the wheel. The ends of the pins shall be

sealed with  RHODORSEAL 5661.

     Mount (on both sides):

a. the upper suspension joint
b. the steering joint

Mount the front wheels, take the vehicle down from the elevator and tighten the wheels

nuts at the required moment (9 daNm).

Dismount the TF 509 support cross bar.
Mount the clutch cable with its support.
Adjust the clutch stroke (2,5 – 3,5 mm to the end of shifter shaft).
Adjust the velocity steps gearing.(see chapt.” Velocity steps control adjustment “).
Mount the starter and the protection shield.
Connect :

- the starter power cable ;
- the coupling relay supply wire.

Fill up the gearbox with oil  SAE 80/90 ; API GL 5.           .
Check the velocity steps gearing.
Connect the battery.

DISMOUNTING - REMOUNTING

MANUAL GEARBOX

21

21 - 16

REPAIR

Dismount the gearbox off the vehicle
Dismount the reverse driving lamp contact.
Dismount the clutch casing.

DISMOUNTING OF THE COUPLING MECHANISM 4X4  (G.B. 51 C)

Dismount the attachment pin of the

connection bolt (1) between the vacuum
capsule shaft and the control lever and take
out the bolt.

Dismount the vacuum capsule support

from the gearbox casing.

Take out the safety washer (2) of the

control lever fixing.

Dismount the control  lever (3) of the front

transmission.

Dismount the threaded plug (4) for stroke

limiting.

Unscrew the attachment screws (5) of the

deflector and flange on the differential hub.

Take out the deflector and flange.
Unscrew the attachment differential cover

screws (6) on half crankcase.

Take out the differential cover assembly

and its paper gasket.

Dismount the bearing from  the differential

hub by means of an extractor
( only if this  is used and must be replaced ).

Take out the annular oil ring from the

differential cover by means of a screwdriver.

2

1

2

6

5

3

4

MANUAL GEARBOX

21

21 - 17

Clean the annular oil seal place from

the differential cover.

Take out the cover (7) from the hub

differential.

Dismount the safety ring (8) from the

propeller shaft gear.

Take out slotted shim (9).
Extract  the hub-gear assembly (10)

together with fork and shaft (11).

Take out the claw (12) and the pins

housing (13).

REPAIR

DISMOUNT THE VELOCITY STEP V

Dismount the flange attachment nut

flange on secondary shaft and take out the
flange (G.B. 50C , 51 C).

Bring the gearbox to the dead point and

dismount the back cap.

Engage the velocity step V and the

reverse one.

Unscrew the primary shaft nut.
Bring the gearbox to the dead point,

then engage velocity step IV.

Take out the speedometer spring by

means of CV 204 wrench at GB 365.

12

13

10

9

8 7

11


Content   ..  50  51  52  53   ..