Peugeot 307 SW (2007.5). Manual - part 11
145
9
11
12
14
10
13
ESC
MENU
LIST
2
abc
5
jkl
8
tuv
3
def
6
mno
9
wxyz
1
4
ghi
r
7
pq s
0
#
ESC
MENU
LIST
ESC
MENU
LIST
ESC
MENU
LIST
ESC
MENU
LIST
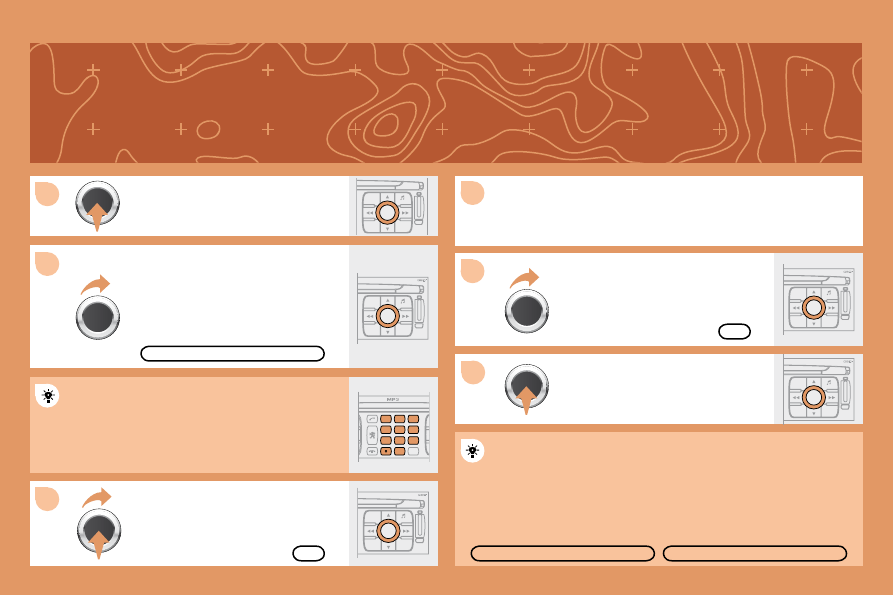
Press the dial to conirm the selection.
Turn the dial and select the letters of
the town one by one conirming each
time by pressing the dial.
Select OK and press the dial to
conirm.
To speed up the process, the POST CODE can be
entered instead of the name of the town.
Use the alphanumeric keypad to enter the letters and
digits and "*" to correct.
Press the dial to conirm the selection.
Select OK on the ENTER AN
ADDRESS page.
Repeat steps 8 to 12 for the ROAD and N° functions.
OK
OK
Select the STORE function to record the address entered in a
directory record and press the dial to conirm the selection.
The points of interest (POI) indicate all of the service locations in the
vicinity (hotels, various businesses, airports...).
STORE
PARIS
POI