Peugeot 307 CC Dag (2007.5). Manual - part 5
59
ACCESS
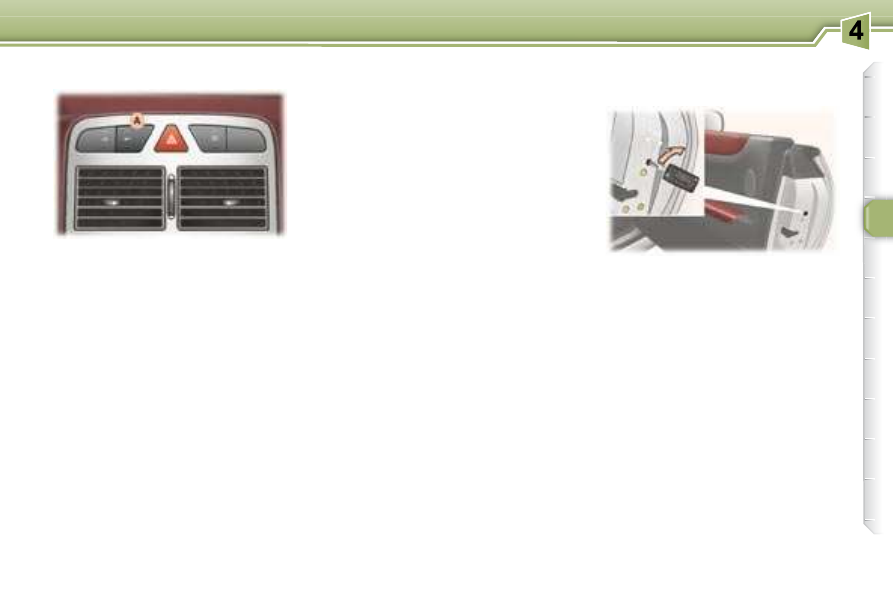
Pressing button A
permits:
- locking of the vehicle,
- unlocking of the vehicle (and in
particular the boot) if you place
the key in the switch.
The red indicator light on the button
comes on when the vehicle is locked
and is switched off when the vehicle
is unlocked.
Note:
if the vehicle is locked or dead-
locked from the outside, the red in-
dicator light l ashes and button A is
inoperative. In this case, use the key
or the remote control to unlock.
Automatic central locking of
the doors
The doors lock automatically when
driving [speed greater than 6 mph
(10 km/h)].
Above 6 mph (10 km/h), a brief press
on button A momentarily unlocks the
doors.
You can activate or disarm this function.
Activation
Press and hold button A .
Activation of the function is accom-
panied by a message on the multi-
function display.
Disarming
Press and hold button A .
Disarming of the function is accom-
panied by a message on the multi-
function display.
Notes
If one of the doors is open, the au-
tomatic central locking and locking
from the inside do not function.
If the boot is open, the automatic
central locking of the doors is active.
Driver's door
Insert the key in the lock to lock or
unlock the door.
Passenger's door
- to lock, insert the key in the lock
(located on the edge of the door)
then turn an eighth of a turn to
the right.
- to unlock, use the interior door
opening control (see correspond-
ing section).
Boot
The boot is locked, contact a PEUGEOT
dealer.
MANUAL LOCKING/
UNLOCKING (EMERGENCY
MODE)
Locking/Unlocking from the
inside