Nissan Versa Note. Instruction - part 482
GW-26
< REMOVAL AND INSTALLATION >
REAR DOOR GLASS AND REGULATOR
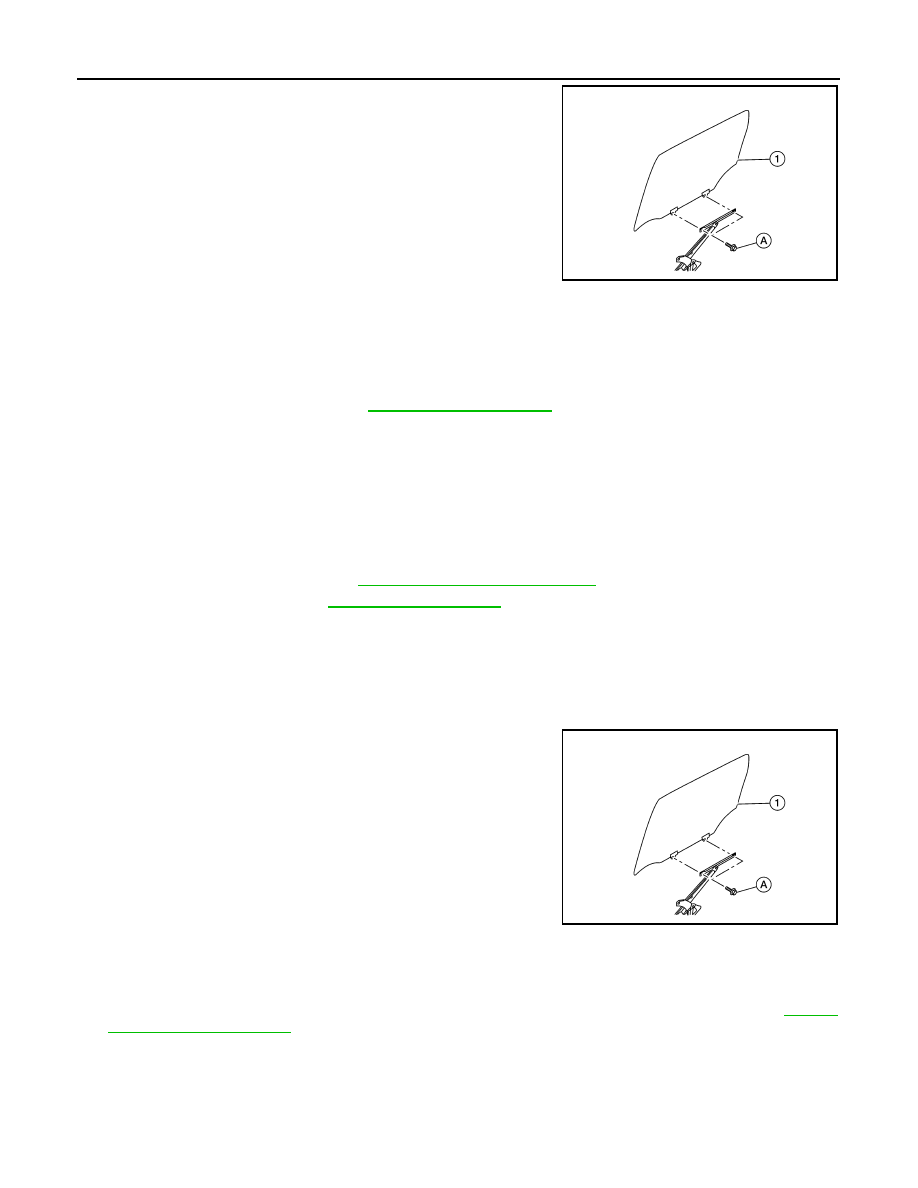
5. Remove rear door glass bolts (A) and rear door glass (1).
6. Remove rear door glass front run bolts and remove (if necessary).
7. Remove rear door glass rear run bolts and remove (if necessary).
Installation
Installation is in the reverse order of removal.
CAUTION:
Tighten bolts to specification. Refer to
Fitting Inspection
• Make sure that the glass fits securely into the rear door glass run groove.
• Lower the glass slightly [approximately 10 to 20 mm (0.394 to 0.787 in)], and check that the clearance to the
sash is parallel. Loosen the regulator bolts, door sash bolts and glass bolts to correct the glass position if the
clearance between the glass and sash is not parallel.
REAR DOOR GLASS REGULATOR
Removal
1. Remove rear door finisher. Refer to
INT-18, "Removal and Installation"
.
2. Remove vapor barrier. Refer to
CAUTION:
Use care not to damage or tear vapor barrier during removal.
3. Temporarily reconnect the rear power window switch to raise/lower the rear door glass until the bolts can
be seen through the access holes (with power window).
4. Temporarily reinstall the rear door glass handle and raise/lower the rear door glass until the bolts can be
seen through the access holes (without power window).
5. Remove rear door glass bolts (A).
1: Rear door glass
6. Raise the rear door glass and hold in place with a suitable tool or approximately two inches of masking
tape.
7. Remove bolts and rear door glass regulator.
8. Remove rear power window motor from rear door glass regulator (if necessary). Refer to
Inspection After Removal
Check the rear door glass regulator for the following items:
• Wire wear
• Regulator deformation
• Grease condition for each sliding part
ALKIA3166ZZ
ALKIA3166ZZ