Nissan Versa Sedan. Instruction - part 855


  Index      Nissan     Nissan Versa Sedan (2014 year) - Service and Repair Instruction


Search            copyright infringement  


Content   ..  853  854  855  856   ..


Nissan Versa Sedan. Instruction - part 855


TM-326

< BASIC INSPECTION >

[CVT: RE0F11A]

ADDITIONAL SERVICE WHEN REPLACING TRANSAXLE ASSEMBLY

ADDITIONAL SERVICE WHEN REPLACING TRANSAXLE ASSEMBLY

Description

INFOID:0000000009268113

When replacing the transaxle, perform the following work.

ERASING THE CALIBRATION DATA

• The TCM acquires calibration data (individual characteristic value) of each solenoid that is stored in the

ROM assembly (in the control valve). This enables the TCM to perform accurate control. For this reason,

after the transaxle assembly is replaced, it is necessary to erase the calibration data that is stored in the

TCM and load new calibration data.

ERASING THE LEARNED VALUE DATA

• TCM learns indicated pressure for appropriate control of the transaxle assembly and records the learned

values. For this reason, the leaned values stored in TCM must be erased after replacing a transaxle assem-

bly.

ERASING CVT FLUID DEGRADATION LEVEL DATA 

• TCM records the degradation level of the CVT fluid calculated from the vehicle driving status. Therefore, if

the transaxle assembly is replaced, it is necessary to erase the CVT fluid degradation level data recorded by

TCM. 

Work Procedure

INFOID:0000000009268114

1.

INITIALIZE TCM

With CONSULT

1. Set parking brake.

2. Turn ignition switch ON.

3. Select “Work Support” in “TRANSMISSION”.

4. Select “ERASE MEMORY DATA”. 

5. While maintaining the conditions below, touch “Start”.

-

Vehicle stop status

-

With engine stopped

-

Selector lever: “R” position

-

Accelerator pedal: Depressed

NOTE:

Select “Start” and complete within approximately 20 seconds.
Is “COMPLETED” displayed?

YES

>> GO TO 2.

NO

>> Turn the ignition switch OFF and wait for a minimum of 10 seconds then perform the work again.

2.

CHECK AFTER TCM IS INITIALIZED

With CONSULT

1. Turn ignition switch OFF with the selector lever in “R” position and wait for 10 seconds or more.

2. Turn ignition switch ON with the selector lever in “R” position.

CAUTION:

Never start the engine.

3. Select “Special function” in “TRANSMISSION”.

4. Select “CALIB DATA”.

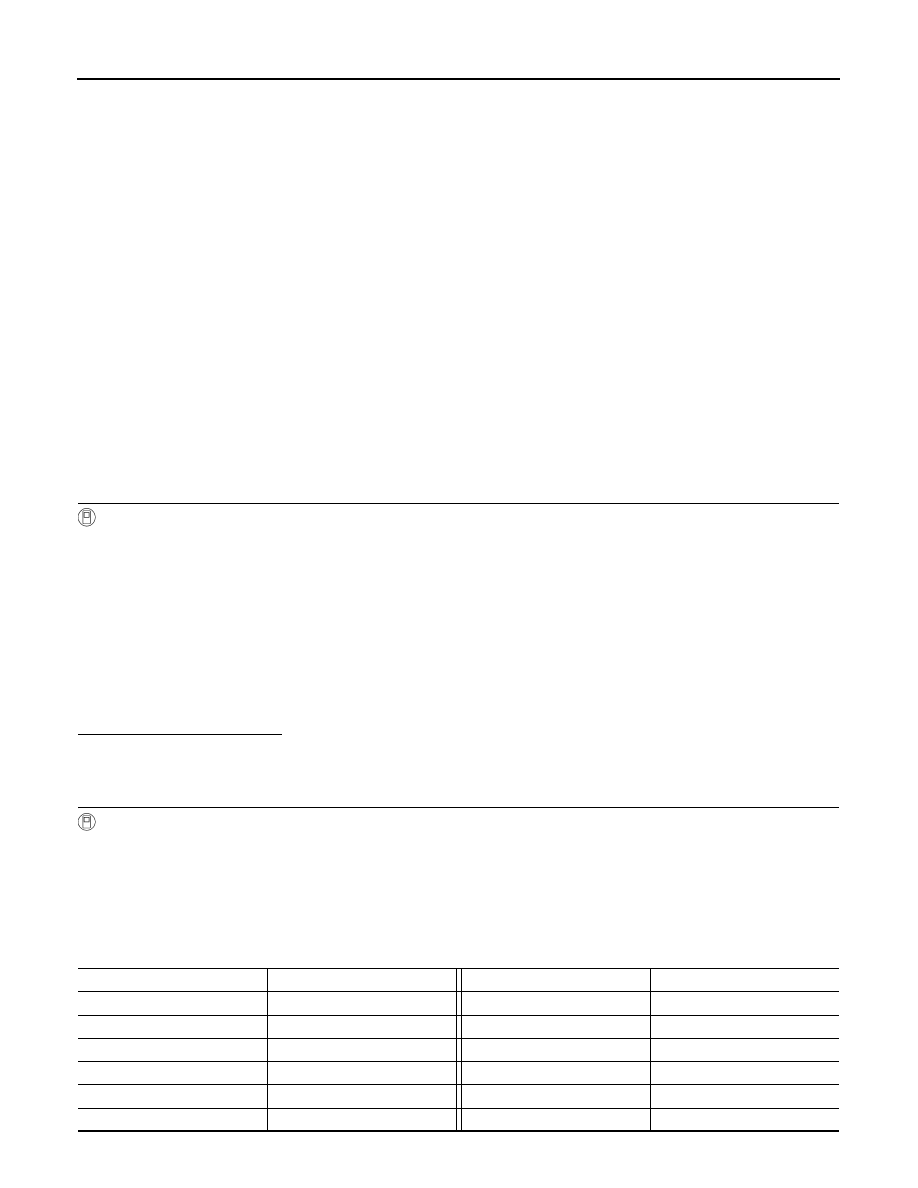
5. Check that indicated value of “CALIB DATA” is equal to the value shown in the following table.

Item name

Display value

Item name

Display value

UNIT CLB ID1

00

MAP NO HC/RB

00

UNIT CLB ID2

00

MAP NO L/B

00

UNIT CLB ID3

00

OFFSET2 LU

0

UNIT CLB ID4

00

OFFSET2 PL

0

UNIT CLB ID5

00

OFFSET2 PRI

0

UNIT CLB ID6

00

OFFSET2 H/R

0

ADDITIONAL SERVICE WHEN REPLACING TRANSAXLE ASSEMBLY

TM-327

< BASIC INSPECTION >

[CVT: RE0F11A]

C

E

F

G

H

I

J

K

L

M

A

B

TM

N

O

P

Is the indicated value of “CALIB DATA” equal to the value shown in the table?

YES

>> GO TO 3.

NO

>> GO TO 1.

3.

LOADING OF CALIBRATION DATA

1. Shift the selector lever to the “P” position.

2. Check that “P” is displayed on shift position indicator on combination meter.

NOTE:

Displayed approximately 4 – 5 seconds after the selector lever is moved to the “P” position.

Does shift position indicator display “P”?

YES

>> GO TO 5.

NO

>> GO TO 4.

4.

DETECT MALFUNCTIONING ITEMS

Check the following items:

• Harness between the TCM and the ROM assembly inside the transaxle assembly is open or shorted.

• Disconnected, loose, bent, collapsed, or otherwise abnormal connector housing terminals
Is the inspection result normal?

YES

>> GO TO 1.

NO

>> Repair or replace the malfunctioning parts.

5.

ERASE THE CVT FLUID DEGRADATION LEVEL DATA

With CONSULT

1. Select “WORK SUPPORT” in “TRANSMISSION”.

2. Select “CONFORM CVTF DETERIORTN”.

3. Touch “Clear”.

>> WORK END

UNIT CLB ID7

00

OFFSET2 L/B

0

UNIT CLB ID8

00

INIT OFFSET H/R A

0

UNIT CLB ID9

00

INIT OFFSET H/R B

0

UNIT CLB ID10

00

INIT OFFSET H/R C

0

UNIT CLB ID11

00

INIT OFFSET H/R D

0

GAIN LU

256

INIT OFFSET H/R E

0

GAIN PL

256

INIT OFFSET H/R F

0

GAIN PRI

256

INIT OFSET LB A

0

GAIN HC/RB

256

INIT OFSET LB B

0

GAIN L/B

256

INIT OFSET LB C

0

OFFSET LU

0

INIT OFSET LB D

0

OFFSET PL

0

INIT OFSET LB E

0

OFFSET PRI

0

INIT OFSET LB F

0

OFFSET HC/RB

0

LB INITIALIZE LEARN

−1

OFFSET L/B

0

HC INITIALIZE LEARN

−1

MAP NO LU

00

LB INITIALIZE TEMP

FF

MAP NO PL

00

LB INITIALIZE TEMP

FF

MAP NO PRI

00

Item name

Display value

Item name

Display value

TM-328

< BASIC INSPECTION >

[CVT: RE0F11A]

CALIBRATION OF G SENSOR

CALIBRATION OF G SENSOR

Description

INFOID:0000000009268115

TCM stores calibration data (inherent characteristic value) of G sensor to provide accurate control. Therefore,

it is required to perform calibration of G sensor after the following work is performed.

• Removal/installation or replacement of G sensor 

• Replacement of TCM

Work Procedure

INFOID:0000000009268116

1.

PREPARATION BEFORE CALIBRATION PROCEDURE

1. Park the vehicle on a level surface.

2. Adjust air pressure of all tires to the specified pressure. 

WT-45, "Tire Air Pressure"

>> GO TO 2.

2.

PERFORM CALIBRATION

With CONSULT

1. Turn ignition switch ON.

CAUTION:

Never start engine.

2. Select “Work Support” in “TRANSMISSION”.

3. Select “G SENSOR CALIBRATION”.

4. Touch “Start”.

CAUTION:

Never swing the vehicle during “G sensor calibration”. 

Is “COMPLETED” displayed? 

YES

>> GO TO 3.

NO

>> Perform steps 1 and 2 again.

3.

PERFORM THE SELF-DIAGNOSIS

With CONSULT

1. Turn ignition switch OFF and wait for 10 seconds. 

2. Turn ignition switch ON.

3. Select “Self Diagnostic Results” in “TRANSMISSION”.
Is “P1586” or “P1588” detected? 

YES

>> Go to 

TM-311, "DTC Index"

.

NO

>> Calibration end

CVT FLUID COOLER SYSTEM

TM-329

< BASIC INSPECTION >

[CVT: RE0F11A]

C

E

F

G

H

I

J

K

L

M

A

B

TM

N

O

P

CVT FLUID COOLER SYSTEM

Cleaning

INFOID:0000000009315603

Whenever an automatic transaxle is repaired, overhauled, or replaced, the CVT fluid cooler mounted in the

radiator must be inspected and cleaned.

Metal debris and friction material, if present, can be trapped or be deposited in the CVT fluid cooler. This

debris can contaminate the newly serviced CVT or, in severe cases, can block or restrict the flow of CVT fluid.

In either case, malfunction of the newly serviced CVT may occur.

Debris, if present, may deposit as CVT fluid enters the cooler inlet. It will be necessary to back flush the cooler

through the cooler outlet in order to flush out any built up debris.

CVT FLUID COOLER CLEANING PROCEDURE

1. Position an oil pan under the transaxle's inlet and outlet cooler hoses.
2. Identify the inlet and outlet fluid cooler hoses.
3. Disconnect the fluid cooler inlet and outlet rubber hoses from the

steel cooler tubes or bypass valve.

NOTE:

Replace the cooler hoses if rubber material from the hose

remains on the tube fitting.

4. Allow any CVT fluid that remains in the cooler hoses to drain into

the oil pan.

5. Insert the extension adapter hose of a can of Transmission

Cooler Cleaner (Nissan P/N 999MP-AM006) into the cooler out-

let hose.

CAUTION:

• Wear safety glasses and rubber gloves when spraying the

Transmission Cooler Cleaner.

• Spray Transmission Cooler Cleaner only with adequate

ventilation.

• Avoid contact with eyes and skin.

• Never breath vapors or spray mist.

6. Hold the hose and can as high as possible and spray Transmis-

sion Cooler Cleaner in a continuous stream into the cooler outlet

hose until CVT fluid flows out of the cooler inlet hose for 5 seconds.

7. Insert the tip of an air gun into the end of the cooler outlet hose.
8. Wrap a shop rag around the air gun tip and end of the cooler

outlet hose.

9. Blow compressed air regulated to 5 to 9 kg/cm

2

 (70 to 130 psi)

through the cooler outlet hose for 10 seconds to force out any

remaining CVT fluid.

10. Repeat steps 5 through 9 three additional times.
11. Position an oil pan under the banjo bolts that connect the CVT

fluid cooler steel lines to the transaxle.

12. Remove the banjo bolts.
13. Flush each steel line from the cooler side back toward the tran-

saxle by spraying Transmission Cooler Cleaner in a continuous stream for 5 seconds.

14. Blow compressed air regulated to 5 to 9 kg/cm

2

 (70 to 130 psi) through each steel line from the cooler

side back toward the transaxle for 10 seconds to force out any remaining CVT fluid.

15. Ensure all debris is removed from the steel cooler lines.
16. Ensure all debris is removed from the banjo bolts and fittings.

SCIA4421E

SCIA4422E

SCIA4423E


Content   ..  853  854  855  856   ..