Nissan Altima HL32 Hybrid. Instruction - part 448
EXT-22
< ON-VEHICLE REPAIR >
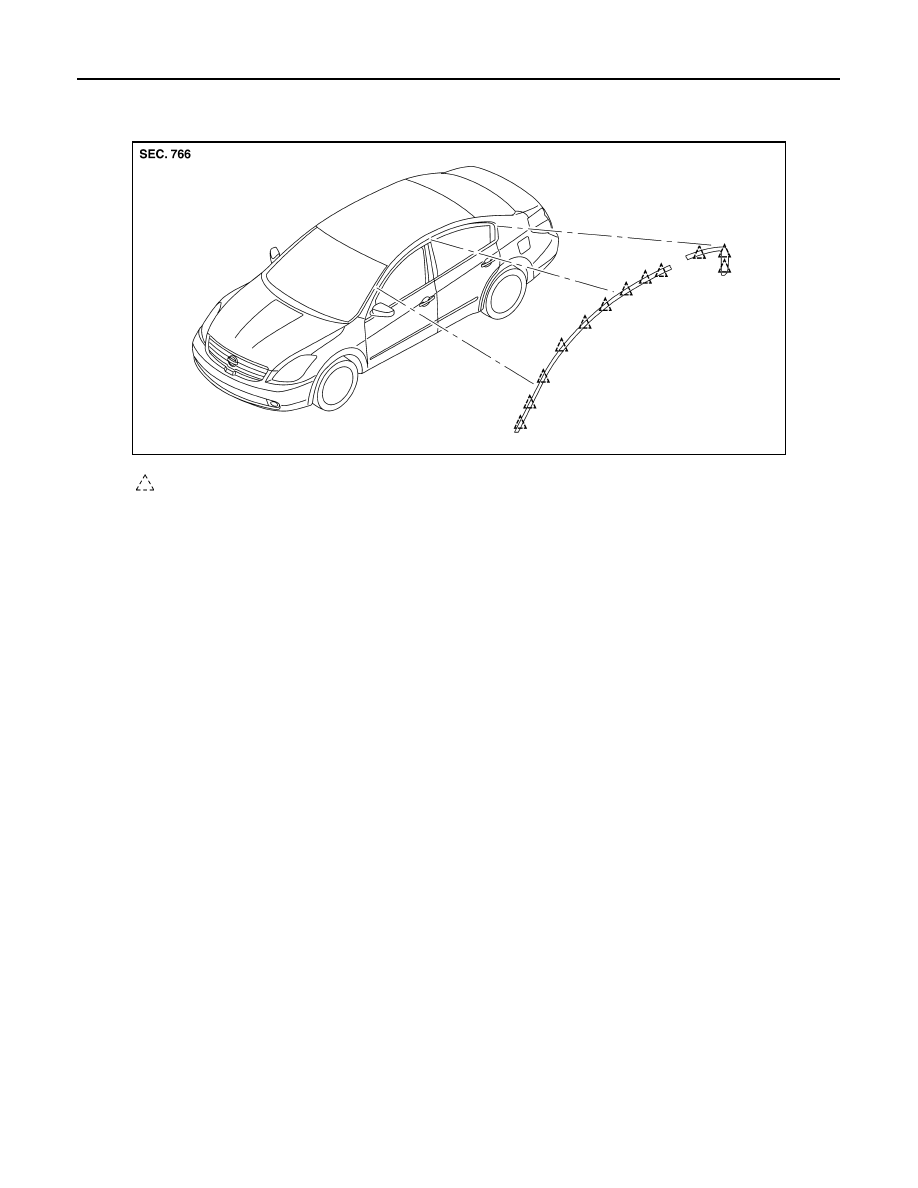
DRIP MOLDING
DRIP MOLDING
Removal and Installation
INFOID:0000000004216208
REMOVAL
1. Using a trim stick or equivalent, disconnect the drip mouldings starting at the front, working rearward.
2. Remove the drip moldings.
INSTALLATION
Installation is in the reverse order of removal.
• Insert drip moldings onto vehicle starting at the rear, working forward.
ALKIA0008ZZ
Clips