Nissan Cube (2014 year). Manual - part 9
3-20
Pre-driving checks and adjustments
WARNING
. Always be sure the back door has
been closed securely to prevent it
from opening while driving.
. Do not drive with the back door
open. This could allow dangerous
exhaust gases to be drawn into the
vehicle. See “Exhaust gas (carbon
monoxide)” (P.5-2) of this manual.
. Make sure that all passengers have
their hands, etc. inside the vehicle
before closing the back door.
SPA2608
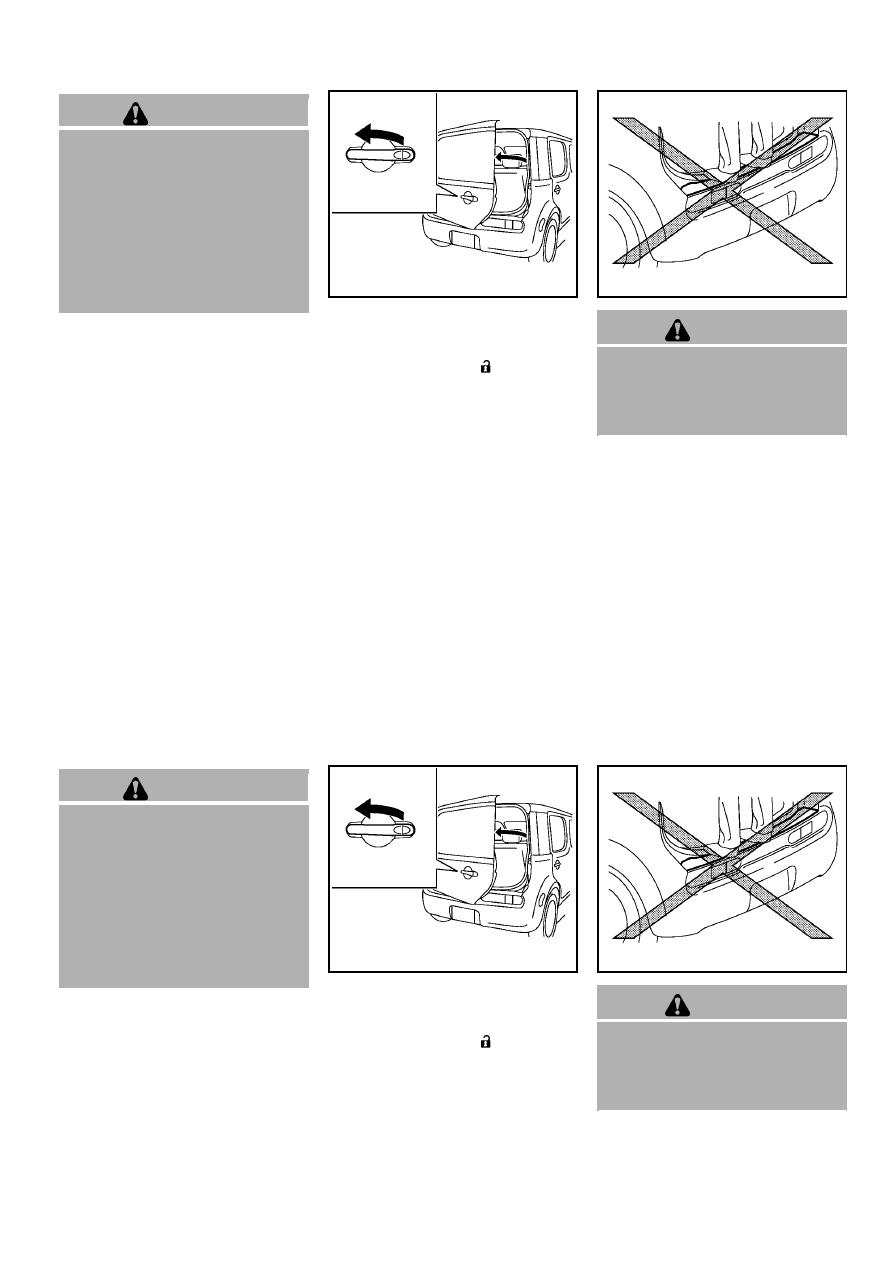
To open the back door, unlock it and pull the
handle.
The back door can be unlocked by:
. pushing the UNLOCK
button on the
keyfob or the Intelligent Key (if so equipped)
twice.
. pushing the back door request switch (if so
equipped).
. pushing the power door lock switch to the
unlock position.
. inserting the key into the driver’s door key
cylinder and turning it to the rear of the
vehicle twice.
SPA2609
CAUTION
Do not step or place heavy objects on
the back door opening (over the rear
combination lights). Doing so could
cause damage to the rear combination
lights and/or personal injury.
BACK DOOR
3-20
Pre-driving checks and adjustments
WARNING
. Always be sure the back door has
been closed securely to prevent it
from opening while driving.
. Do not drive with the back door
open. This could allow dangerous
exhaust gases to be drawn into the
vehicle. See “Exhaust gas (carbon
monoxide)” (P.5-2) of this manual.
. Make sure that all passengers have
their hands, etc. inside the vehicle
before closing the back door.
SPA2608
To open the back door, unlock it and pull the
handle.
The back door can be unlocked by:
. pushing the UNLOCK
button on the
keyfob or the Intelligent Key (if so equipped)
twice.
. pushing the back door request switch (if so
equipped).
. pushing the power door lock switch to the
unlock position.
. inserting the key into the driver’s door key
cylinder and turning it to the rear of the
vehicle twice.
SPA2609
CAUTION
Do not step or place heavy objects on
the back door opening (over the rear
combination lights). Doing so could
cause damage to the rear combination
lights and/or personal injury.
BACK DOOR