Nissan Altima Hybrid (2010 year). Manual - part 20
R (Reverse):
CAUTION
To prevent transmission damage, use the
P (Park) or R (Reverse) position only when
the vehicle is completely stopped.
Use the R (Reverse) position to back up. Make
sure the vehicle is completely stopped before
selecting the R (Reverse) position. The brake
pedal must be depressed to move the shift
selector from P (Park), N (Neutral) or any
drive position to R (Reverse).
N (Neutral):
Neither forward nor reverse gear is engaged. Do
not leave the shift selector in the N (Neutral)
position for a long period of time. In the N (Neu-
tral) position, the gasoline engine operates but
electricity cannot be generated. The high voltage
battery will be discharged requiring unnecessary
engine power to recharge.
Depending on the status of the engine before
shifting into the N (Neutral) position, the engine
may not operate.
D (Drive):
Use this position for all normal forward driving.
B (Brake) low gear:
Downshift into the B position with your foot off
the accelerator pedal to use engine braking while
driving.
You may feel that engine braking is less effective
than a conventional vehicle when driving at higher
speeds.
Driving with the transmission in the B position for
long periods of time may cause a decrease in fuel
economy.
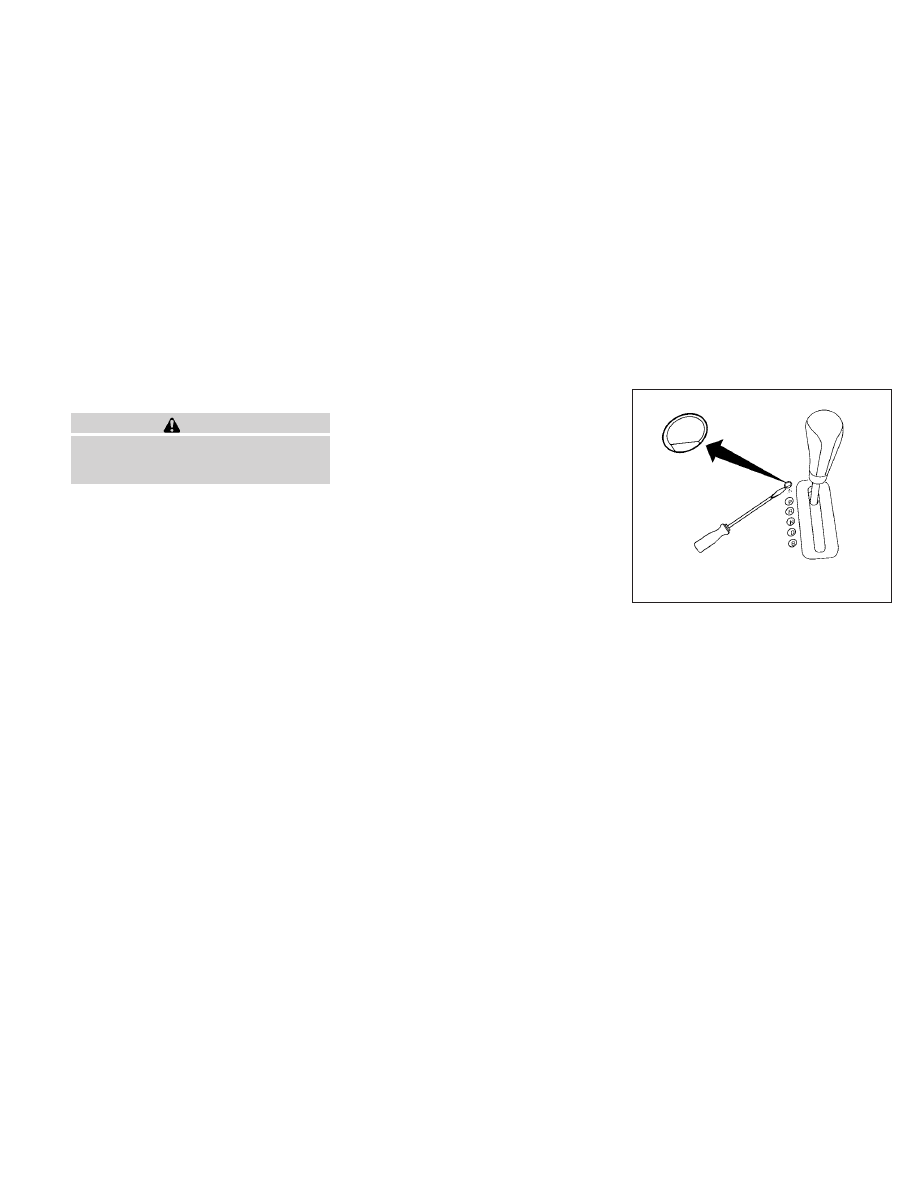
Shift lock release
If the battery charge is low or discharged, the
shift selector may not be moved from the P (Park)
position even with the brake pedal depressed
and the shift selector button pushed.
It will be necessary to jump start or have your
battery charged, see “Jump starting” in the “In
case of emergency” section. Contact your
NISSAN dealer or a professional towing service.
LSD0190
Starting and driving
5-13