Nissan Pathfinder. Instruction - part 386
DLK-310
< REMOVAL AND INSTALLATION >
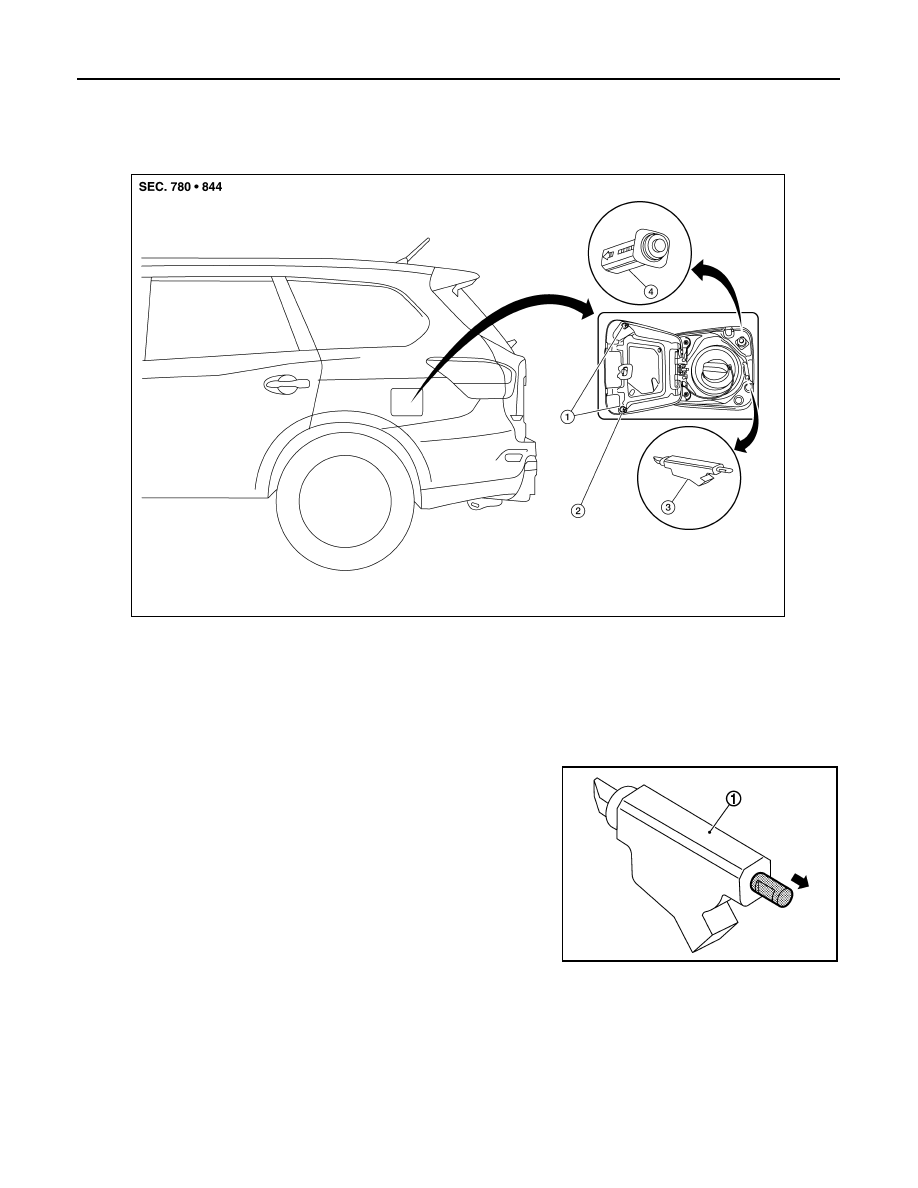
FUEL FILLER LID OPENER
FUEL FILLER LID OPENER
Exploded View
INFOID:0000000009175905
Removal and Installation
INFOID:0000000009175906
REMOVAL
NOTE:
When fuel filler lid lock actuator (1) is not functioning correctly, pull
the rod from inside the vehicle to open fuel filler lid.
1.
Fuel filler lid bumper rubber
2.
Fuel filler lid
3.
Fuel filler lid lock actuator
4.
Fuel filler lid lock
AWKIA2618ZZ
JMKIA1960ZZ